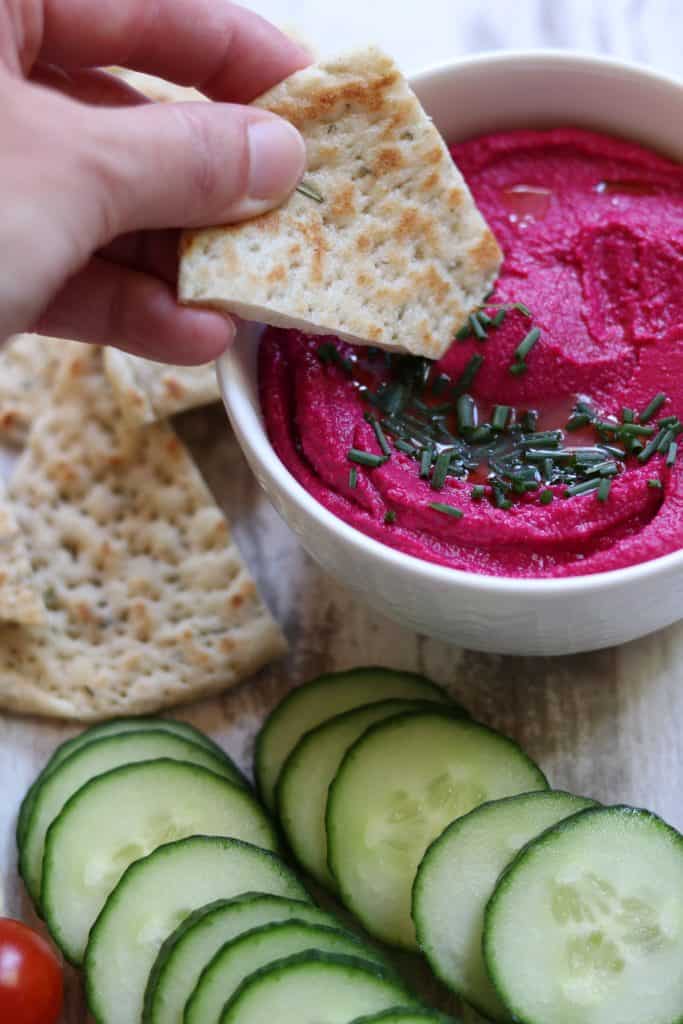
Hummus is deliciously creamy, it is the cornerstone of the quick and easy lunch or afternoon snack....add some pita chips or flatbread and sliced veggies and you've got yourself a meal in a matter of minutes. While there is no shortage of tasty hummus varieties available at the grocery store (I am partial to Trader Joe's Cilantro Jalapeño), making your own hummus at home is quick and easy and yields a far more delicious result than the pre-packaged variety.
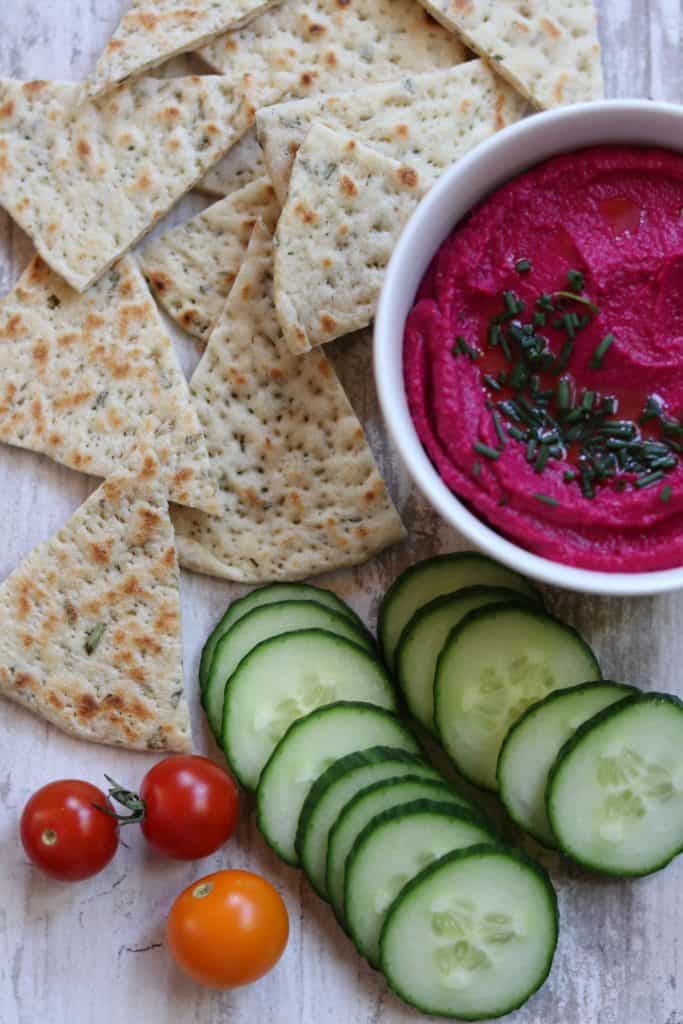
Creamy, earthy and with just a hint of sweetness, this Roasted Beet Hummus is one of my favorites, particularly at this time of year when there are more beets in my garden than I know what to do with. And can we talk about that color? There are simply not enough naturally hot pink foods in the world.
Tips and Tricks for Smooth and Creamy Hummus
Making your own hummus is hardly rocket science, but I do have a few tips for ensuring that your Roasted Beet Hummus is the best that it can be:
- Roast the beet until tender. A roasted beet is done when you can easily slip a knife through it with little resistance. This takes anywhere from 45 to an hour in a 400 degree oven for a medium-sized beet. It's best to err on the side of over-roasting in this situation as we will be pureeing the beet in the food processor and want it to be as smooth as possible.
- Puree the beet while it is still warm. I am a big fan of roasting a batch of beets at the beginning of the week and refrigerating them for later use. A beet from the fridge will not yield as smooth of a hummus as one that is still slightly warm from the oven, however. For this recipe you will want to use a beet that has been freshly roasted just for the occasion.
- Puree the beet first with a little hot water and olive oil prior to adding the remaining ingredients. This will help break down the beet as much as possible.
- Roast the garlic alongside the beet. Since we are already turning on the oven to roast the beet, why not through the garlic cloves in there as well? As opposed to raw garlic (which is what most hummus recipes call for) roasted garlic is mellow and sweet, a perfect compliment to the beet.
- Puree thoroughly. Don't be afraid to let that food processor run! You really can't overprocess here. Be sure to scrape down the sides of the work bowl occasionally to make sure everything is evenly incorporated.
- Season properly. Be sure to taste the final product to see if it needs additional salt or lemon juice. I always need to add some additional salt at the end.
Give this gorgeous and delicious hummus a try, even if you don't consider yourself a beet fan. It's kind of a "gateway to liking beets recipe' in my opinion. If you are feeling ambitious, bake a batch of Soft Nordic Flatbreads with Garden Herbs to serve along side for a Scandi-inspired vegetarian lunch or hearty snack.
Recipe
Roasted Beet Hummus
Ingredients
For the hummus:
- 1 medium beet scrubbed and trimmed
- 2-3 cloves of garlic unpeeled
- 4 tablespoons extra-virgin olive oil divided, plus more for roasting the beet and garlic
- 1 tablespoon hot water
- 1 can chickpeas rinsed and drained
- ½ teaspoon ground cumin
- 2 tablespoons tahini paste
- 2 tablespoons fresh lemon juice
- 1 teaspoon coarse salt plus more to taste
To garnish:
- Extra-virgin olive oil for drizzling
- Chopped fresh parsley or chives
Instructions
- Preheat oven to 400 degrees. Drizzle beet and garlic cloves with olive oil and rub to coat evenly. Wrap tightly in aluminum foil and roast until tender, about an hour. Unwrap and allow to cool slightly.
- Once the beet is cool enough to handle, use a paper towel to rub the skin off of the beet. Slice into quarters and place in the work bowl of a food processor. Peel the roasted garlic and add it to the bowl along with the beet.
- Add one tablespoon of olive oil and the hot water. Process until smooth, scraping down the sides of the bowl as necessary.
- Add remaining ingredients except olive oil. Process again until smooth. While the machine is running, slowly add remaining 3 tablespoons of olive oil through the feed tube. Continue to process until fully combined, scraping down the sides of the bowl occasionally.
- Transfer hummus to bowl. Season to taste with salt. Chill until ready to serve.
- To serve, drizzle with olive oil and sprinkle with chopped fresh parsley or chives, if desired.




Leave a Reply