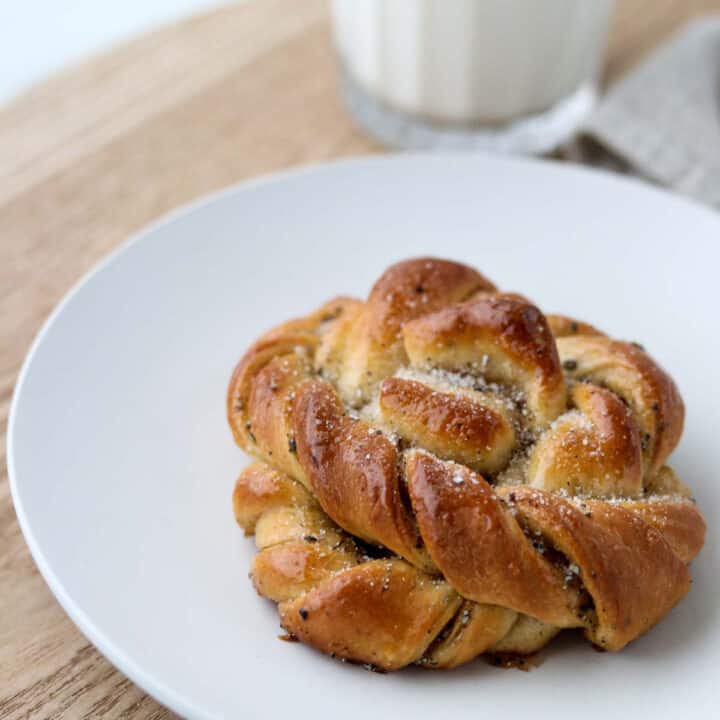
Easy Swedish Semla (Traditional Lenten Buns)
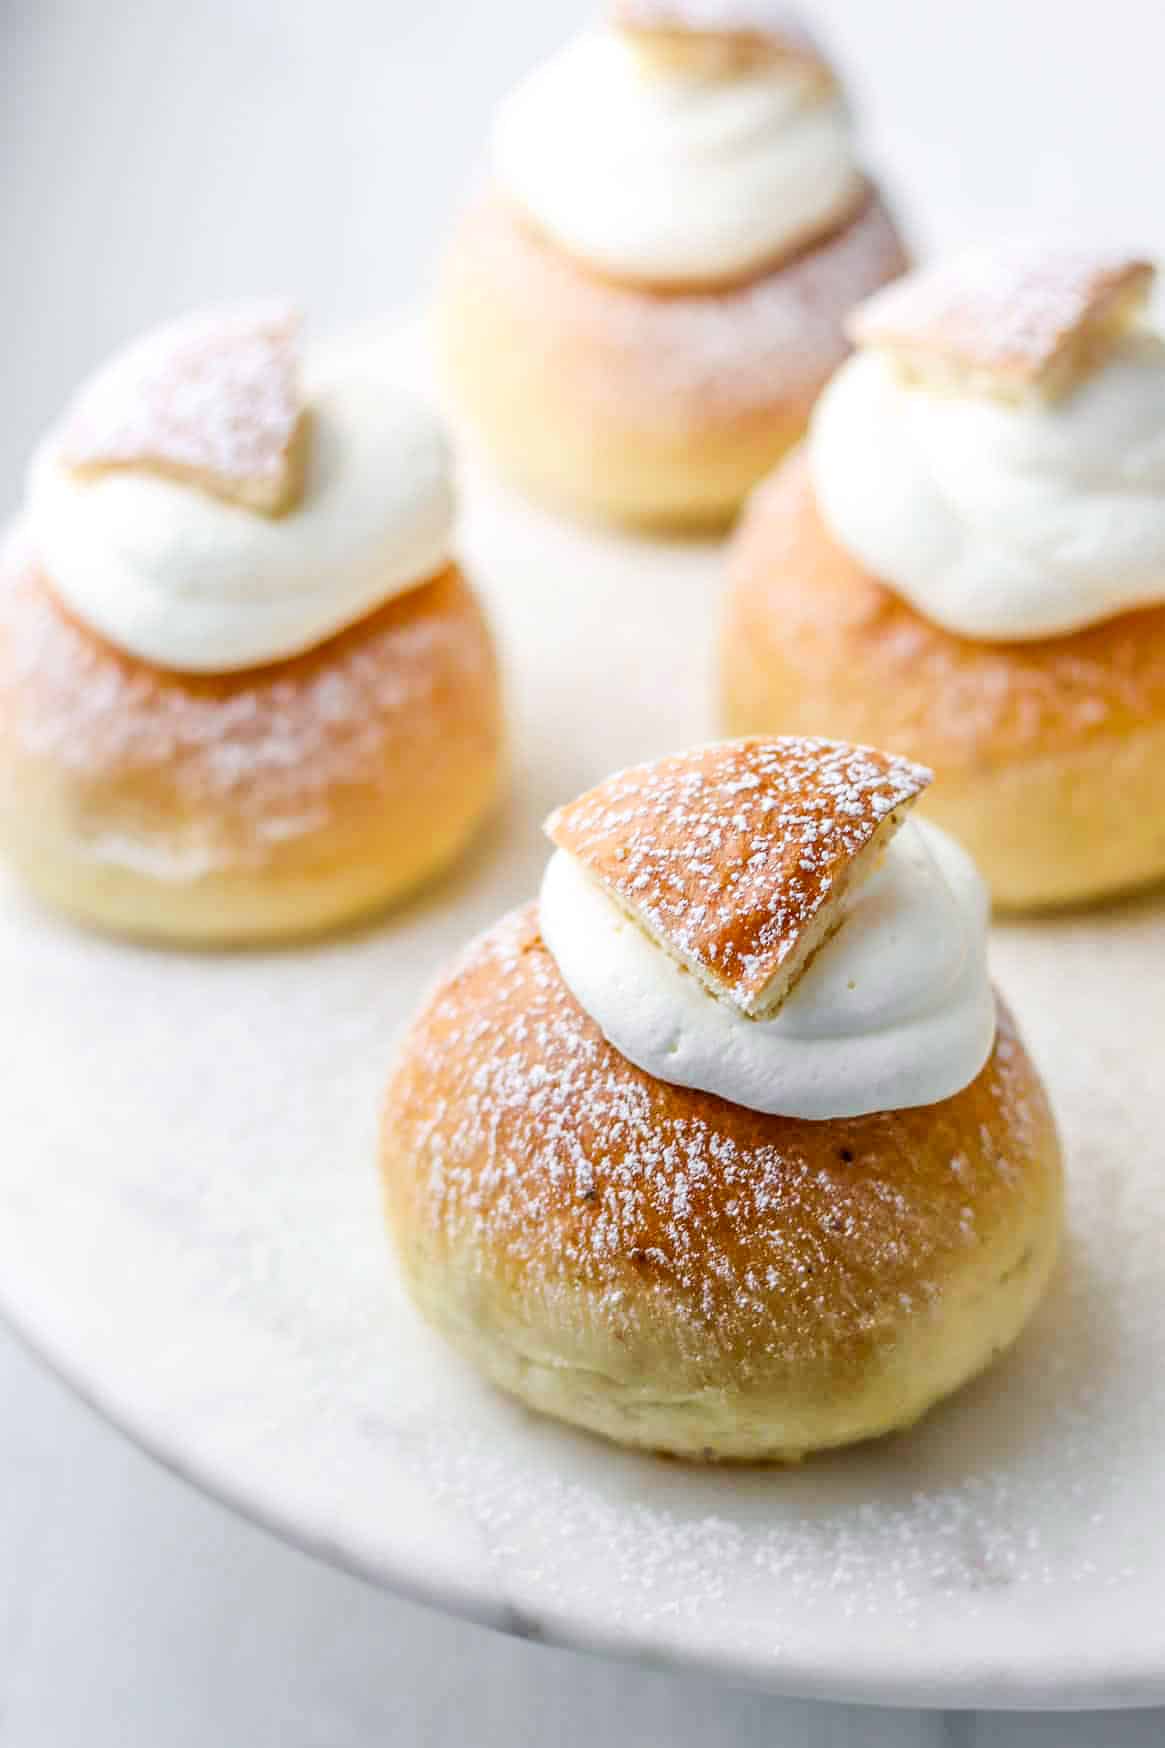
A freshly baked Swedish semla is a thing of beauty - a soft, buttery cardamom-scented bun, generously filled with sweet almond paste and topped with a cloud of whipped cream. These iconic Swedish treats appear in bakeries across Sweden starting in early January, signaling the cozy indulgence of the season. Traditionally, semlor were enjoyed as a final, over-the-top treat before Lent began, earning them the nickname Shrove Tuesday Buns.
Though originally reserved for Fettisdagen (Fat Tuesday), Swedes today enjoy semlor all season long-from early January through Easter. Some even indulge in a "semmel-fika" (coffee break with semlor) as often as possible during this special time of year! Whether you're keeping with tradition or simply craving a heavenly bite of almond and cream, these homemade semlor are as beautiful as they are delicious-and easier to make than you might think!
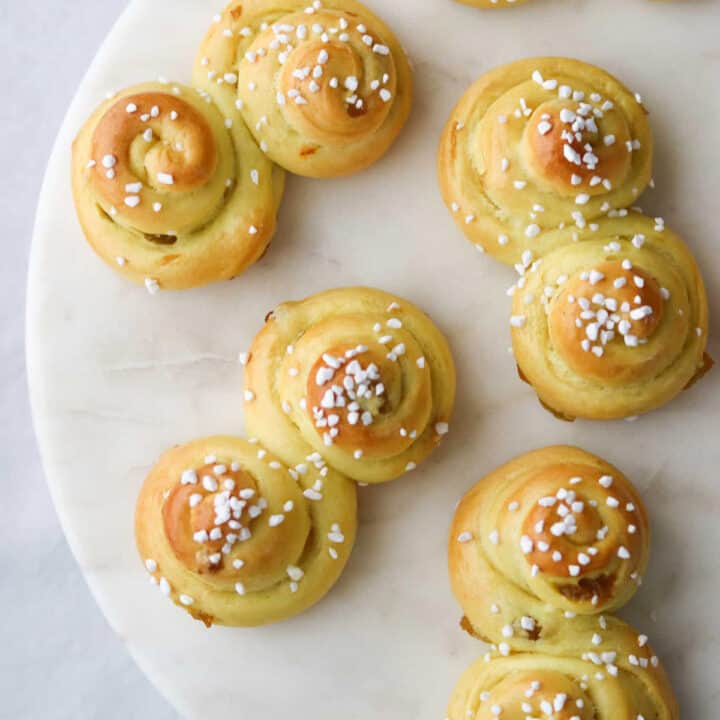
Want to try the Norwegian version of these buns next? Give my Fastenlavnsboller (Norwegian Lenten Buns) a try. Nearly identical, these buns have jam in place of the almond filling. For everything you need to know about Scandinavian sweet buns and links to all of my bun recipes, check out The Ultimate Guide to Scandinavian Sweet Buns here.
Jump to:
The Ingredients
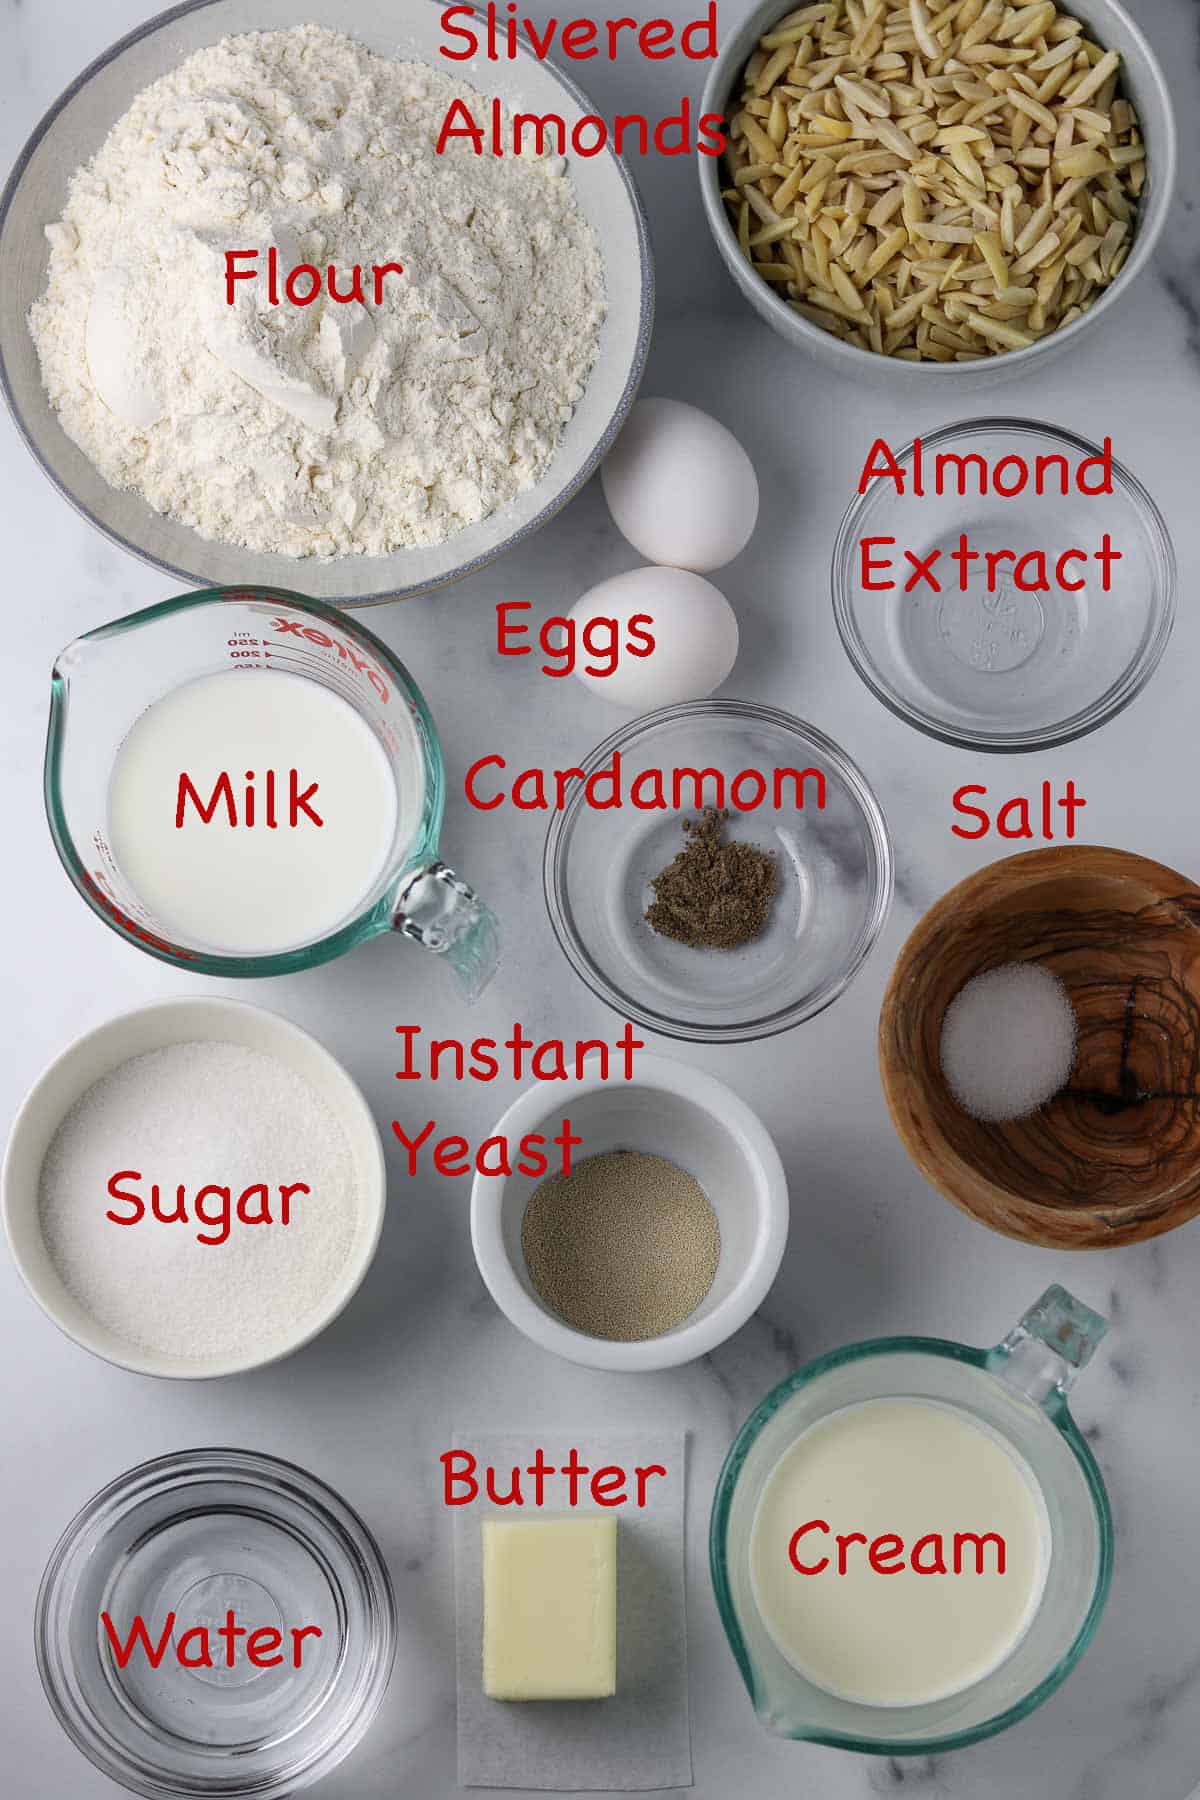
- All-purpose flour
- Granulated sugar
- Salt
- Milk (preferably whole millk)
- Unsalted butter
- Large egg
- Instant yeast - acts as our leavener in this recipe.
- Ground cardamom - brings quintessential Scandinavian flavor to these buns.
- Blanched slivered almonds
- Almond extract
- Heavy whipping cream - adds the final flourish to the top of the bun!
Substitutions
If you want to use active dry yeast in place of the instant yeast - proof it before adding it to the dough: After warming the milk, sprinkle two teaspoons of active dry yeast on top. Make sure the milk isn't too hot (ideally it should be between 100 -110 degrees F). High temperatures will kill the yeast and your dough won't rise. Let it sit for 10 minutes or until it begins to get a little frothy/ bubbly.
Variations
- Vanilla Custard: Replace the almond paste with vanilla pastry cream or custard.
- Chocolate Custard: Use chocolate pastry cream or custard in place of the almond paste.
- Lemon: Replace the almond paste with lemon curd.
- Berry: Use strawberry, blueberry, lingonberry, raspberry or cloudberry jam in place of the almond paste.
- With Milk: One of the oldest and most traditional ways to enjoy semlor in Sweden is in a bowl with warm milk. This variation dates back to the time when semlor were denser and less sweet, and the warm milk helped soften the bun, making it easier to eat.
All of these variations should still include the whipped cream on top.
How to Make Swedish Semlor
For the Buns:

- Begin by making the tangzhong: Combine 5 tablespoons of water, 5 tablespoons of milk and 3 tablespoons of flour in a saucepan. Whisk to combine. Heat over medium, stirring constantly, until the mixture turns into a thick paste. Set aside to cool.

- Whisk the dry ingredients by hand in the bowl of a stand mixer. Add the warm milk, cooled melted butter, cooled tangzhong and 1 egg. Mix with the dough hook on medium low until everything comes together. Increase the speed to medium and knead until the dough is soft and satiny and clears the sides and bottom of the bowl. This should take about 4-5 minutes.

- Let the dough rise until 1 ½ to 2 times its size, about 1 ½ to 2 hours. The time this takes will largely depend on the temperature of your kitchen. Dough takes longer to rise in cooler temperatures.

- Divide the dough into twelve equal pieces and cover with plastic wrap while you shape them into balls. To form each roll, take a piece of dough and form it into a rough ball, pinching the dough where it come together to create a "bellybutton". Place the ball, bellybutton side down, on a clean kitchen counter. Cupping the ball with your hand so that your palm is lightly resting on the dough and your fingertips are resting on the counter, make small circles with the dough until a tight ball is formed.

- Place the dough ball on parchment-lined baking sheet. Repeat with the remaining pieces of dough.

- Cover the buns lightly with plastic wrap and preheat the oven to 400 degrees. Let the buns rise for 45 minutes at room temperature. Brush with egg wash and bake for 12-16 minutes or until golden brown. Cover the buns with a clean tea towel (this helps keep them soft) and set aside to cool.
Make the Filling and Assemble:

- While the buns cool, make the filling and whipped cream. Combine the almonds, sugar, salt and almond extract in a the work bowl of a food processor. Process until finely ground.

- Transfer the almond and sugar mixture to a bowl. Add ½ cup of milk and stir until the mixture is delightfully creamy, adding additional milk 1 tablespoon at a time if necessary to achieve the desired consistency. Whip the cream and sugar together in a stand mixer until medium to stiff peaks form.

- Once the buns are completely cool, use a small, sharp knife to cut a triangular "hat" out of the top of the bun and set it aside to use later. Remove some of the inside of the bun using the knife and your fingers creating a nice hole for the almond filling. Slice off the bottom of the hat so that it is only ¼-½ an inch or so thick.

- Fill each bun with a spoonful or two of the almond filling and top with a flourish of whipped cream. You can use a piping bag and tip if you want more precision, or just dollop the whipped cream on top with a spoon. Artfully arrange the hat on top of the whipped cream and sprinkle with powdered sugar if desired. Serve!
Expert Tips
- Use the tangzhong method as directed in the recipe. The simple process of creating a roux with water, milk and flour and adding it to the dough makes a HUGE difference in the final product. The dough itself is silky and smooth, and the buns emerge from the oven soft and tender with a golden brown crust. It's 5 minutes well spent.
- Make sure that you are using instant yeast instead of active dry yeast. They are two different products and work differently in a recipe. Want to substitute active dry yeast for the instant? Read the Substitutions section above for instruction on how to do so.
- Cover the rolls with a clean kitchen towel after they come out of the oven, and keep them covered as they cool. This helps to keep the texture pleasantly soft.
FAQs
Shrove Tuesday (also known as Fat Tuesday) is celebrated the day before Lent begins, that six week period prior to Easter during which some Christians choose to fast or give up certain luxuries. The idea behind Shrove Tuesday is to indulge in something rich and delicious before the sacrifices of Lent begin the next day.
It's all about that final indulgence before the austerity of the Lenten season. For some, Shrove Tuesday is celebrated with pancakes for dinner. For others, it's a full-on party with cocktails and King Cake (hello, Mardi Gras!). In the Scandinavian countries, particularly Sweden, people indulge in a semla or two.
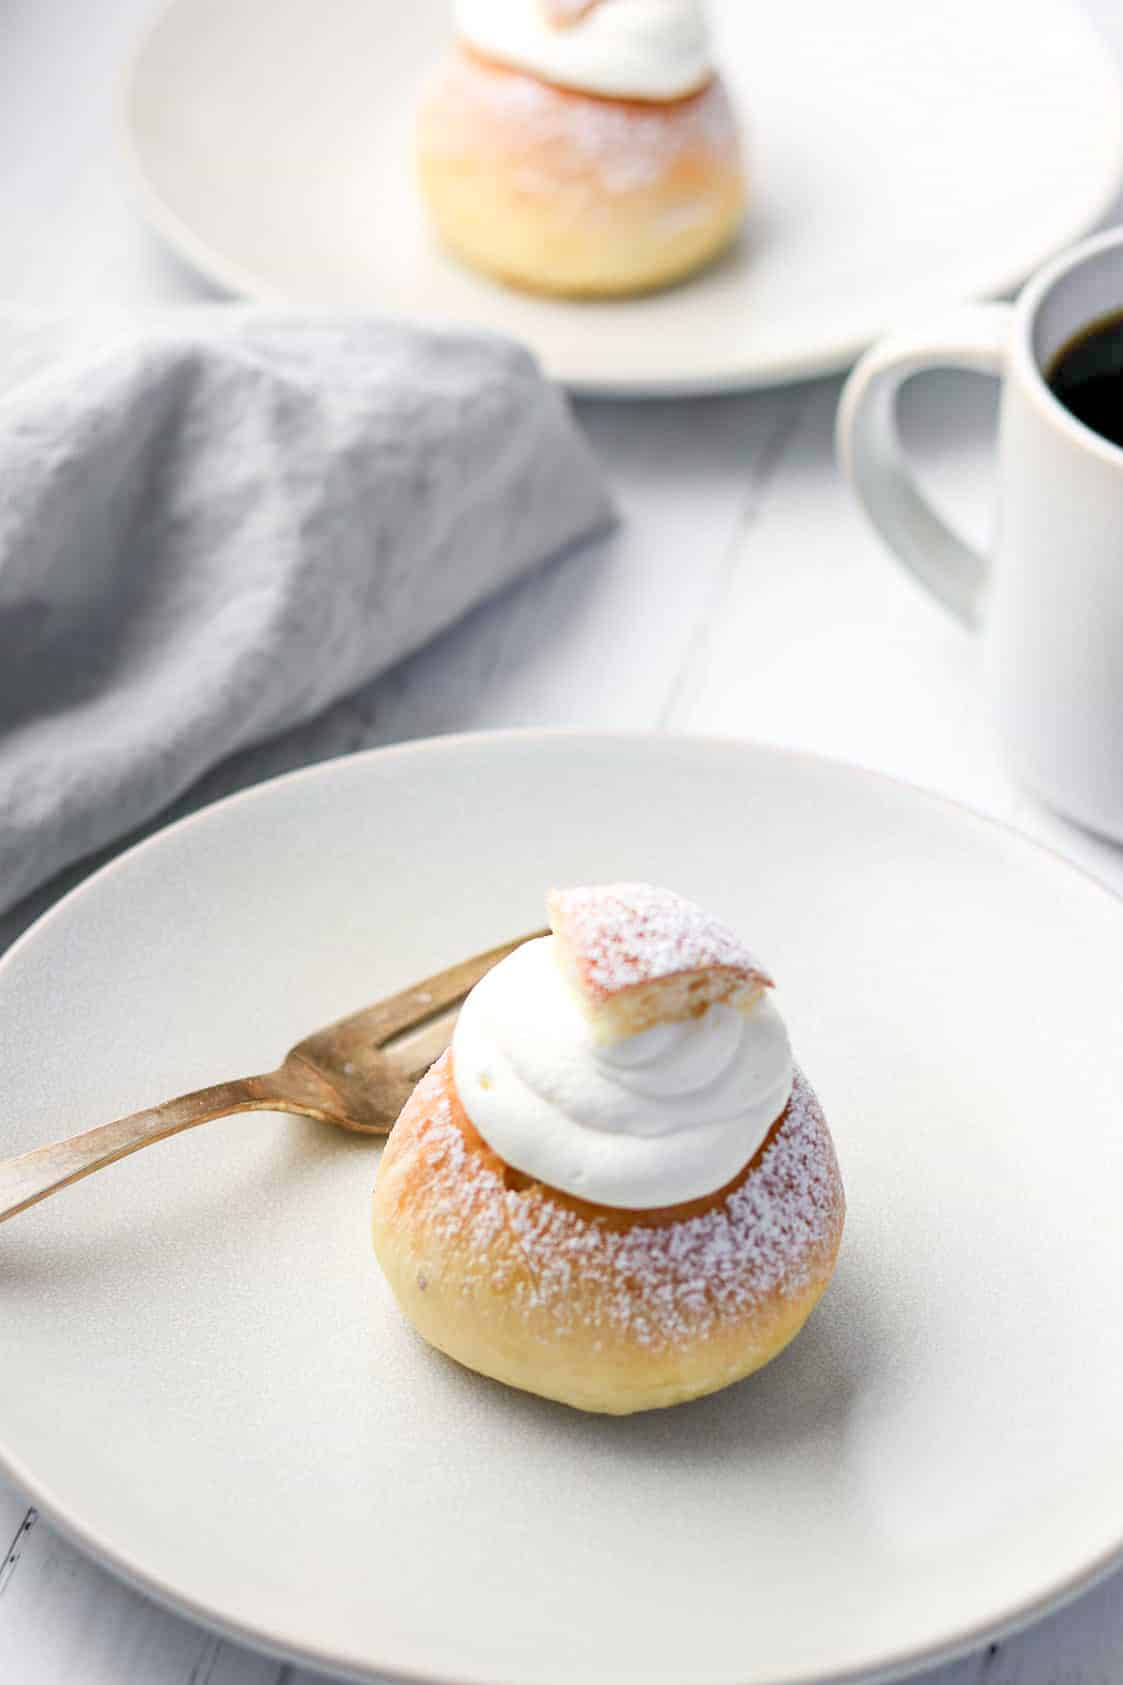
I like my semla for a fika treat with late morning or afternoon coffee, but you could certainly get away with serving these buns as an unconventional breakfast or even for dessert following a light meal.
Basically a small amount of the flour and liquid (water, milk or a combination of the two) is cooked on the stove for a very short period of time creating a roux-like mixture. This process gelatinizes the starches in the flour allowing them to absorb more liquid and results in a higher rise (hello billowy buns!) and a more tender, moist bun that stays that way for a longer period of time. Check out this blog post for more information about why the tangzhong method works and how to use it in recipes.
Once the buns are filled, they are best eaten right away or shortly thereafter. Should you have leftovers, simply cover them with plastic wrap and store in the refrigerator for up to two days. For instructions on how to store them prior to filling, read the FAQs below.
Yes, the buns keep well at room temperature for about a day (tightly covered once they are completely cool), and the filling can be kept, tightly covered and refrigerated, for 24 hours. Add a little more milk to the filling if necessary to loosen it and bring it back to a creamy consistency.
Unfilled buns freeze well tightly sealed in a freezer bag. Simply take them out and defrost at room temperature as needed. You can freeze the filling (before adding the milk) as well. Again, it should be tightly sealed in a freezer bag. Simply take out as much of the ground almond mixture as you need and let it come to room temperature. Add just enough milk to create a delightfully creamy consistency.

Related Recipes
Looking for more Scandinavian bun recipes? I've got several delicious options for you here on the blog:


If you tried this Swedish Semla recipe or any other recipe on my website, please leave a 🌟 star rating and let me know how it goes in the comments below. I love hearing from you!
Recipe

Easy Swedish Semla (Traditional Lenten Buns)
Equipment
- Stand mixer (optional but nice to have)
- 2 rimmed baking sheets
- Parchment paper
- Pastry brush
- Small sharp knife
- Wide piping tip and piping bag (optional)
Ingredients
For the Tangzhong:
- 5 tablespoons water
- 5 tablespoons whole milk
- 3 tablespoons all-purpose flour
For the Buns:
- 5 tablespoons melted unsalted butter cooled
- ½ cup whole milk slightly warm
- 2 teaspoons instant yeast
- ½ teaspoon ground cardamom
- 1 teaspoon salt
- ¼ cup granulated sugar
- 3 cups + 2 tablespoons all-purpose flour
- 1 large egg
- All of the tangzhong cooled
For the Almond Filling:
- 2 cups blanched almonds
- ¼ cup granulated sugar
- ½ teaspoon almond extract
- Pinch of salt
- ½-¾ cup whole milk
For the Egg Wash:
- 1 large egg
- 1 tablespoon water
For the Sweetened Whipped Cream and to Finish:
- 1 ½ cups heavy whipping cream
- 3 tablespoons granulated sugar
- Powdered sugar for dusting optional
Instructions
Make the Tangzhong
- Combine water, milk and flour in a medium saucepan. Whisk until combined and no lumps remain. Place saucepan over medium heat and cook mixture, whisking constantly, until it thickens, about 1-2 minutes. Set aside to cool.
Make the Buns
- While the tangzhong is cooling, begin preparing the rest of the ingredients for the dough. Combine yeast, cardamom, salt, sugar and flour in the bowl of a stand mixer. Whisk briefly by hand to combine.
- Attach the dough hook to the mixer. Add melted and cooled butter, slightly warm milk, egg and the cooled tangzhong (it can be slightly warm to the touch) to the dry ingredients. Mix on medium low until fully combined.
- Increase mixer speed to medium and knead mixture for 4-5 minutes or until dough is slightly tacky but not sticky and clears the side of the bowl. It's okay if it's sticking to the bottom of the bowl slightly. You can also mix and knead the dough by hand but it will take longer, more like 8-10 minutes.
- Cover bowl with plastic wrap and allow the dough to rise for a 1 ½ to 2 hours or until 1 ½ or 2 times its original size. The time will largely depend on the temperature of your kitchen.
- Once dough has risen, line a baking sheet with parchment paper and divide the dough into 12 equal pieces. Working with one piece at a time, gather up the edges of the dough into a rough ball shape, pinching the dough where the edges come together to create a "bellybutton". Place the ball, bellybutton side down, on a clean kitchen counter. Cupping the ball with your hand so that your palm is lightly resting on the dough and your fingertips are resting on the counter, make small circles with the dough until a tight ball is formed. Place the ball on the baking sheet. Repeat with remaining pieces of dough.
- Cover lightly with plastic wrap and let rise at room temperature for 45 minutes.
- Meanwhile, preheat the oven to 400 degrees. Combine egg and 1 tablespoon water to create an egg wash. Uncover the buns and brush each bun with the egg wash. Bake at 400 degrees for 12-16 minutes or until buns are golden brown. Cover the buns with a clean dish towel and let cool to room temperature (this will keep the buns from forming a hard crust).
Make the Filling and the Whipped Cream
- Combine almonds, sugar, salt and almond extract in the work bowl of a food processor. Process until almonds are finely ground. Remove the almond mixture from the work bowl and transfer to a medium bowl. Start by mixing ½ cup of milk into the ground almond mixture. Continue adding milk if necessary, 1 tablespoon at a time, until your filling has a creamy consistency.
- Place the cream in the bowl of a stand mixer. Using the whisk attachment, whisk the cream on medium-high speed until it begins to thicken. Add sugar and continue whisking until the whipped cream is fluffy and and can hold medium to stiff peaks.
Assemble the Buns
- Use a small, sharp knife to cut a triangular "hat" out of the top of the bun and set it aside to use later. Remove some of the inside of the bun using the knife and your fingers creating a nice hole for the almond filling. Slice off the bottom of the hat so that it is only ¼-½ an inch thick.
- Fill the bun with a spoonful or two of the almond filling. Dollop or pipe whipped cream on top. Artfully arrange the hat on top of the cream. Repeat with remaining buns. Dust tops with powdered sugar. Serve immediately.
Notes
-
- To store: Once the buns are filled, they are best eaten right away. Should you have leftovers, simply cover them with plastic wrap and store in the refrigerator for up to two days.
- To make ahead: The buns keep well at room temperature for about a day (stored in an airtight container once they are completely cool), and the filling can be kept, tightly covered and refrigerated, for 24 hours. Add a little more milk to the filling if necessary to loosen it and bring it back to a creamy consistency.
- To freeze: Unfilled buns freeze well tightly sealed in a freezer bag. Simply take them out and defrost at room temperature as needed. You can freeze the filling (before adding the milk) as well. Again, it should be tightly sealed in a freezer bag. Simply take out as much of the ground almond mixture as you need and let it come to room temperature. Add just enough milk to create a delightfully creamy consistency.
- To substitute active dry yeast for the instant yeast: Sprinkle 2 teaspoons of active dry yeast over the warm milk and stir to combine. Let sit for 10 minutes until it gets a little frothy. Proceed with the recipe as directed.

Why is there “ Tangzhong” in the recipe?
Hi Heather,
Great question! The tangzhong is a simple technique where a small portion of the flour and liquid are cooked together before being added to the dough. This step helps the buns stay incredibly soft, light, and fluffy, and keeps them fresh longer without drying out.
It’s not traditional in older Scandinavian recipes, but it’s a modern baking method that produces very reliable, bakery-style results at home. I love using it for sweet buns like semlor because it gives them that tender, pillowy texture that holds up beautifully once they’re filled with almond paste and cream. I hope you give them a try!
Kristi
Such a decadent and delicious treat!
I love your blog and your amazing recipes! Can you tell me how these buns are eaten? From the hand? Knife & fork? Thank you!
Hi Jennie,
Thank you! I use a knife and fork to eat these. You could pick them up but it would be pretty messy!
Kristi
My mom is from Sweden and she eats them in a bowl with milk