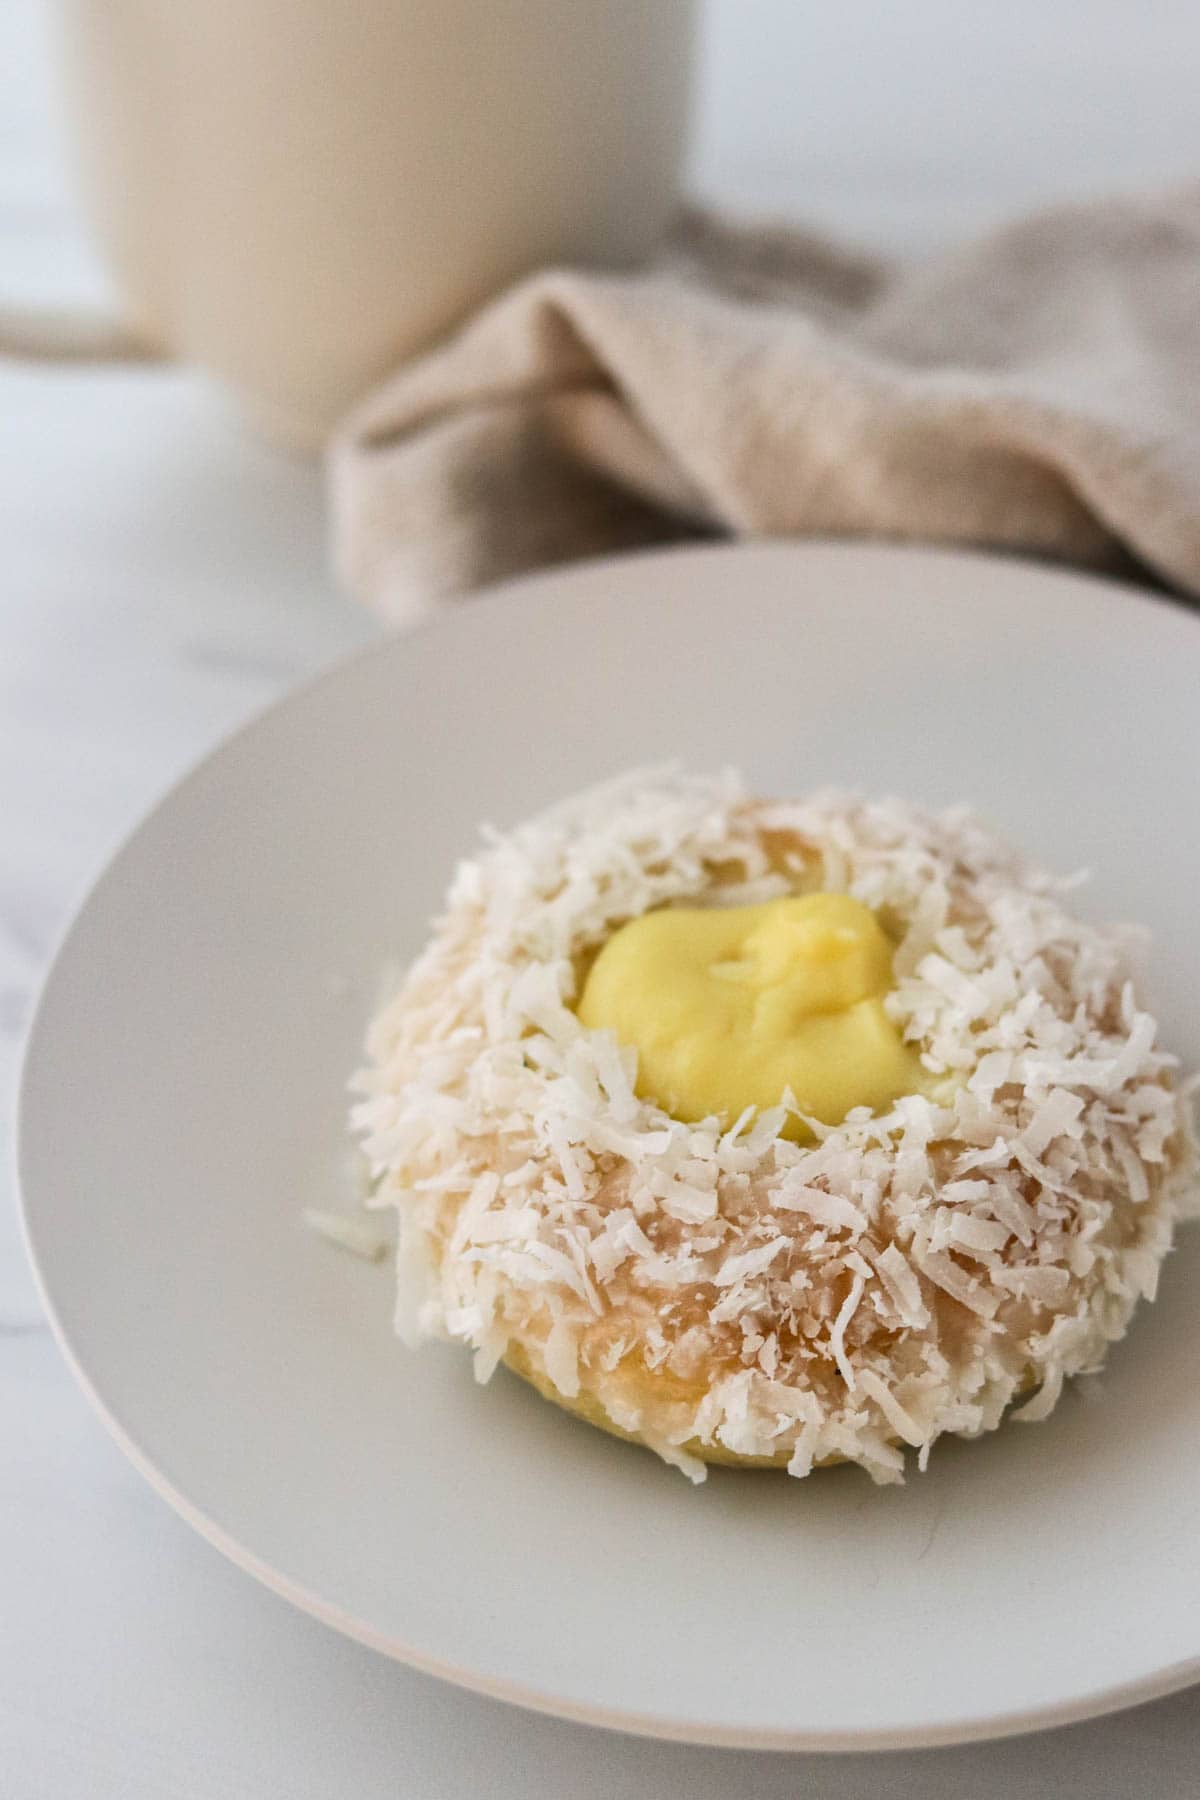
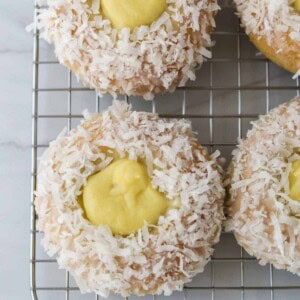
Traditional Norwegian Skoleboller (Custard-Filled Coconut Buns)
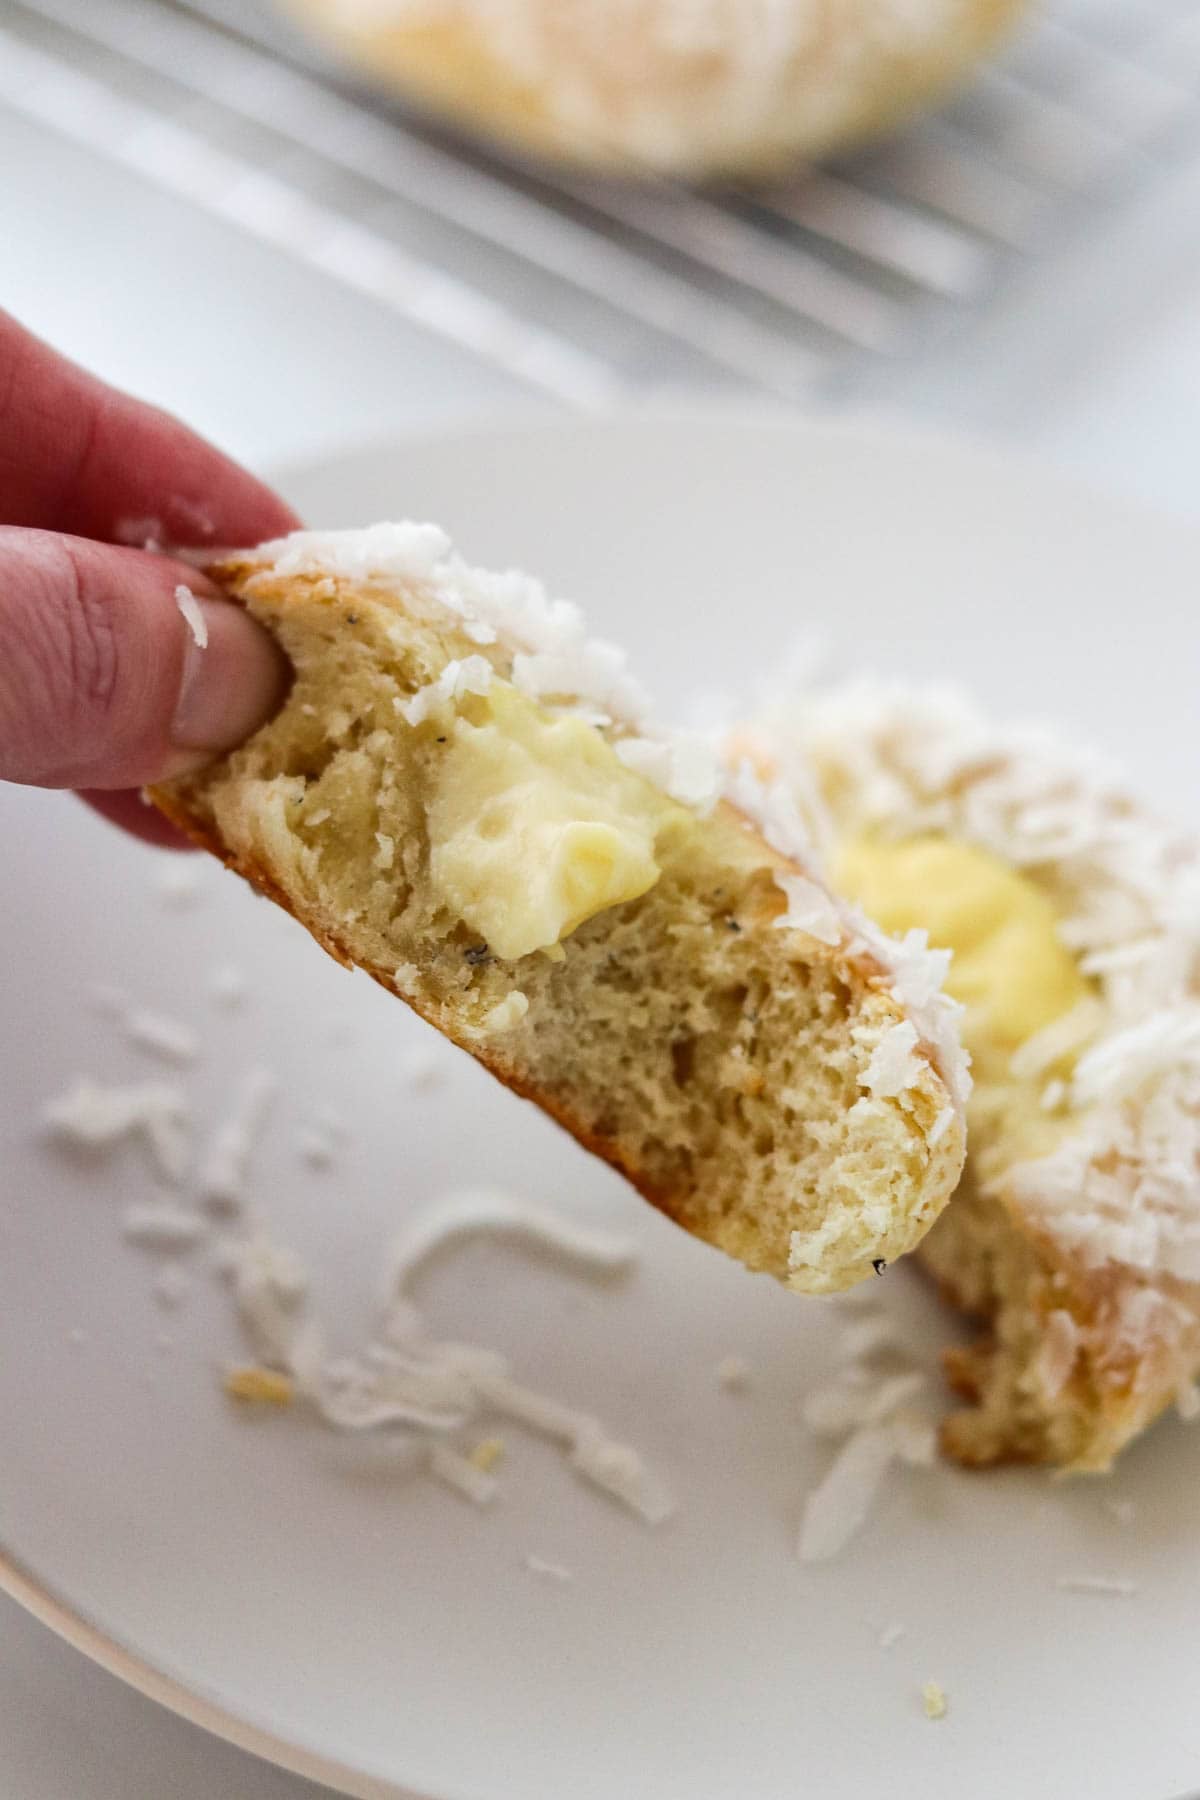
These Norwegian Skoleboller (Custard-Filled Coconut Buns) are sure to become one of your new favorite Scandinavian bakes. Soft cardamom dough surrounds a rich, vanilla pastry cream center, and to top it off...a brush of sweet vanilla icing and a sprinkle of coconut.
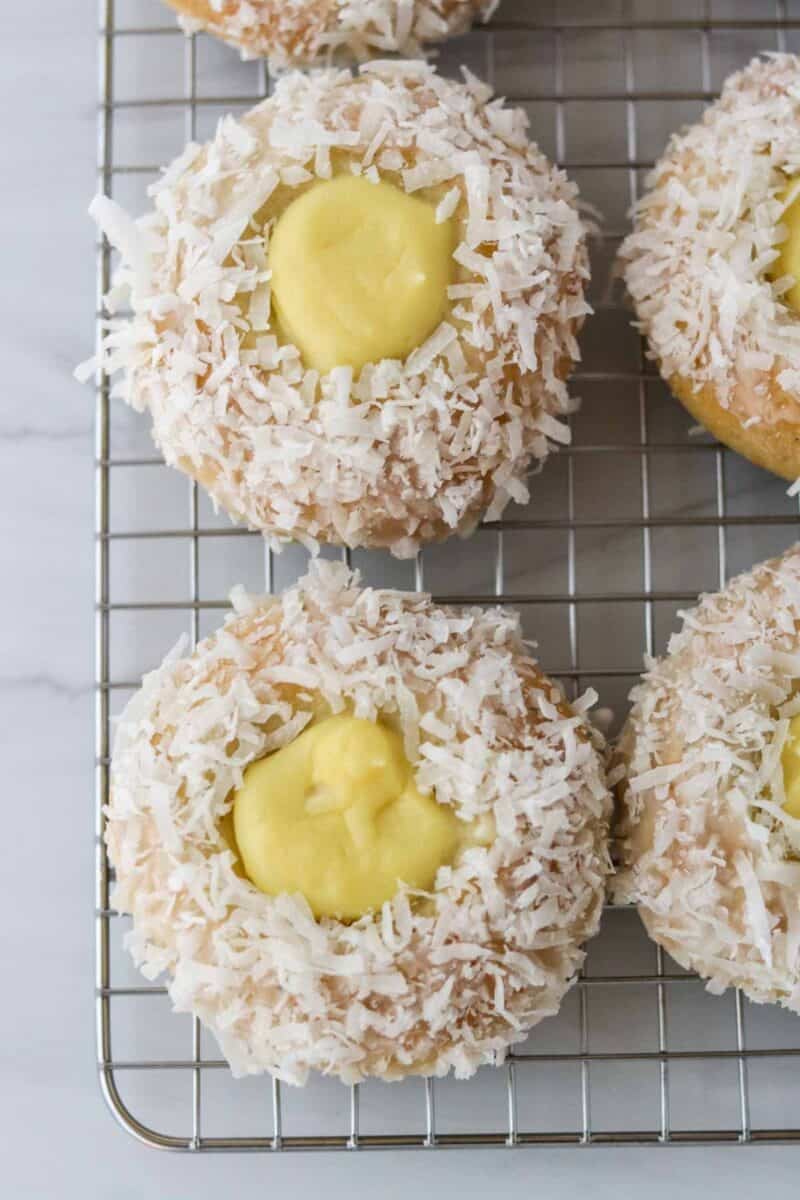
These skoleboller are known as "School Buns" or "School Bread" in Norway. A favorite with children, they are often tucked into a lunchbox as a treat or even served in the cafeteria as part of school lunch. The sweet simplicity of this vanilla bun most certainly has a child-like quality to it, but make no mistake, they are a delicious treat for people of all ages.
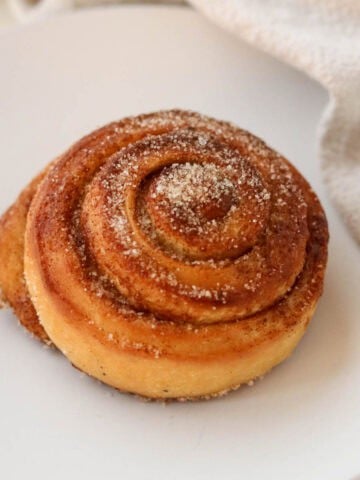
Want to expand your Scandinavian bun recipe repertoire? Check out my recipes for Swedish Cardamom Buns, Fastenlavnsboller (Norwegian Lenten Buns) or Norwegian Cinnamon Buns next! For everything you need to know about Scandinavian sweet buns and links to all of my bun recipes, check out The Ultimate Guide to Scandinavian Sweet Buns here.
Jump to:
Why You'll Love this Recipe
- ♥️ This simple bun dough creates a soft, tender and fluffy bun just like you would find in a Scandinavian bakery
- ♥️ The combination of cardamom, vanilla cream and coconut is comforting and delicious
- ♥️ These buns are easy to shape - no tricky swirling or braiding
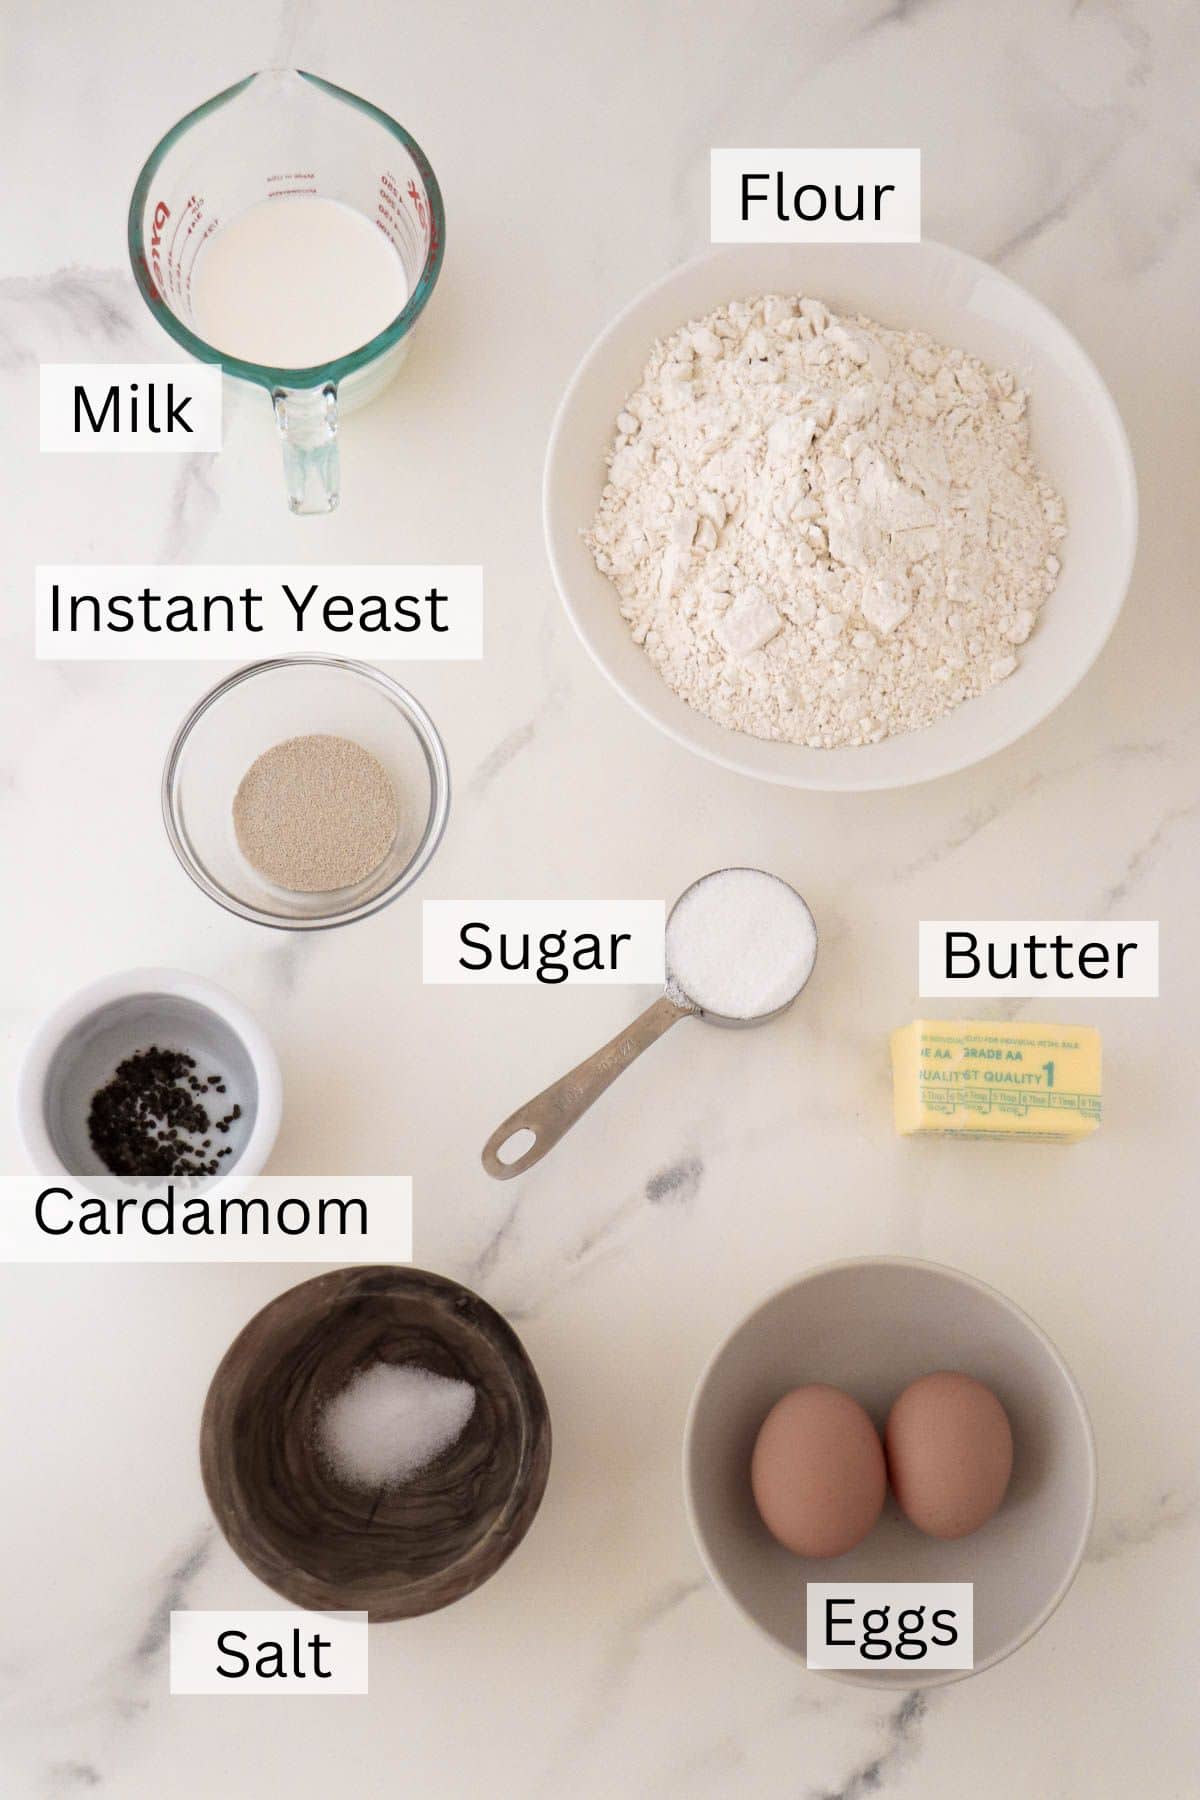
Ingredients
For the Dough:
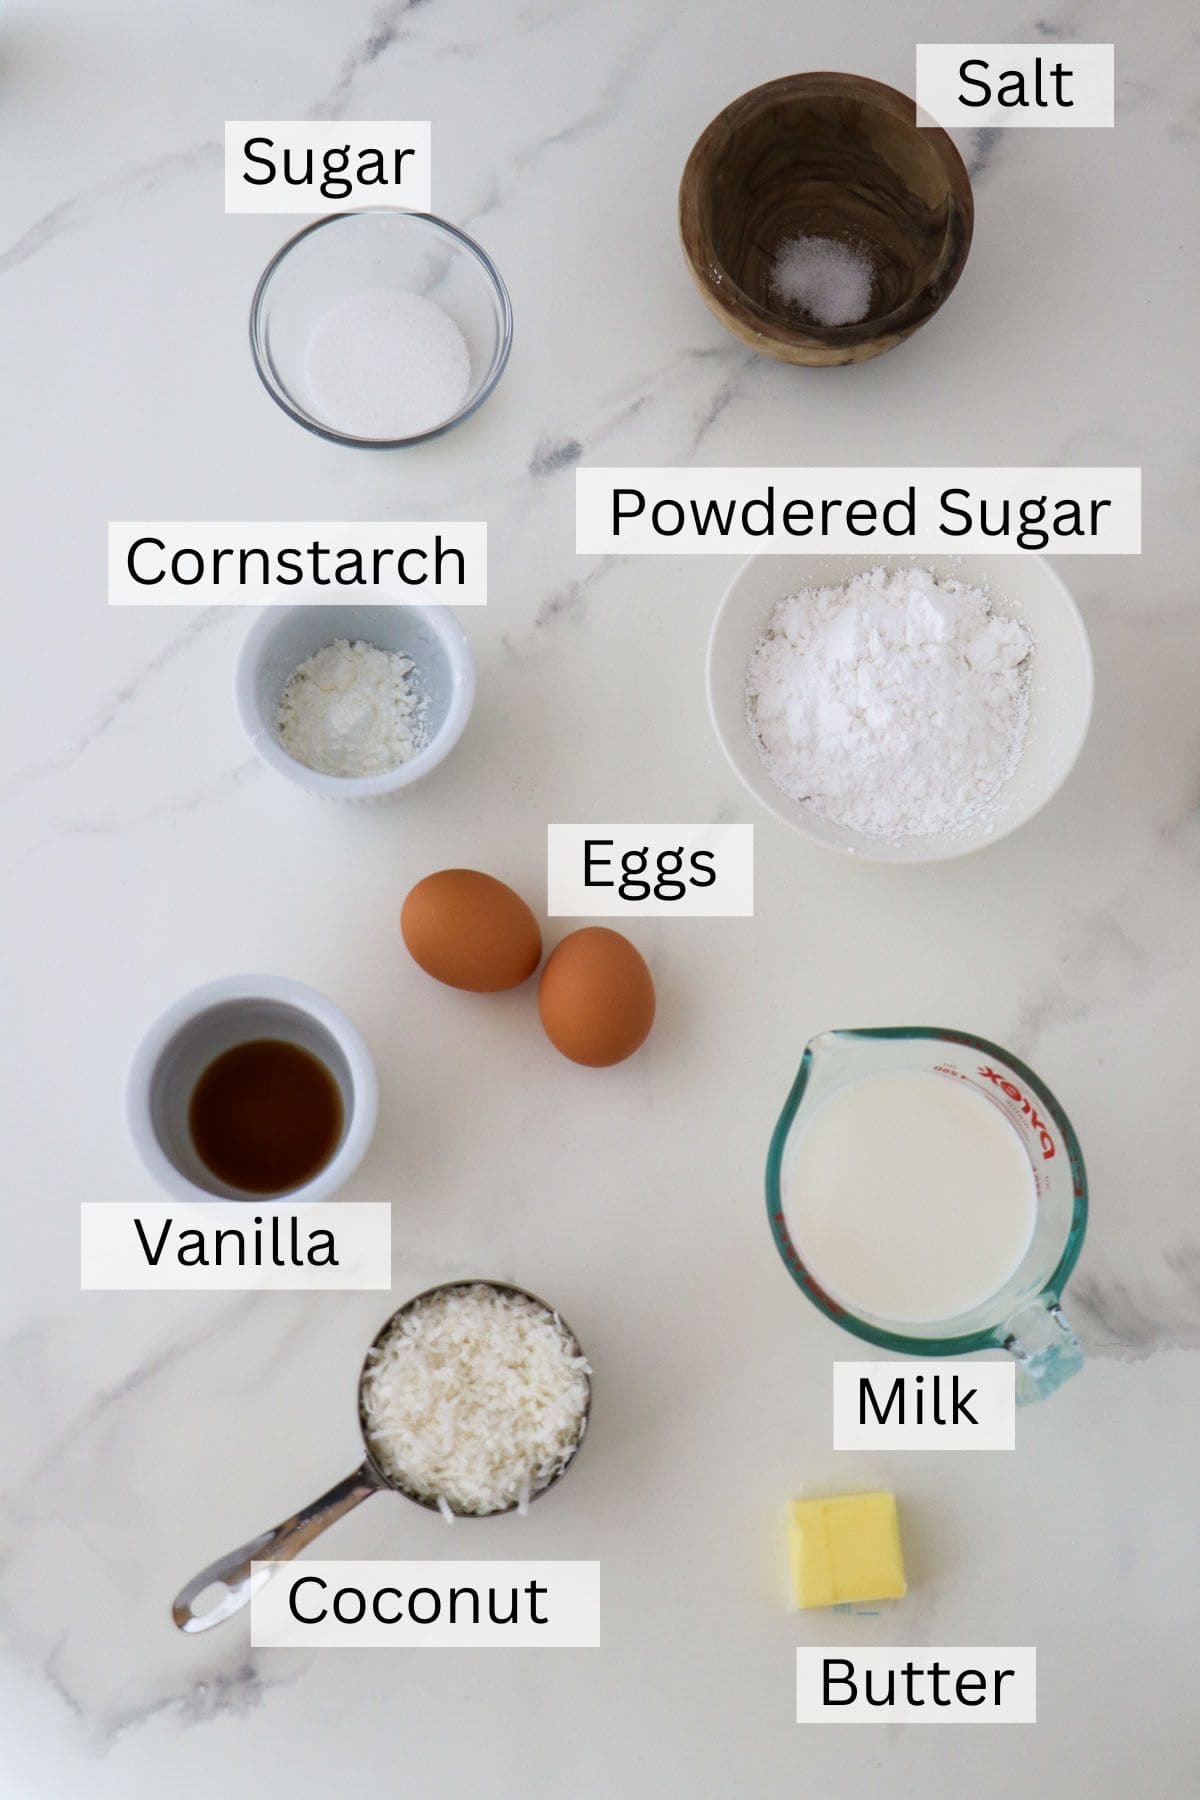
For the Filling and to Finish:
Ingredient Notes:
- Instant yeast is the leavener in this recipe. See the FAQ section below for more information about instant yeast and how to substitute active dry yeast if you prefer.
- Cardamom bring quintessential Scandinavian flavor to the bun dough. You can use pre-ground cardamom here, but grinding the whole cardamom seeds really delivers the best flavor and a bit of welcome texture as they are not as finely ground as the powdery pre-ground cardamom.
- I prefer sweetened shredded coconut for these buns but both unsweetened and sweetened will work.
See recipe card for exact amounts and detailed instructions.
How to Make Traditional Norwegian Skoleboller
- Combine 5 tablespoons of water, 5 tablespoons of milk and 3 tablespoons of flour in a saucepan. Whisk to combine. Heat over medium, whisking constantly, until the mixture turns into a thick paste. Set aside to cool.
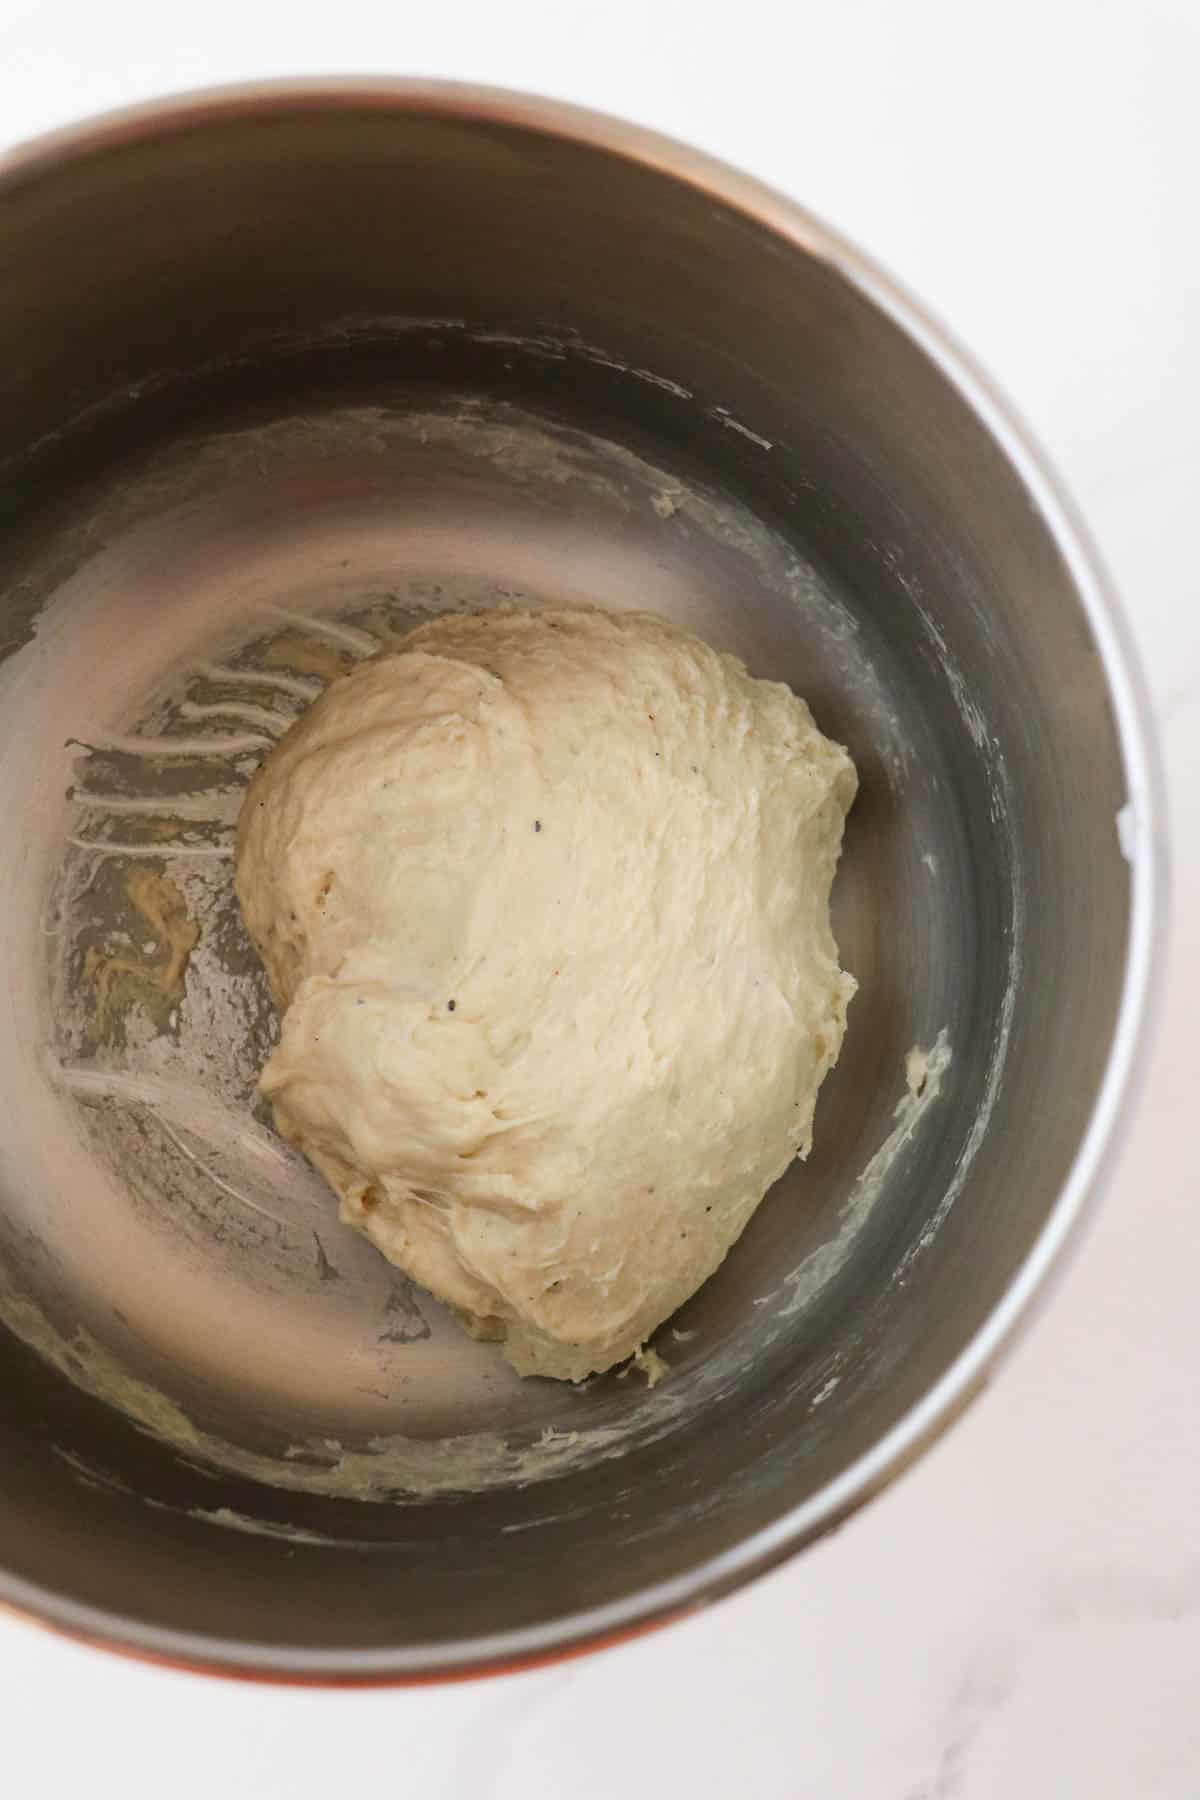
- Whisk yeast, ground cardamom, salt, sugar and flour together in a large bowl. Combine melted butter, milk, egg and cooled tangzhong in the bowl of a stand mixer. Add dry ingredients and mix until fully combined. Increase speed to medium and knead for 4-5 minutes or until the dough is smooth and elastic.
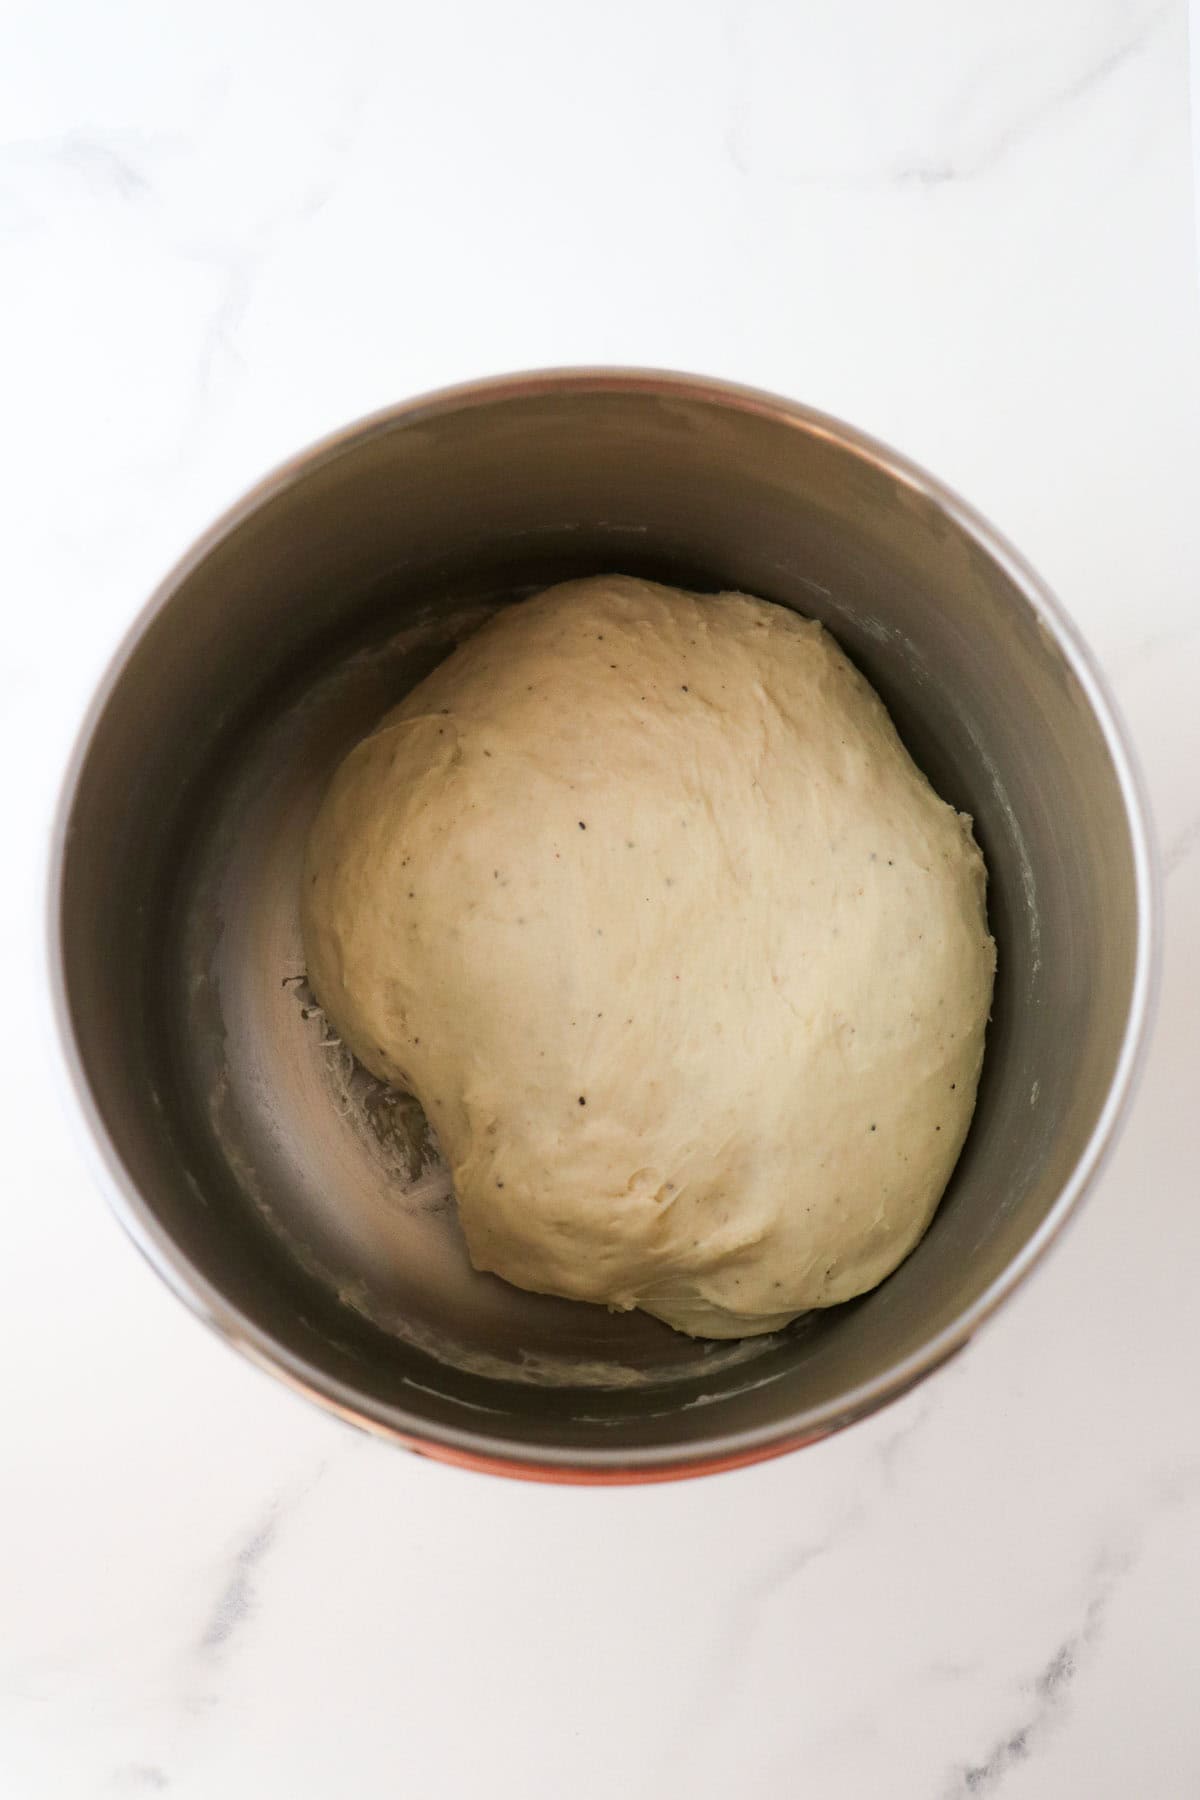
- Cover the dough and let it rise until about doubled in size, approximately 2 hours.
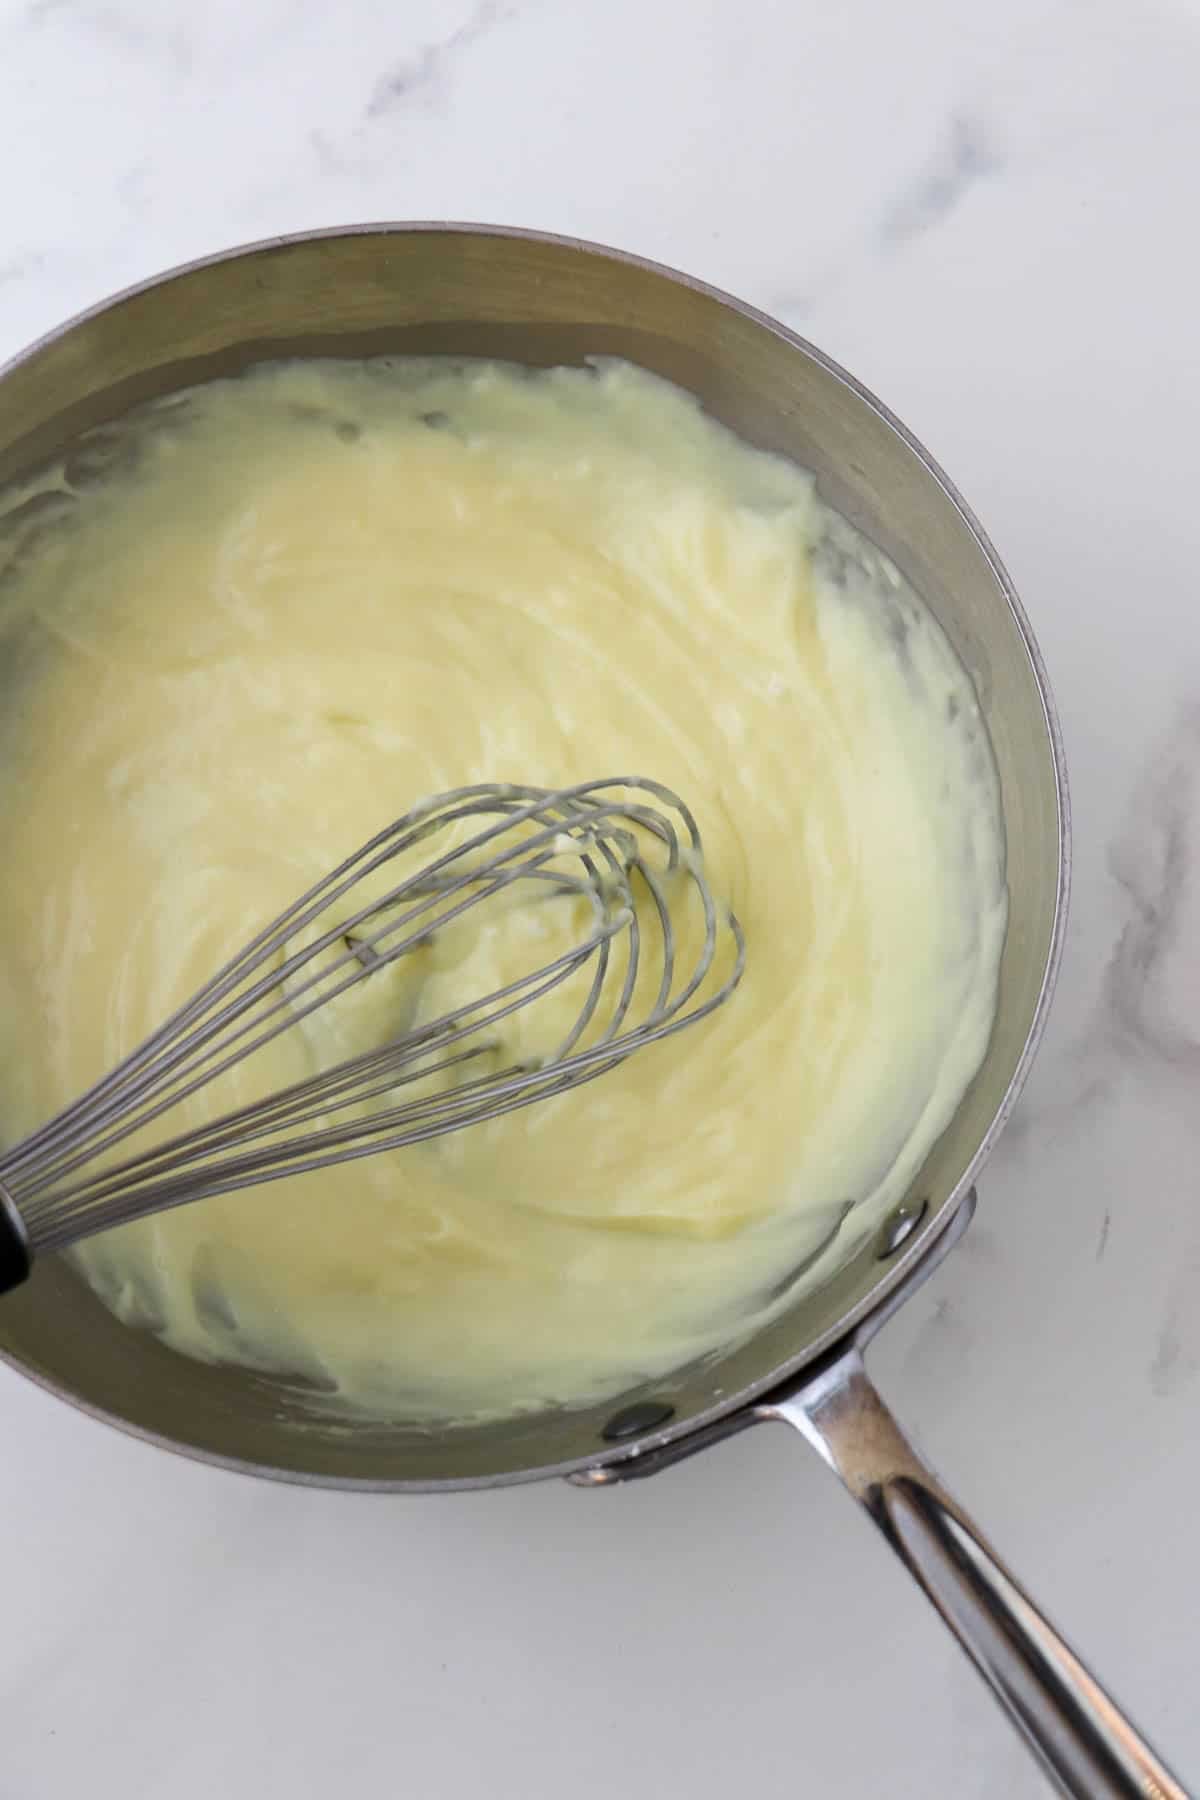
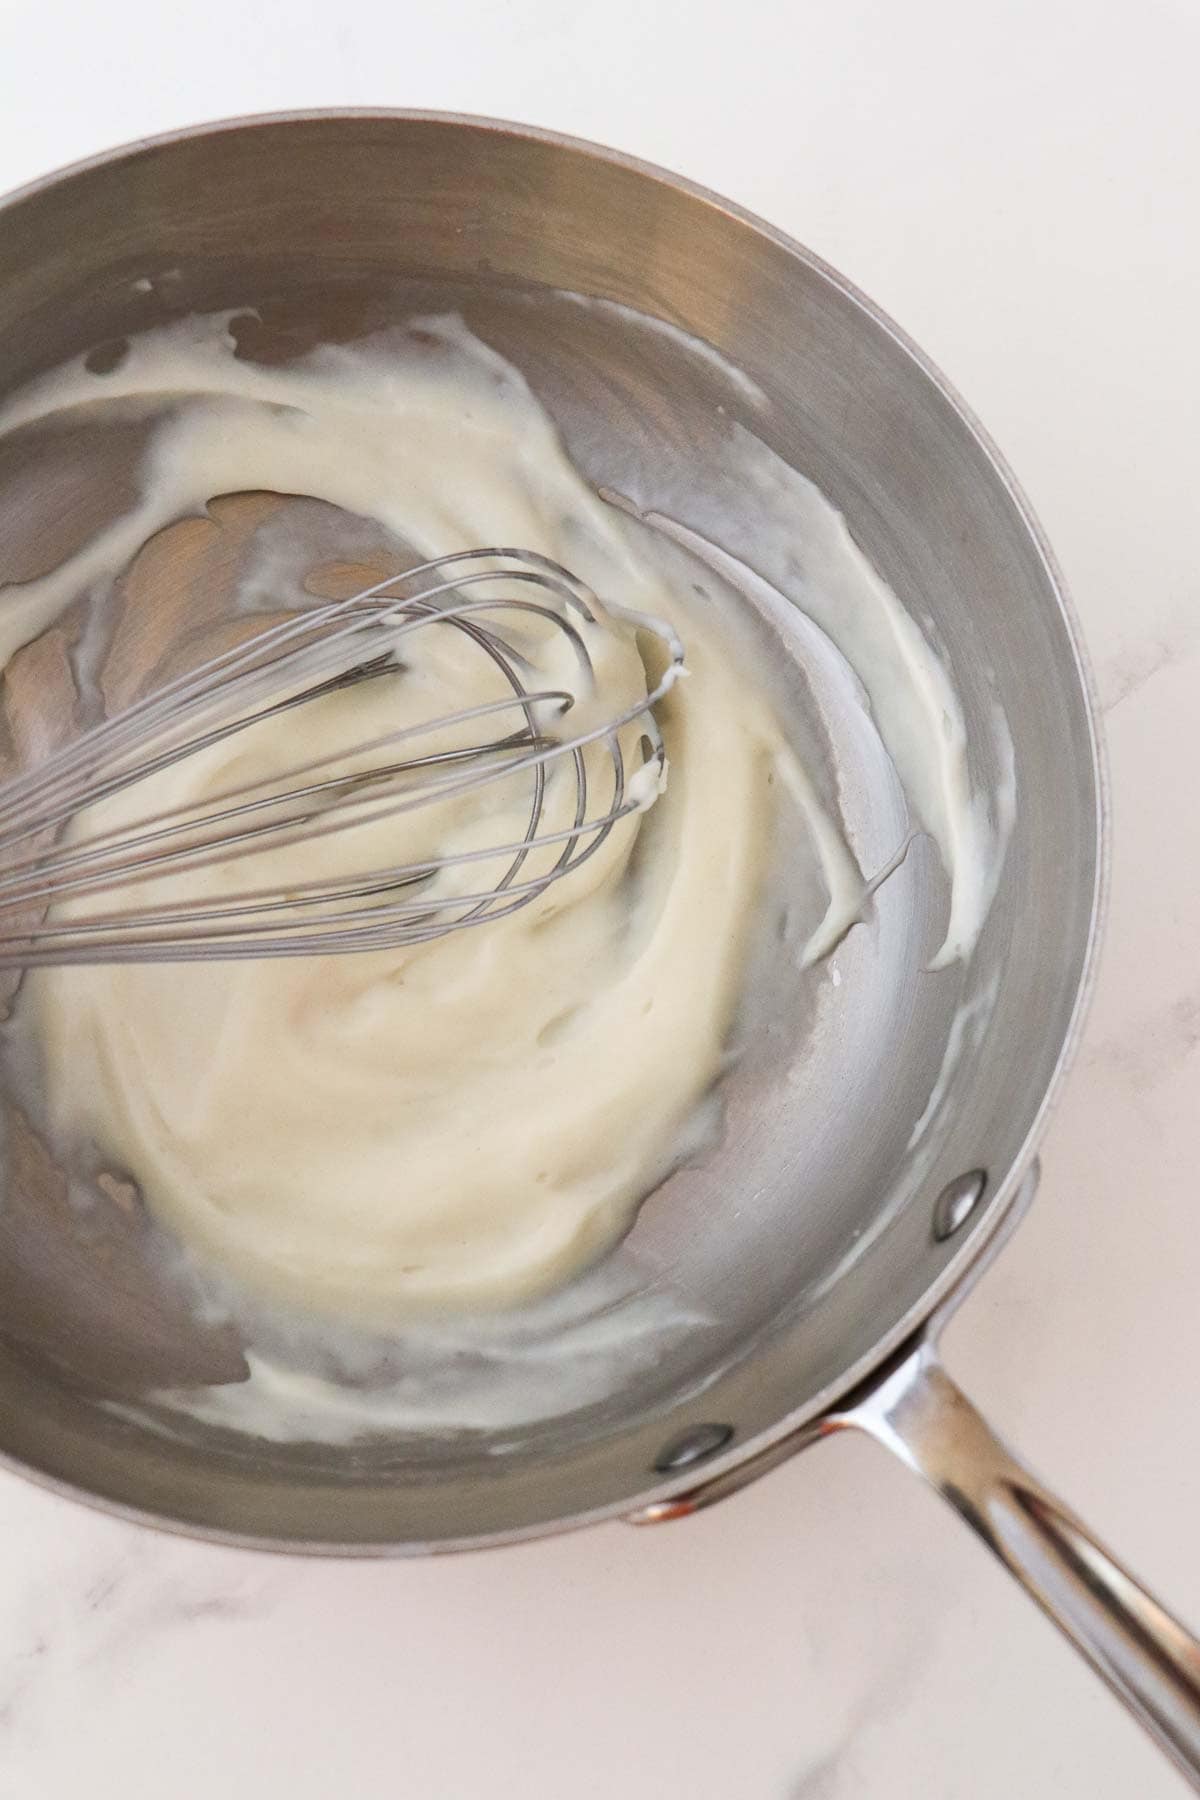
- Meanwhile, make Vanilla Pastry Cream. Cover and chill in the refrigerator until you are ready to use it.
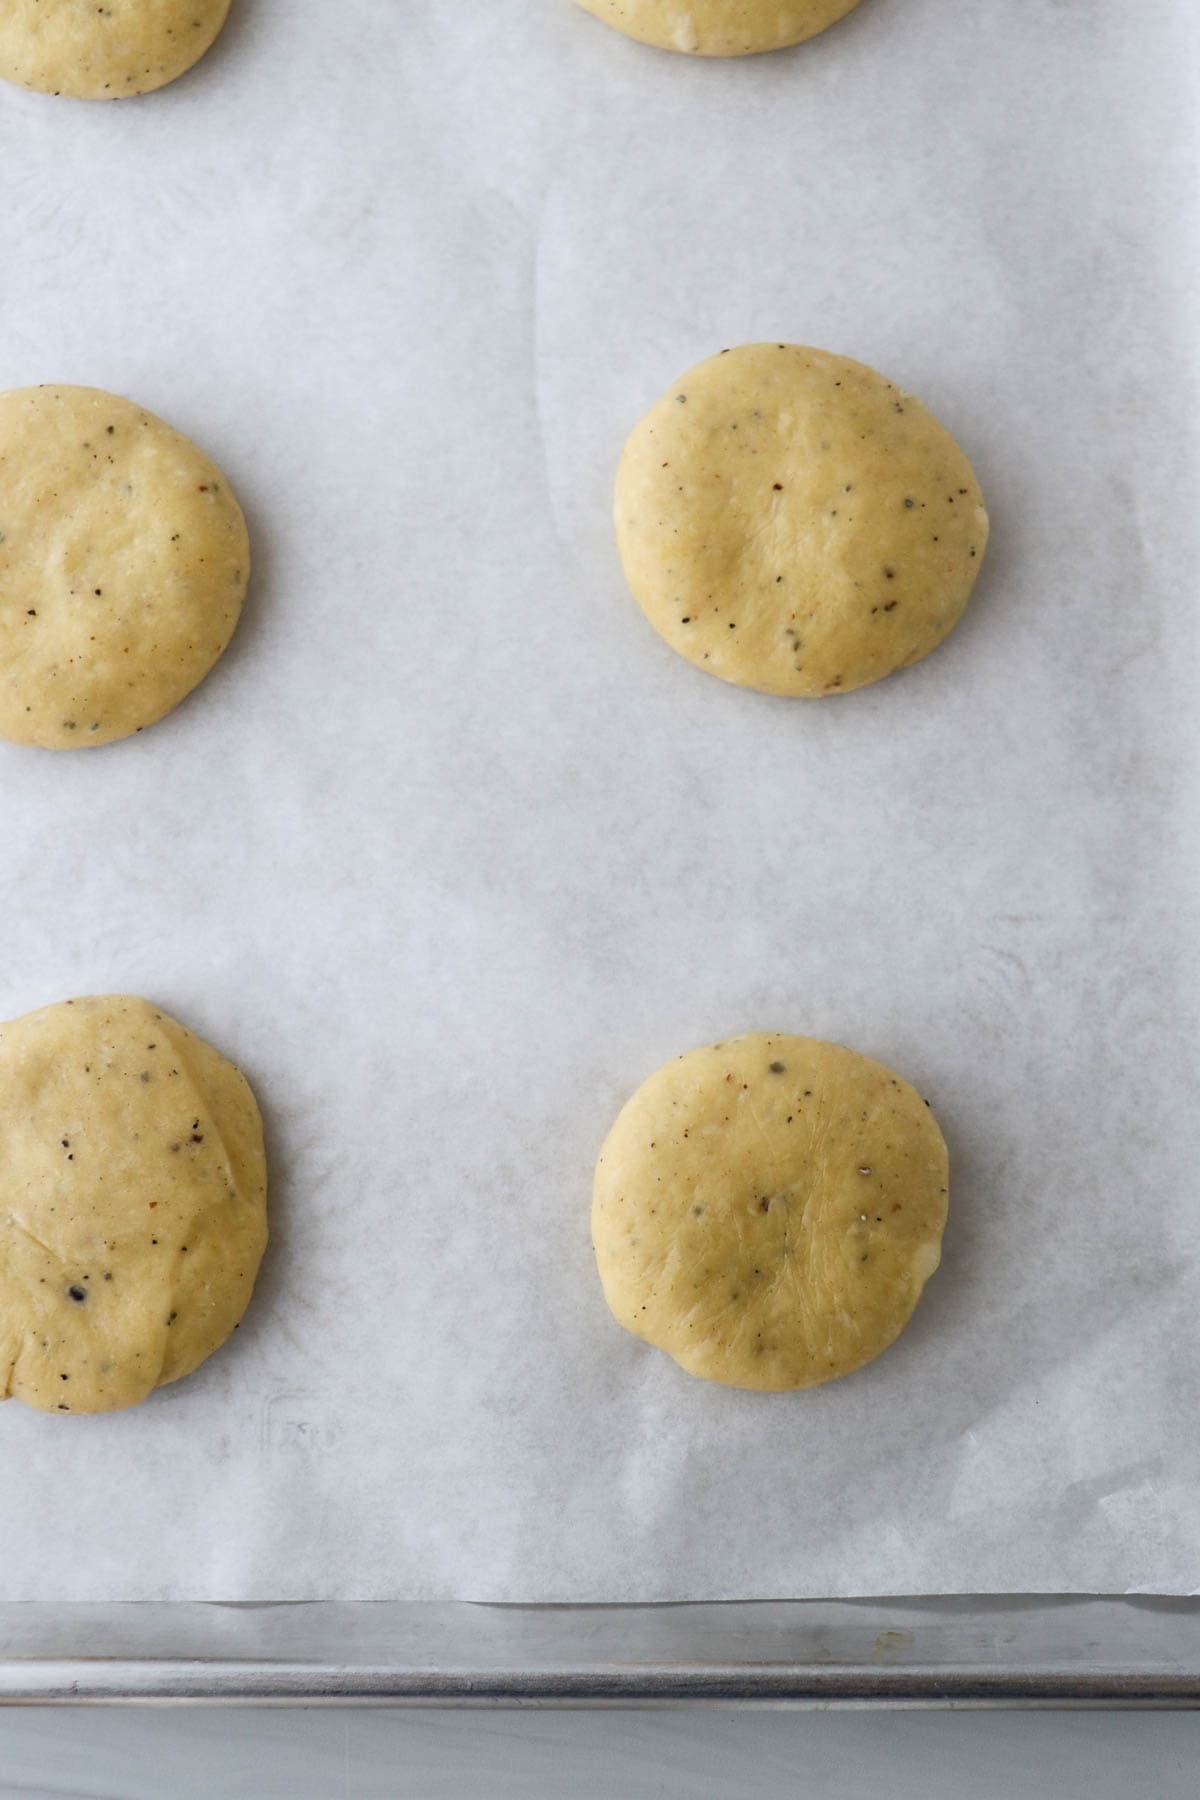
- Once the dough has risen, divide it into 12 equal portions. Roll each portion into a bun shape and flatten into a disk that is about ¾ of an inch thick. Divide evenly between 2 parchment lined baking sheets. Cover gently with plastic wrap and let rise for 30 minutes.
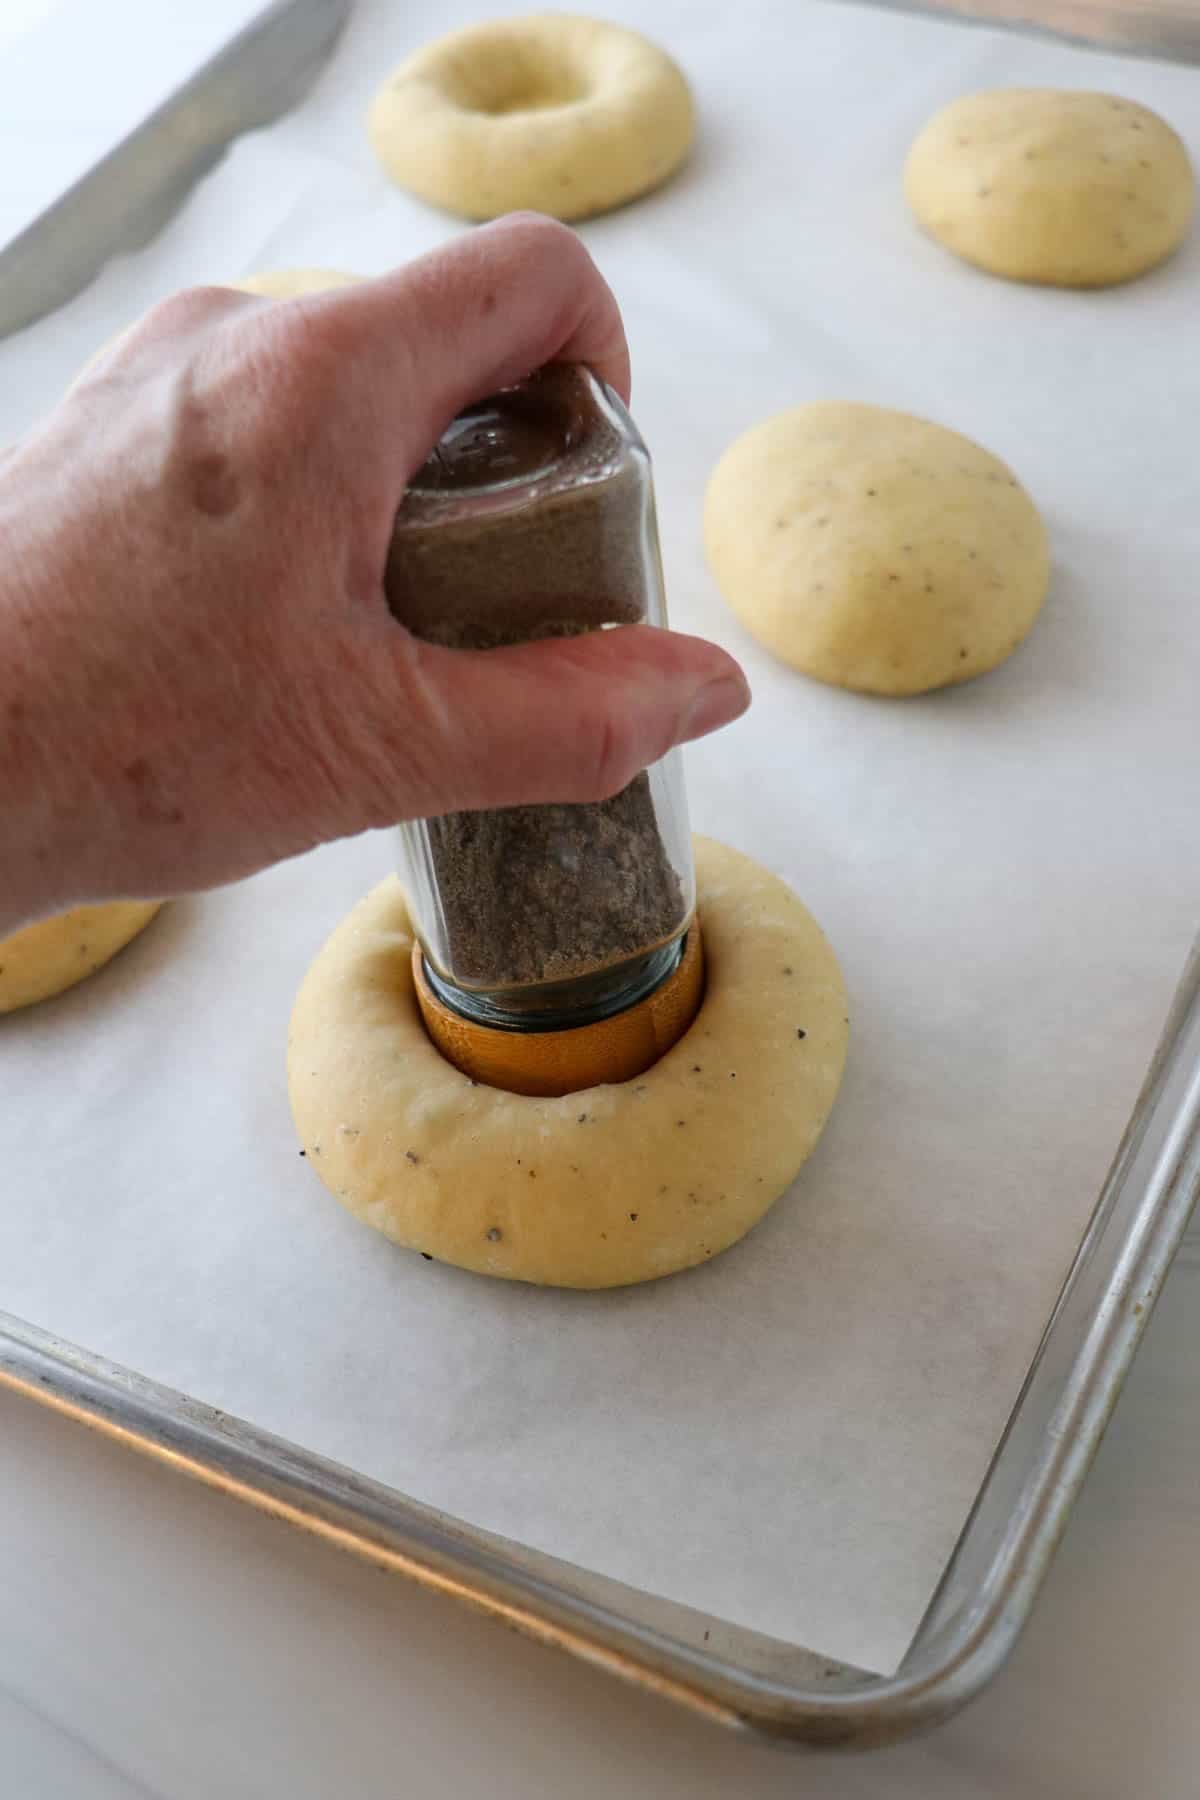
- Press a divot into the top of each disk with the lid of spice jar or something of similar shape. Transfer to a 350 degree F oven and bake for 9 minutes.
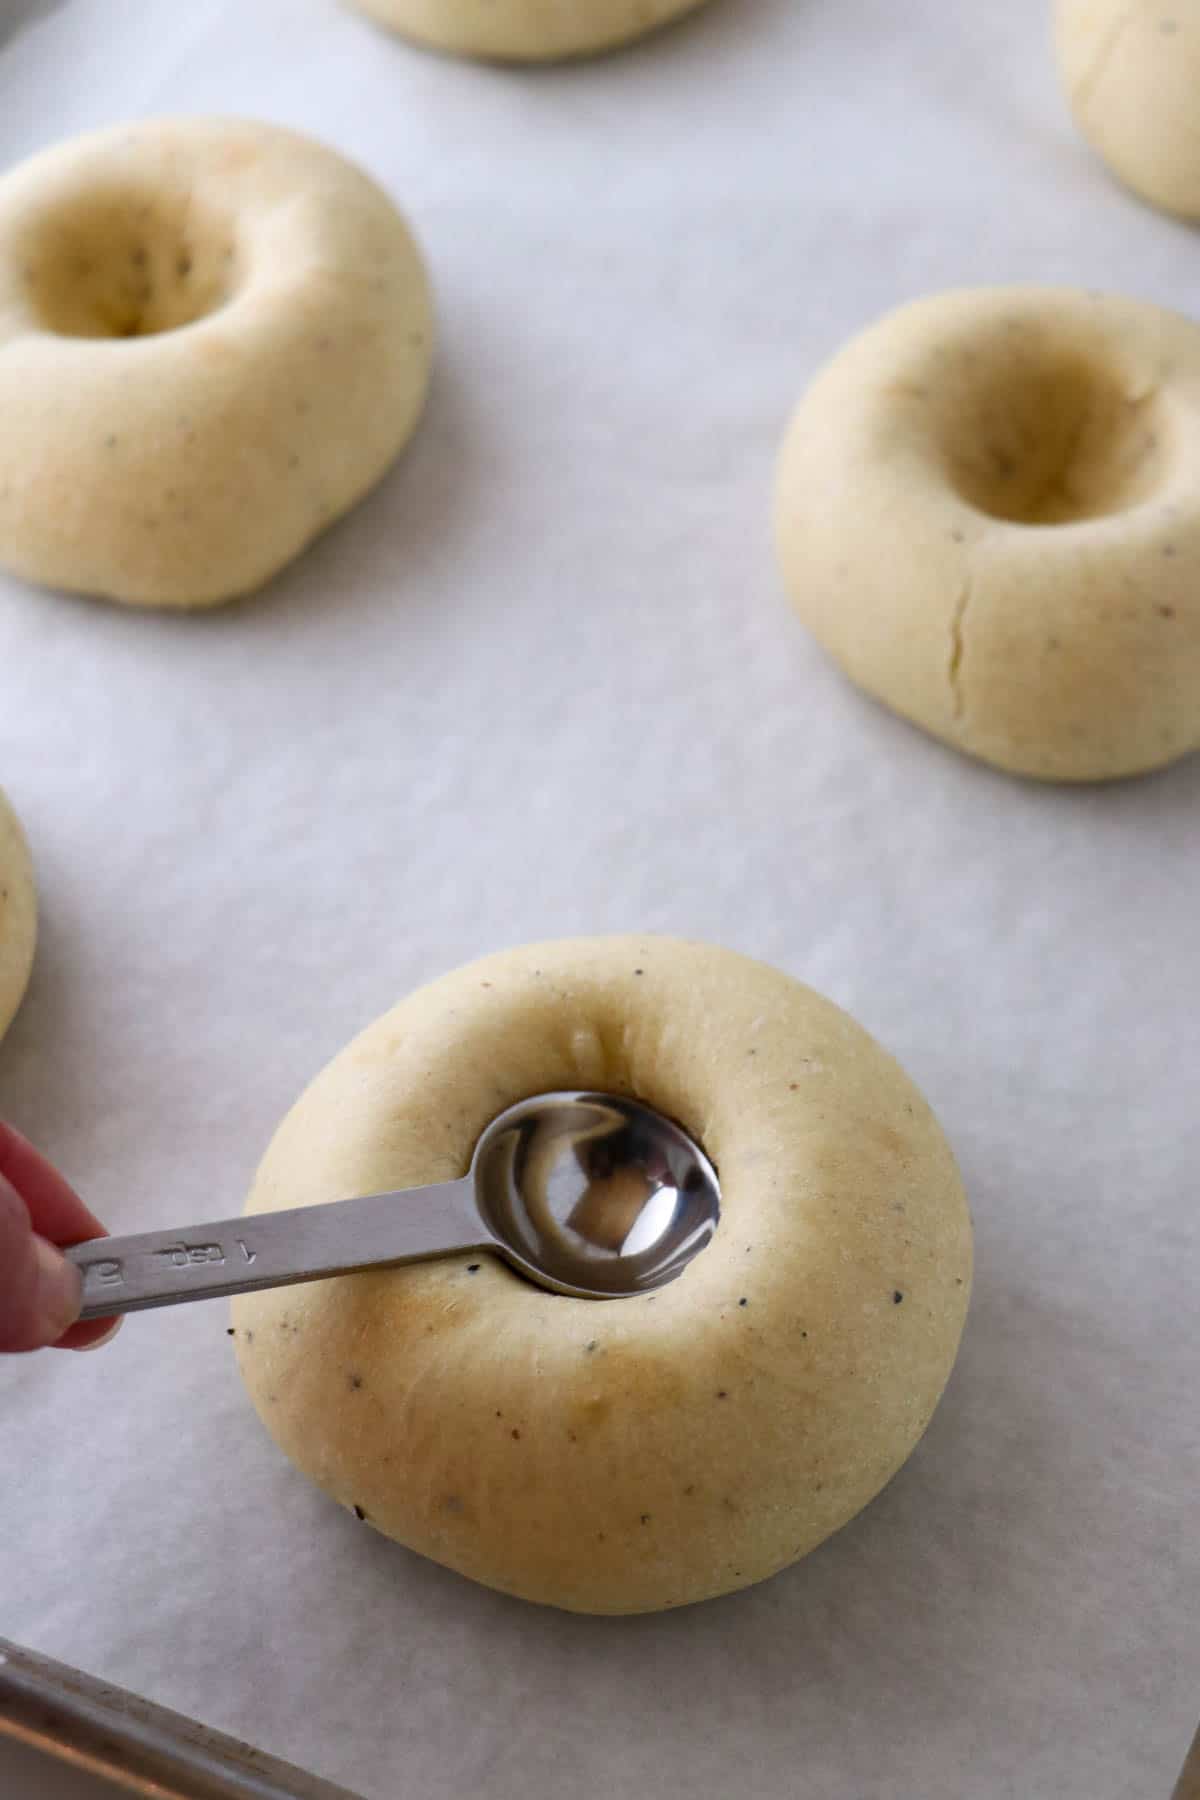
- Remove the partially baked buns from the oven. Reinforce each divot (it will almost have disappeared) in each bun gently with a round teaspoon.
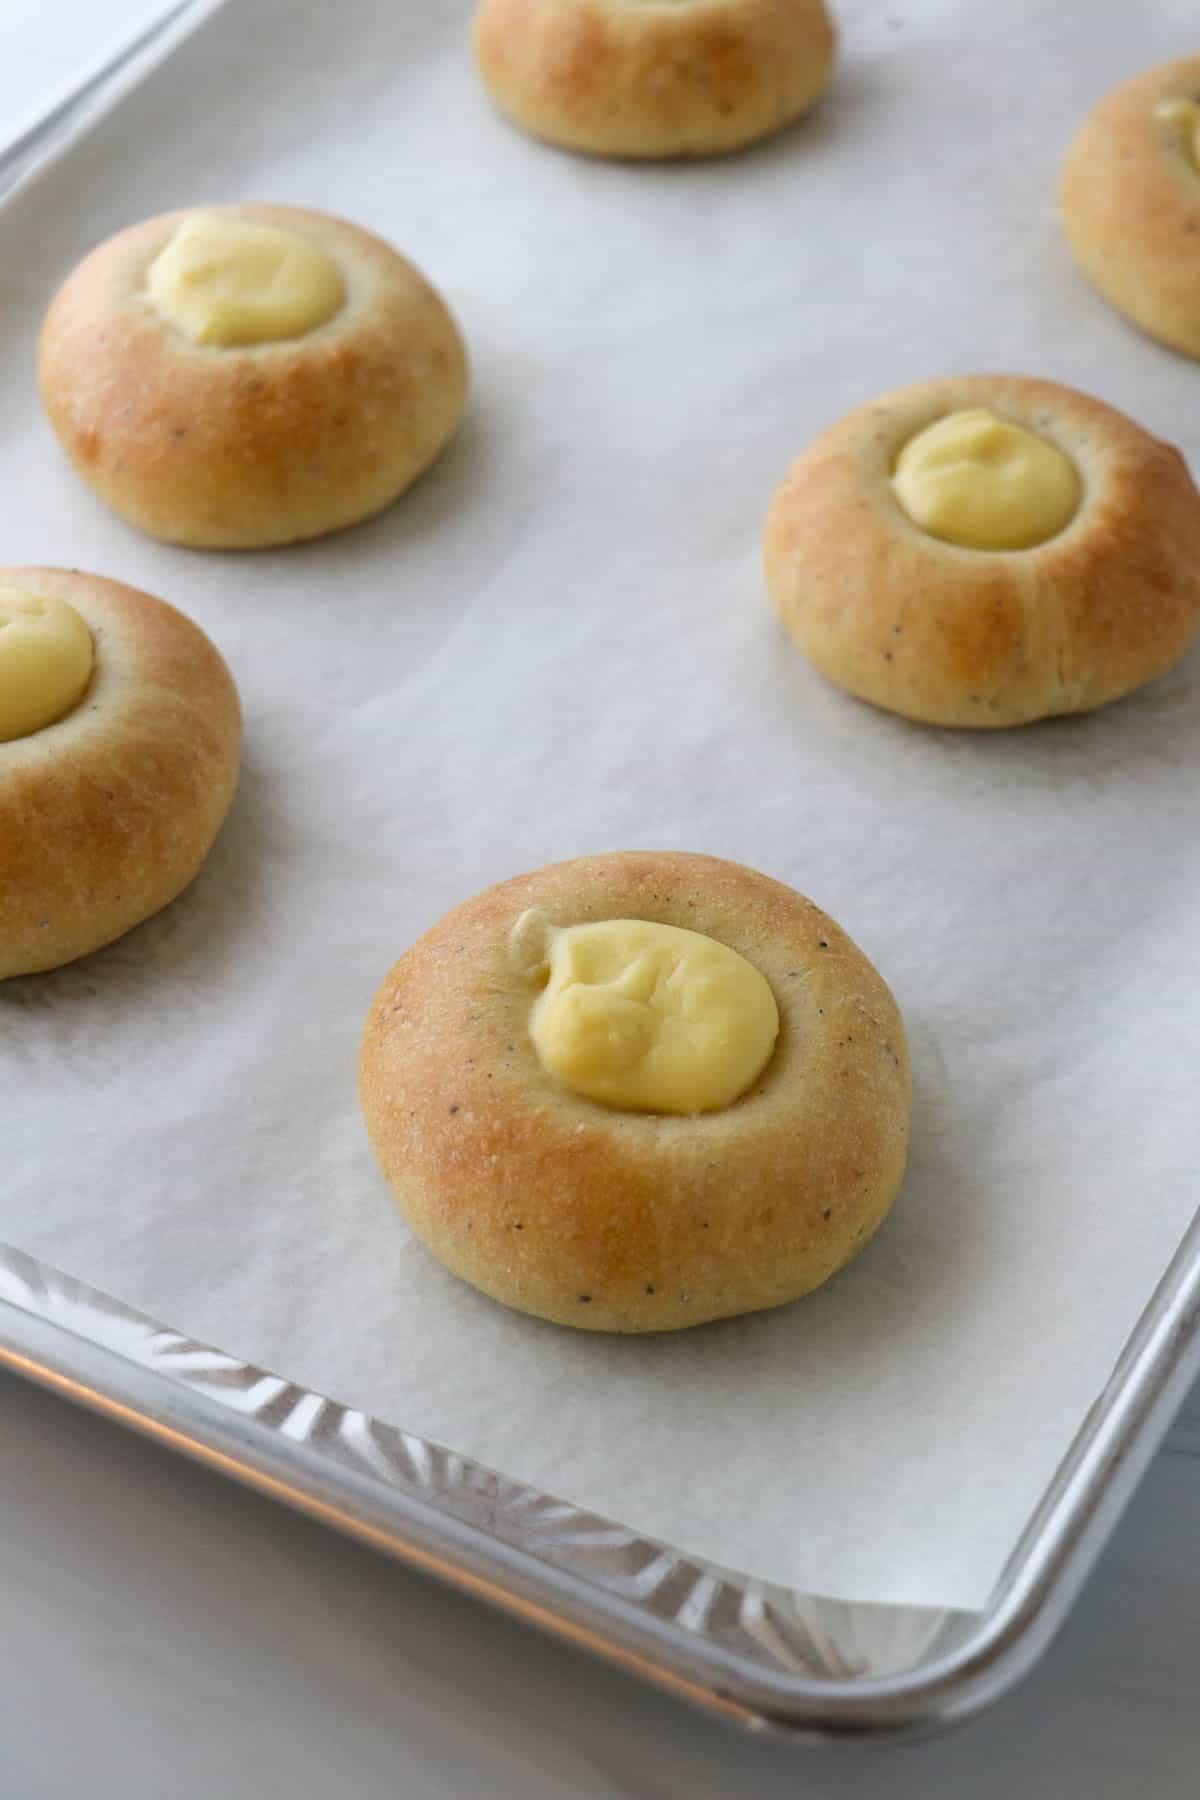
- Fill the divot with a heaping teaspoon of the chilled vanilla pastry cream. Return to the oven for an addtional 9 minutes or until buns are golden brown.

- Let the buns cool to room temperature. Whisk the powdered sugar, milk, salt and vanilla together until smooth. Brush the outside of each bun (not the custard in the center) with the icing and sprinkle with coconut, avoiding the custard center.
- Enjoy!
Expert Tips
- Start with whole cardamom seeds and grind them yourself. I can't stress what a difference this makes. Your buns will have amazing cardamom flavor and be that much more authentic.
- Mix the dough until it is smooth and elastic and slightly tacky (but not sticky) and resist the urge to add more flour. A soft dough is the key to tender buns!
- Be sure to very gently press the teaspoon into the par-baked buns. If you push to hard or try to make too deep of a hole, you are more inclined to get cracks on the outside of the buns. If you do get a few cracks, no worries - they will be covered by frosting and coconut and not visible anyway!
Recipe FAQs
This recipe calls for instant yeast, but you can certainly substitute active dry yeast for the instant yeast by proofing it in the warm milk for about 10 minutes prior to adding it to the dough.
Yes! You have a couple of different options. Either let the dough rise at room temperature until about double in size and then transfer the dough to a 9x13 baking dish and cover it tightly with plastic wrap. Store in the refrigerator until you are ready to shape the buns and proceed with the recipe (up to 24 hours). OR, shape the buns as directed (up to the point that you press the spice jar into each dough round) the night before baking and wrap with plastic wrap. Transfer to the refrigerator until you are ready to bake them the following morning. Be sure to give them 45 minutes or so to warm at room temperature before making the divot in the dough and popping them into the oven.
These buns are at their very best just after baking, but should you have leftovers, these buns should be stored in an airtight container in the refrigerator (because of the custard filling) for up to 2 days. Bring to room temperature or warm slightly before enjoying. Freeze for longer storage (see below for instructions).
Once the buns have cooled completely, pop them in a freezer bag or other freezer-safe container and tightly seal. They will keep for about 3 months in the freezer. To reheat, just set the bun or buns on an ovenproof plate and place in 250 degree oven until warmed through.
Basically a small amount of the flour and liquid (water, milk or a combination of the two) is cooked on the stove for a very short period of time creating a roux-like mixture. This process gelatinizes the starches in the flour allowing them to absorb more liquid and results in a higher rise (hello billowy buns!) and a more tender, moist bun that stays that way for a longer period of time. Check out this blog post for more information on the tangzhong method, why it works and how to use it.
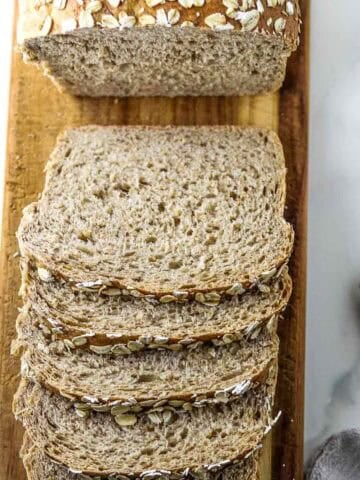
More Classic Norwegian Recipes to Try
Looking to try your hand at some more Norwegian recipes? Give these a try:

If you tried this Norwegian Skoleboller recipe or any other recipe on my website, please leave a 🌟 star rating and let me know how it goes in the comments below. I love hearing from you!
Recipe
Norwegian Vanilla Custard Buns (Skoleboller or Skolebrød)
Ingredients
For the Tangzhong:
- 5 tablespoons water
- 5 tablespoons whole milk
- 3 tablespoons all-purpose flour
For the Dough:
- 6 tablespoons melted unsalted butter cooled
- ½ cup whole milk slightly warm
- 2 teaspoons instant yeast
- 1 teaspoon freshly ground cardamom seeds or ¾ teaspoon ground cardamom
- 1 teaspoon salt
- ¼ cup granulated sugar
- 3 ¼ cups all-purpose flour
- 1 large egg + 1 egg yolk
- All of the Tangzhong cooled
For the Vanilla Custard Filling:
- 2 large egg yolks
- 1 ½ tablespoons unsalted butter
- 4 teaspoons cornstarch
- 1 cup whole milk or half and half
- 2 tablespoons sugar
- Pinch of salt
- 1 teaspoon vanilla extract
For the Icing and Coconut Sprinkle
- ¾ cup powdered sugar
- 1 ½ tablespoons milk or water
- ½ teaspoon vanilla extract
- Pinch of fine salt
- 1 cup of shredded coconut for sprinkling I prefer sweetened coconut
Instructions
- Make the tangzhong: Combine water, milk and flour in a medium saucepan. Whisk until combined and no lumps remain. Place the saucepan over medium heat and cook mixture, whisking constantly, until it thickens, about 1-2 minutes. Set aside to cool.
- Make the dough: While the tangzhong cools, begin preparing the rest of the ingredients for the dough. Whisk the yeast, cardamom, salt, sugar and flour in a medium bowl. Set aside.
- Attach the dough hook or roller to the mixer. Add melted and cooled butter, milk, egg, egg yolk and the cooled tangzhong (it can be slightly warm to the touch) to the mixing bowl. Mix on medium low until combined. Add the dry ingredients to the wet and mix until the dough just comes together.
- Increase mixer speed to medium and knead mixture for 3-4 minutes or until dough is slightly tacky but not sticky and clears the side of the bowl. It's okay if it's sticking to the bottom of the bowl slightly. Add an extra tablespoon of flour as necessary if your dough seems too sticky. You can also mix and knead the dough by hand but it will take longer, more like 8-10 minutes.
- Cover the bowl with plastic wrap and allow the dough to rise for about 2 hours or until it is 1 ½ or 2 times its original size. The time will largely depend on the temperature of your kitchen.
- Meanwhile, make the Vanilla Custard Filling: Combine the egg yolks, butter, cornstarch, half and half, sugar and salt together in a medium saucepan. Place the pan over medium low heat and whisk constantly until mixture is smooth and thick, about 3-5 minutes. Strain mixture through a fine mesh strainer into a clean bowl. Stir in vanilla. Place a piece of parchment paper directly on top of the pastry cream, followed by a layer of plastic wrap (this prevents the custard from forming a skin). Refrigerate until you are ready to use. (The Vanilla Custard Filling can be made 1-2 days in advance.)
- Once the dough has risen, preheat the oven to 350 degrees. Line two baking sheets with parchment paper. Remove the dough from the bowl and place it onto a clean, unfloured countertop. Divide the dough into 12 equally sized pieces. Form each piece into a loose ball and flatten so that it is a puck shape that is about ¾ inch thick. Cover and let the buns rise for 40 minutes at room temperature.
- Using a spice jar lid or something of similar size, press into the center of each bun to create a defined well. Transfer buns to the oven and bake for 9 minutes. Remove the buns from the oven and carefully use a rounded metal teaspoon to reform the well (it will have almost disappeared as the buns rise in the oven). Fill each well with a heaping teaspoon of the Vanilla Custard Filling. Return to the oven and continue to bake until golden brown, about 9 minutes more. Remove the buns from the oven and allow them to cool to room temperature.
- Meanwhile, make the Icing: Whisk all ingredients except coconut together in a medium bowl until smooth. Using a pastry or basting brush, brush each bun with icing around the custard center. Sprinkle with coconut, avoiding the center. Serve and enjoy!


Outstanding and worth the effort! A distinctive treat sure to delight and impress.
Thanks, Steve! I'm so glad you enjoyed them.
Kristi
Love these custard buns! They remind me of our visit to Norway.