
Gluten-Free Seed Crackers (Norwegian Crispbread)
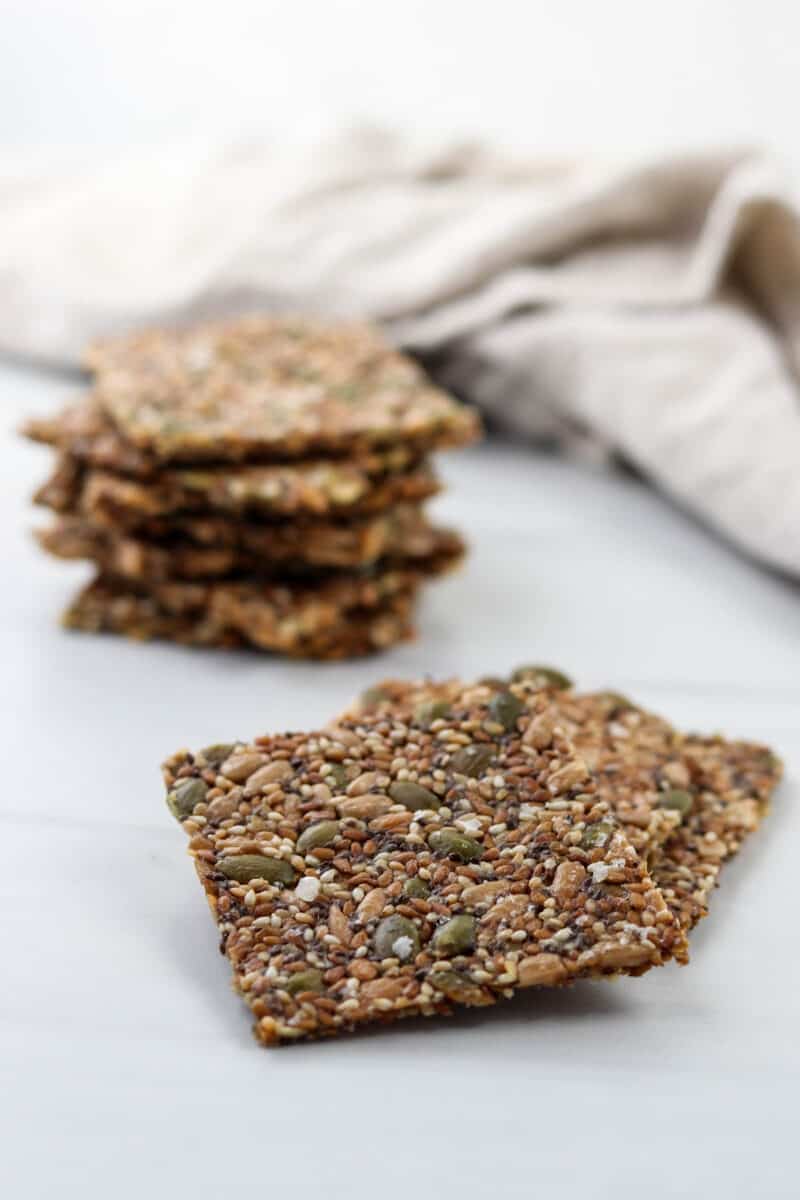
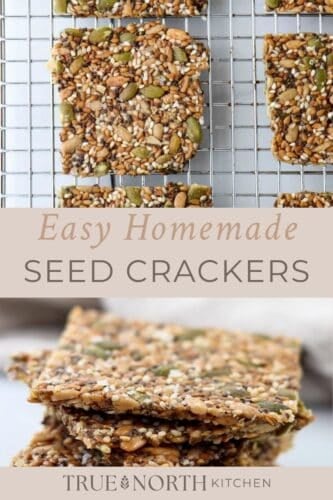
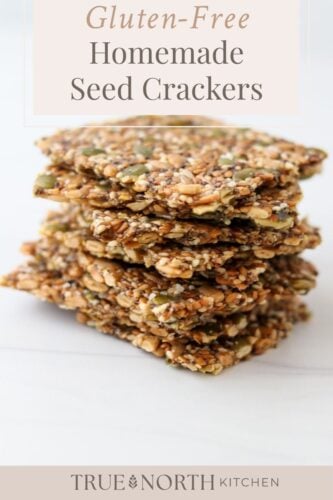
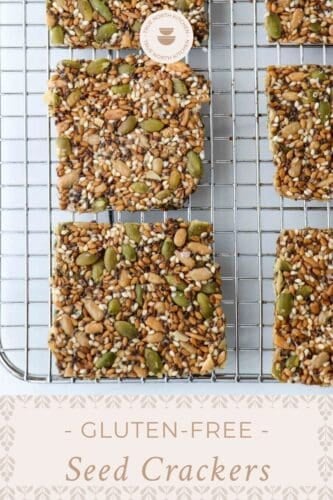
Whether you call these Gluten-Free Seed Crackers or Norwegian Crispbread (Knekkebrød), these golden, crispy seed crackers are a dream, both to make and to eat! 5 different varieties of seeds come together with the help of a little water and cornstarch to create one of the best homemade gluten-free crackers you'll ever have the pleasure of eating.
And the good news is that the process for making them couldn't be easier! I'm talking no more than 10 minutes of hands-on time here. Grab ALL THE SEEDS, a bowl and a sheet pan and let's get started.
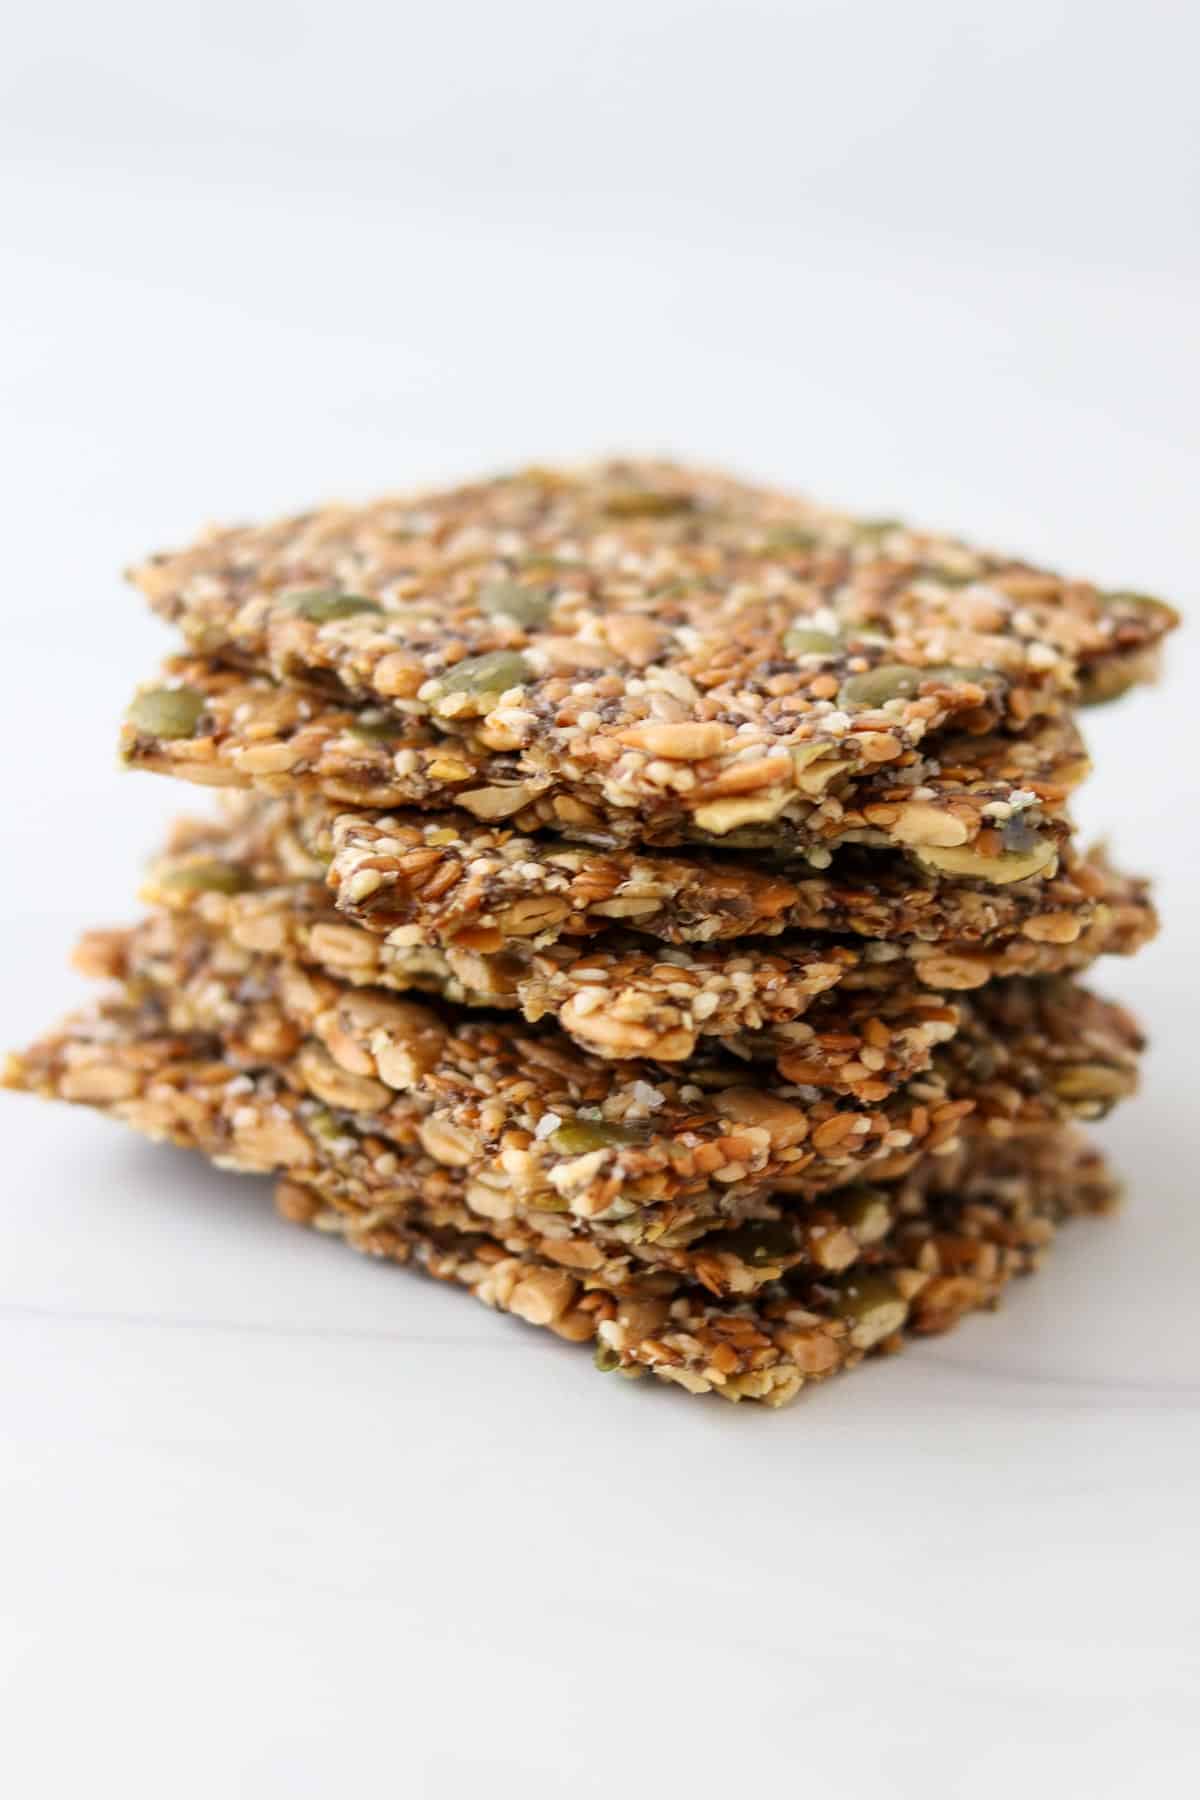
Scandinavians eat a lot of crispbread, Swedes boasting the highest consumption, closely followed by Norway. It is considered a form of bread, not just a cracker, and serve it for breakfast, lunch, dinner and as a snack in between meals. It is often made with rye flour but can also include wheat, oats or barley and/or a variety of seeds such as flax or sunflower.
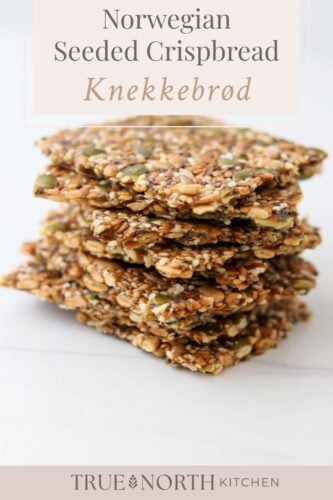
Norwegian Crispbread (Knekkebrød) is often made as a hearty seed cracker that is bound together with rye flour. This recipe is quite simply a gluten-free version which substitutes corn starch for the rye flour.
Ingredients
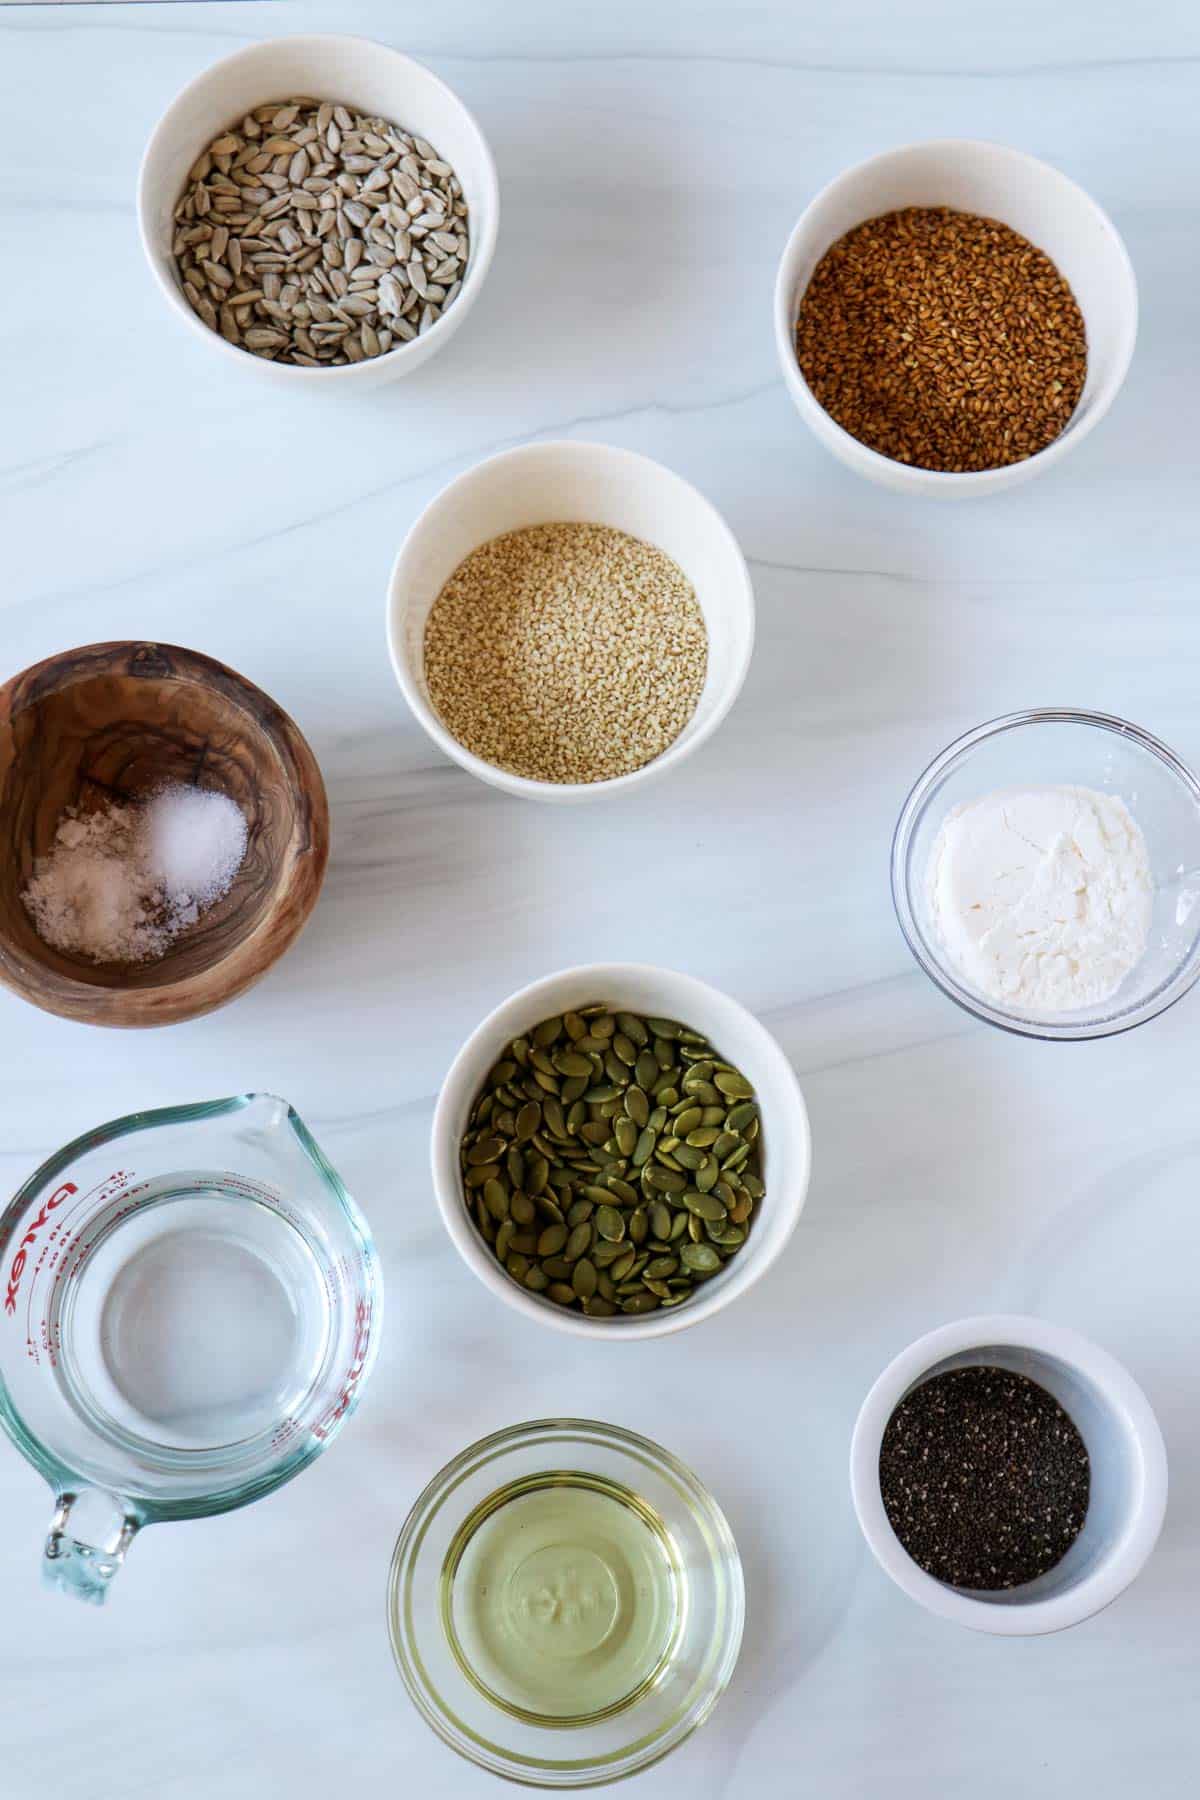
- The stars of the show here are the seeds: Pumpkin (pepitas), sunflower, flax, sesame and chia. We've got them all!
- Cornstarch helps bind the crackers together and keep them light and crispy. In the UK, Europe and Australia, cornstarch is often sold as cornflour. Be sure to use the fine white cornflour, not yellow cornmeal or course corn flour.
- Vegetable oil (or any other neutrally-flavored oil such as Canola) helps them brown and crisp in then oven.
See recipe card for exact amounts and detailed instructions.
Variations and Substitutions
- Garlic and Herb: Add ½ teaspoon garlic powder and a teaspoon of dried rosemary or thyme to the dry mixture.
- Everything Bagel: Sprinkle 1-2 tablespoons Everything Bagel seasoning over the top prior to baking in place of the sea salt.
- Arrowroot Starch: You can replace the cornstarch with arrowroot starch if you prefer. It is a 1:1 substitution with other changes needed to the recipe.
Special Equipment Needed
- Parchment paper
- 13x18 Rimmed baking sheet
- Small offset spatula (not essential but helpful)
How To Make Gluten-Free Seed Crackers (Norwegian Crispbread)
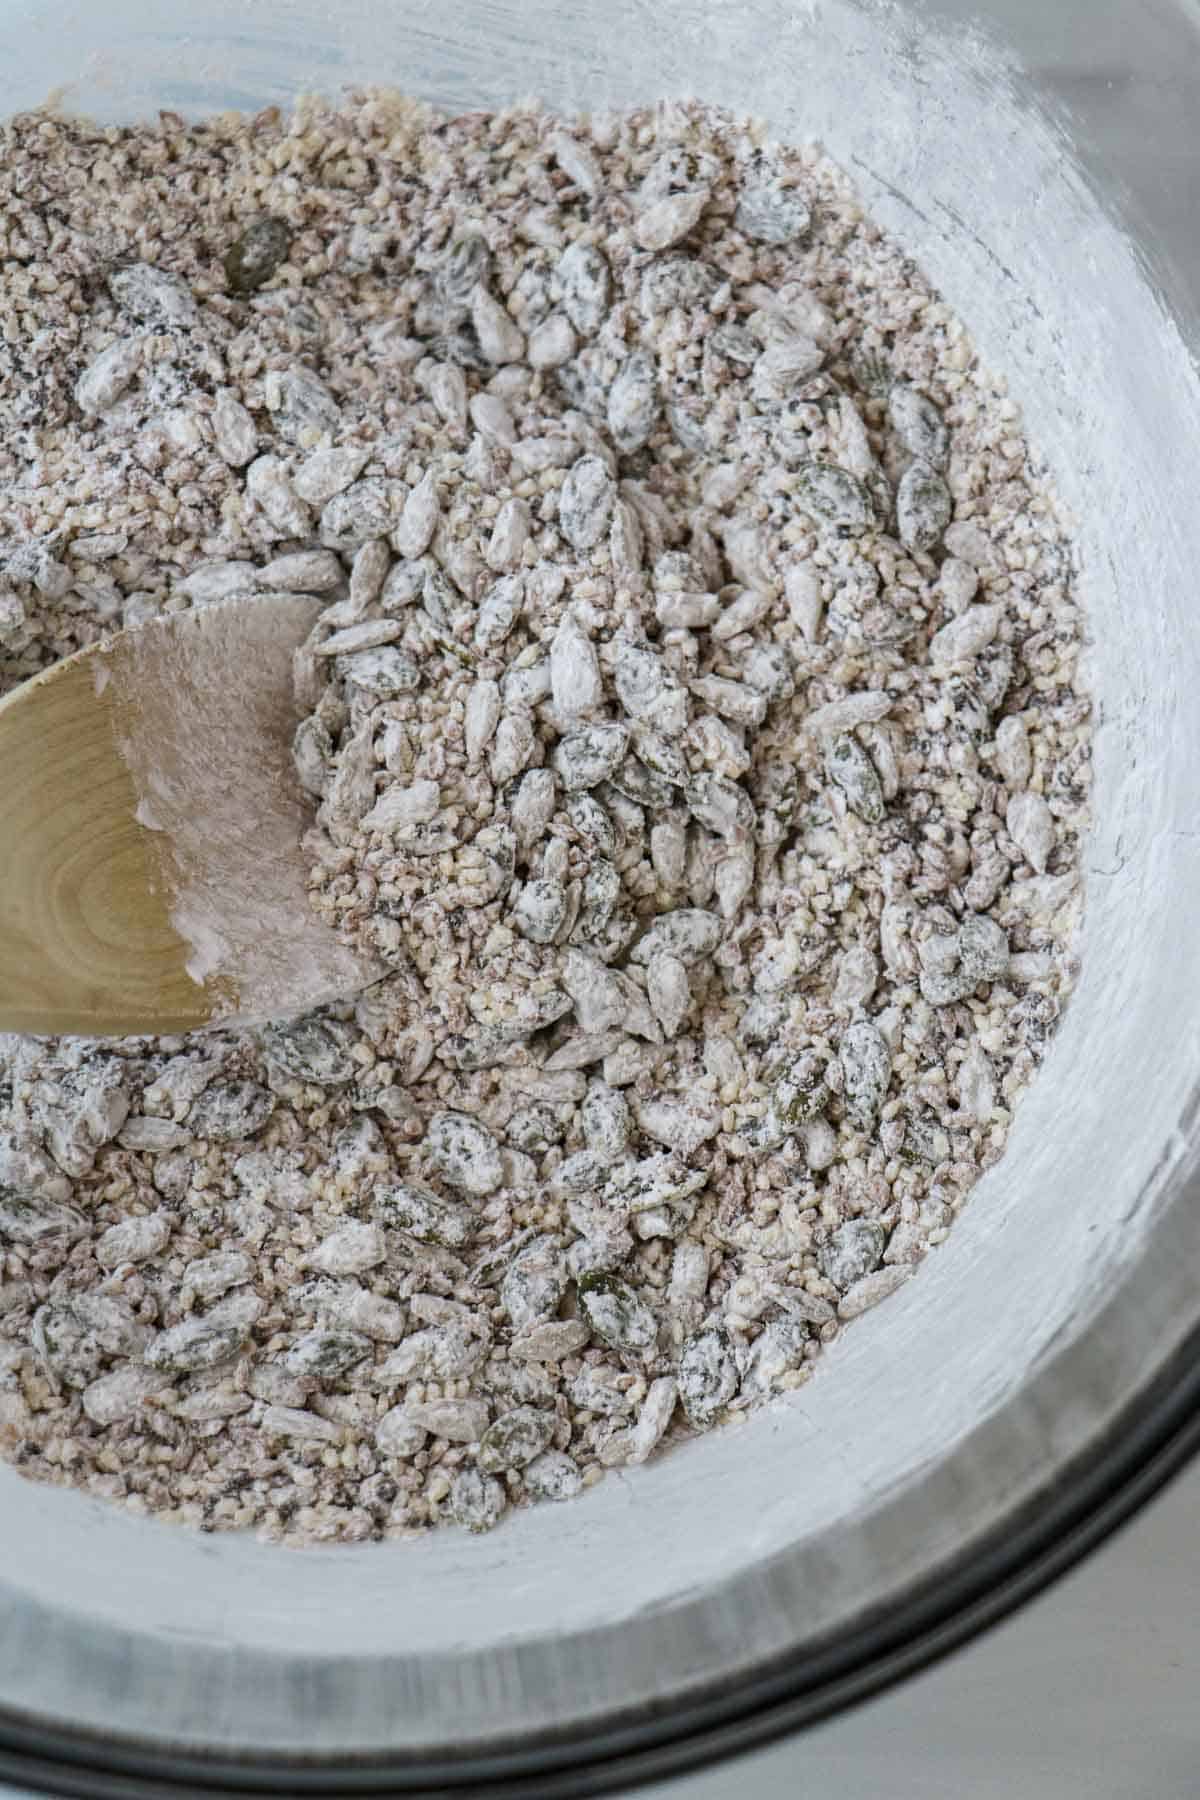
- Preheat the oven to 275 degrees. Line a rimmed baking sheet with parchment paper and set aside. Put all of the dry ingredients in a large bowl. Stir to combine.
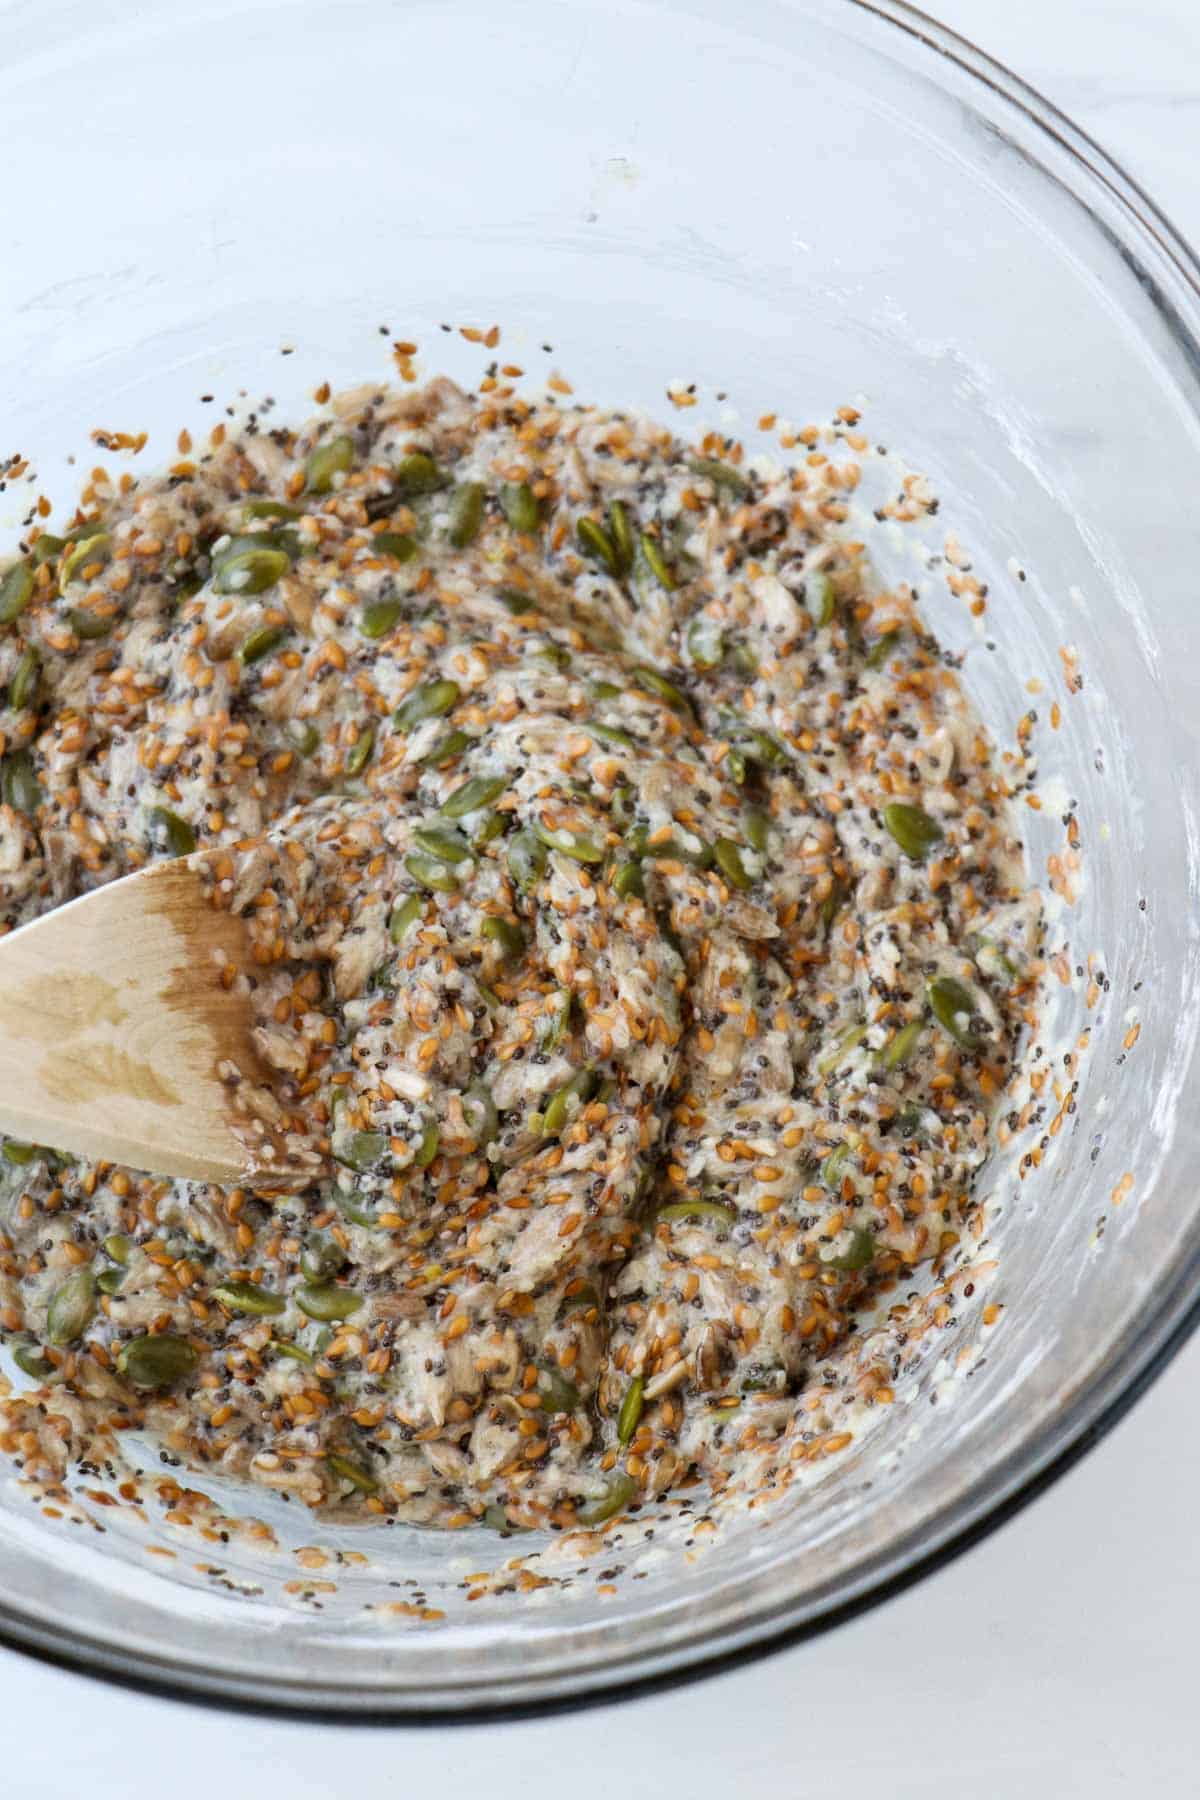
- Add the boiling water and oil. Stir until well mixed. Let the mixture sit for 10 minutes (it will thicken as it sits).
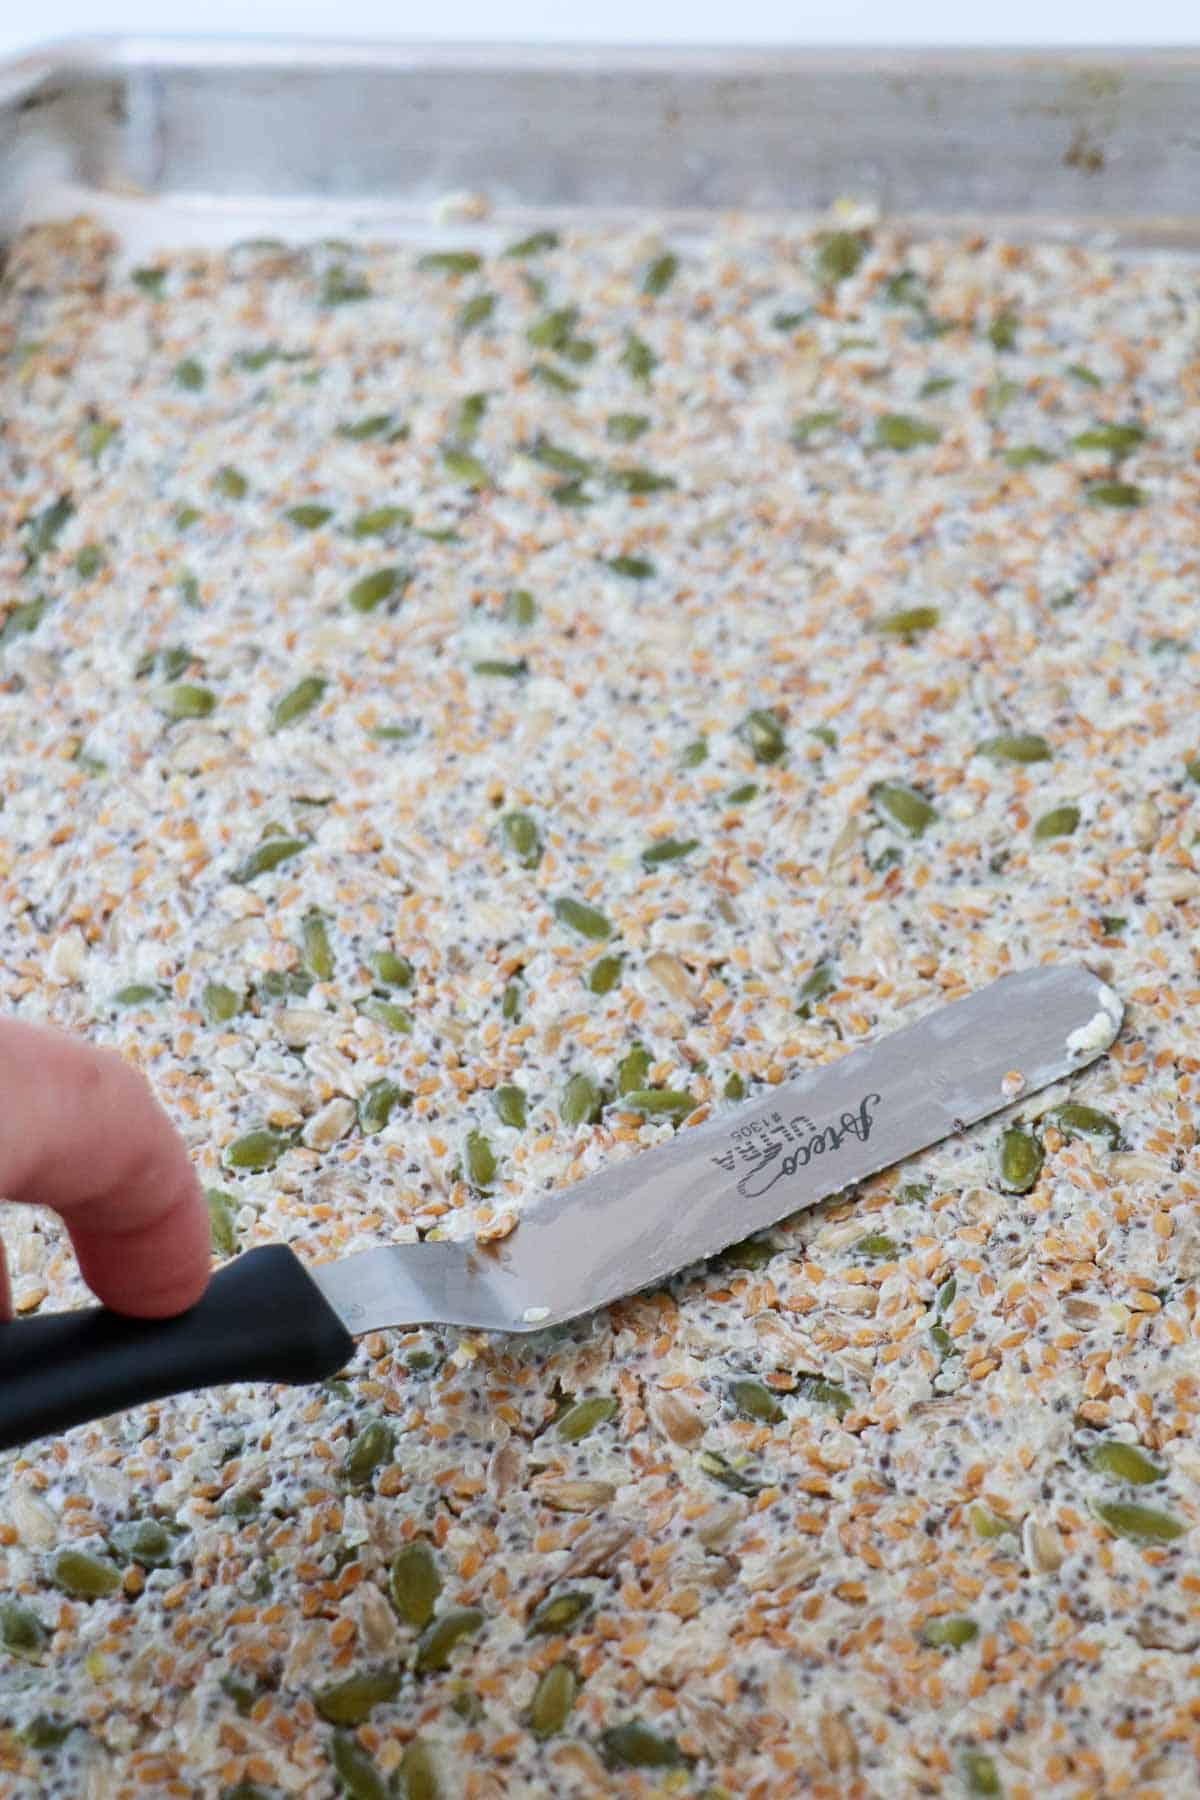
- Scrape the dough out onto the prepared pan. Spread into a thin layer (this is where the small offset spatula comes in handy) that reaches nearly to the edges of the parchment paper.
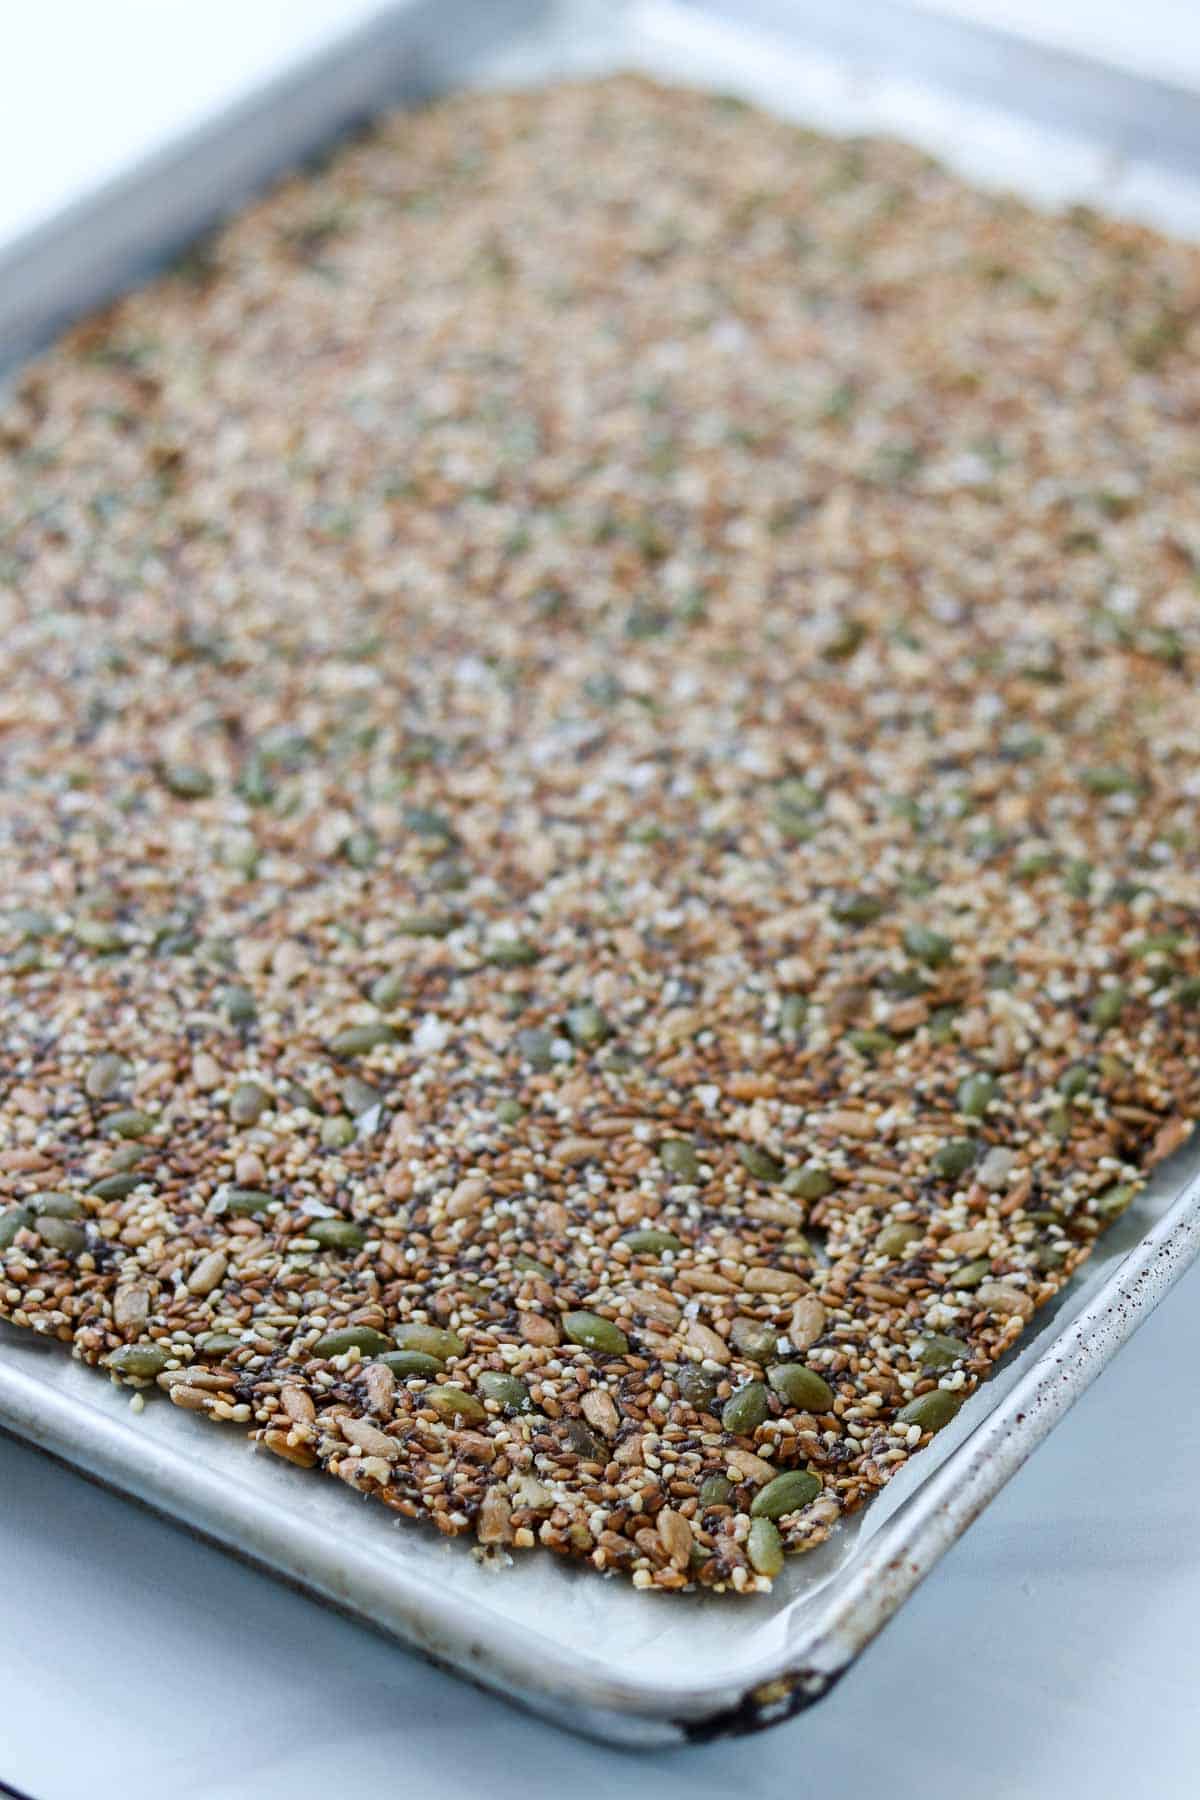
- Sprinkle with sea salt and transfer to the oven. Bake for about 90 minutes or until golden brown and crispy.
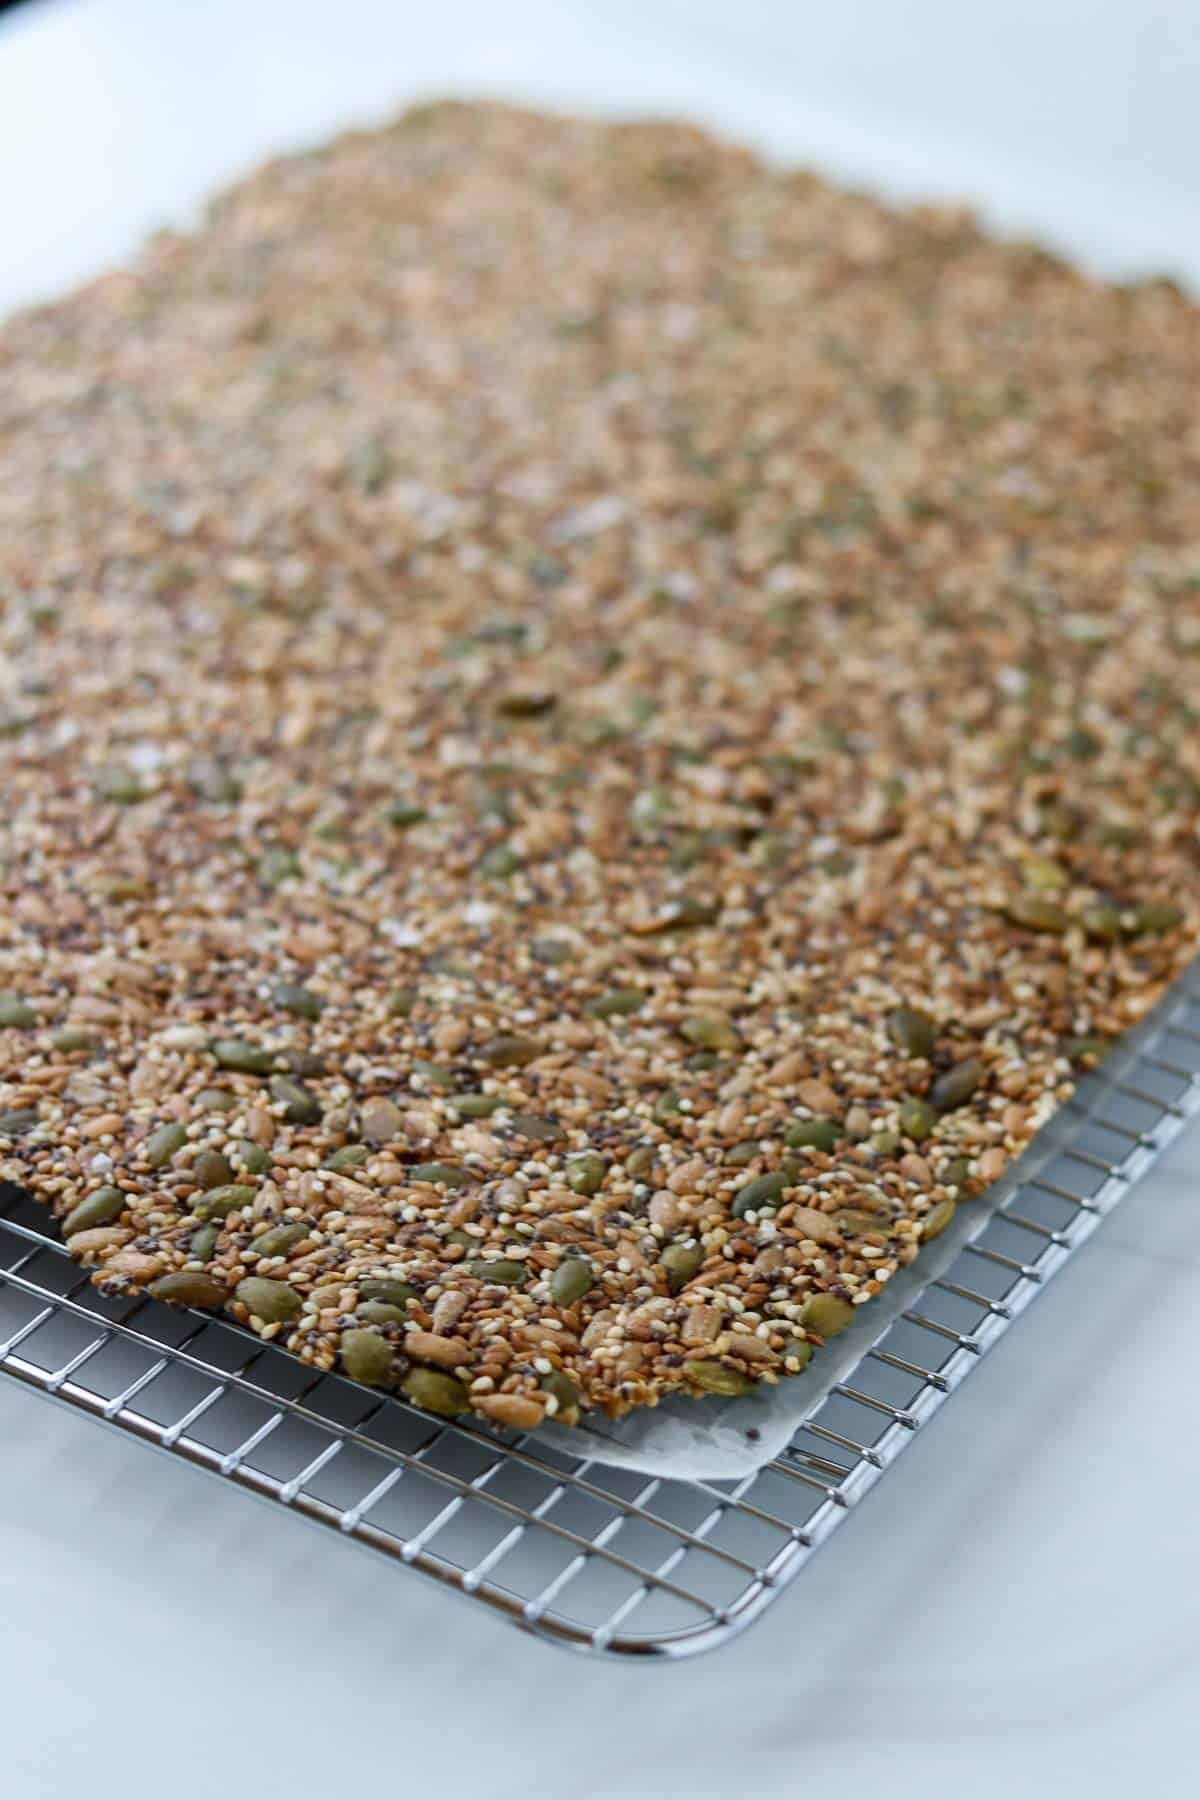
- Allow the baked cracker to cool on the sheet pan until just warm. Transfer the parchment paper with the cracker on top to a wire cooling rack and let it cool completely.
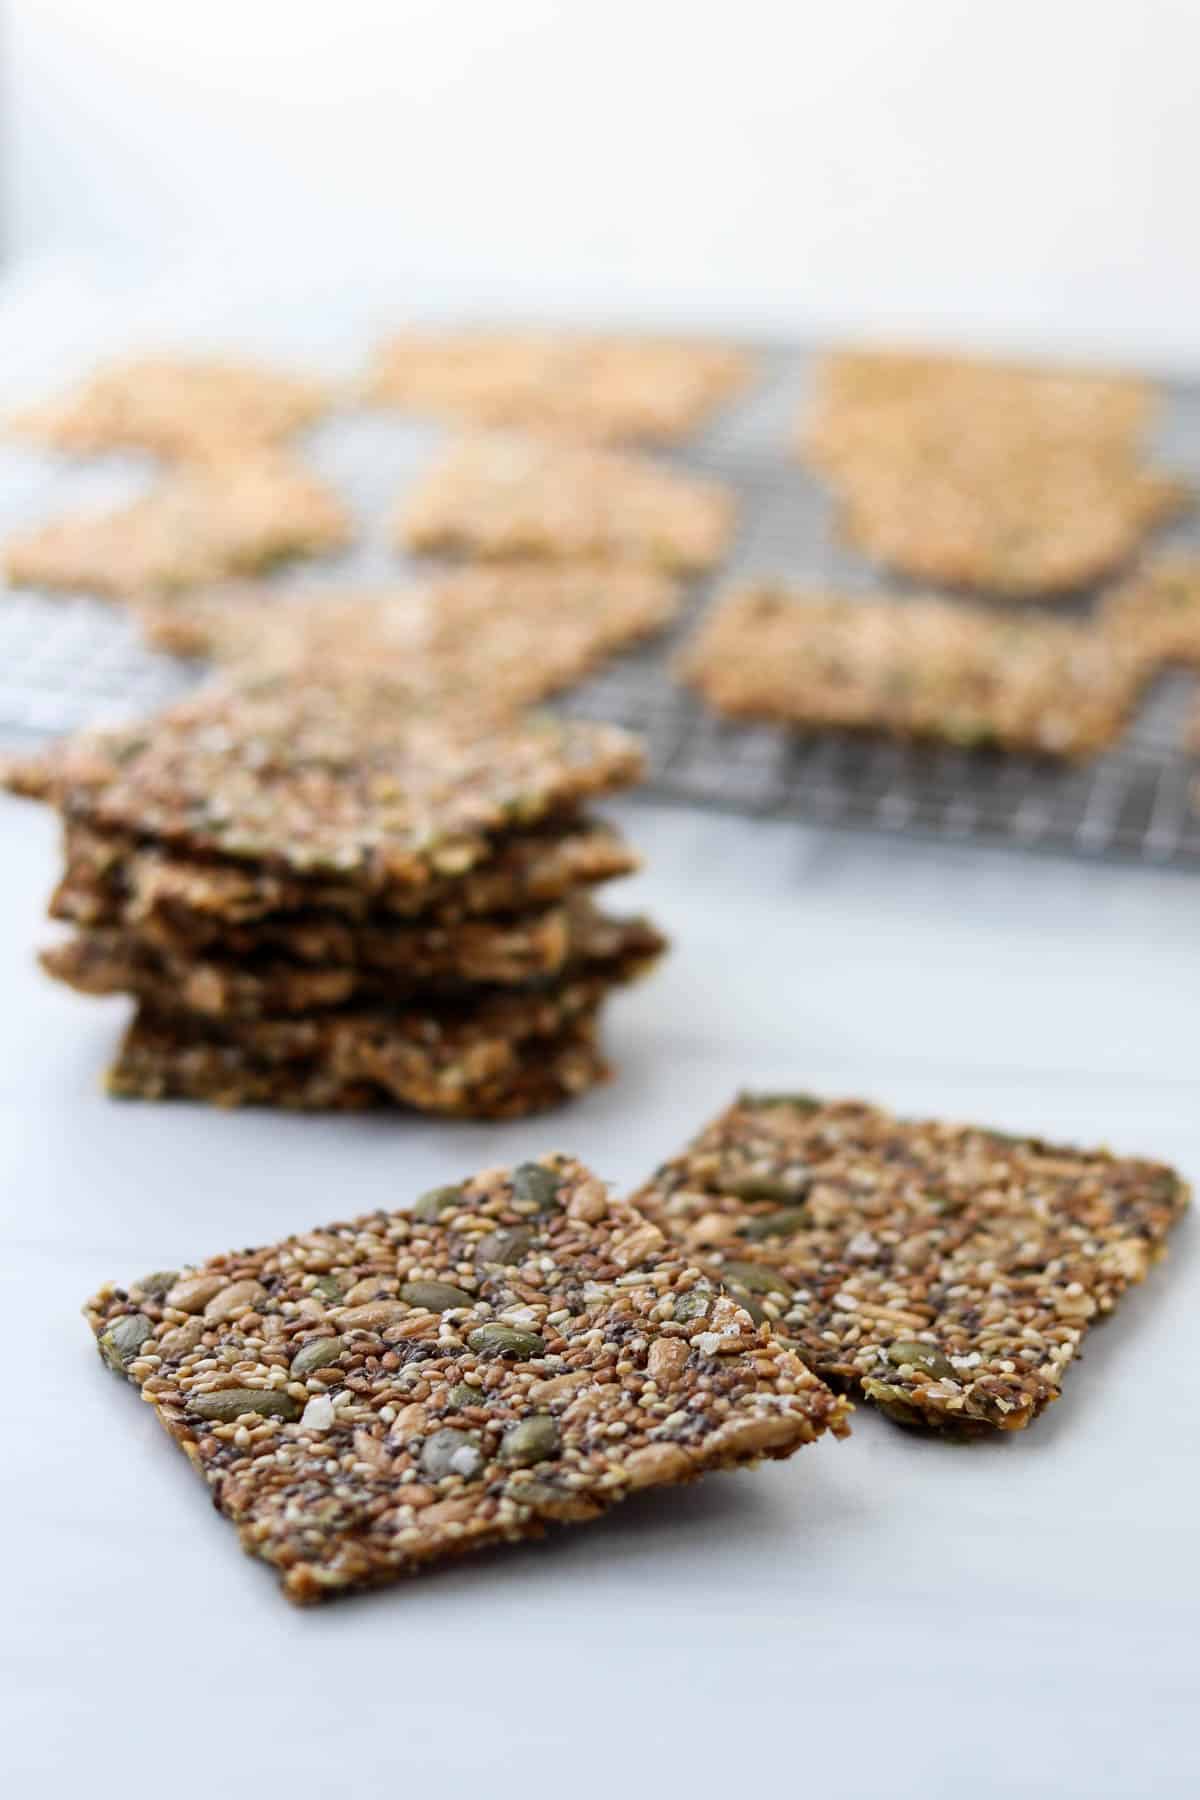
- To serve, either break into randomly-sized pieces for a rustic look or use a serrated knife to cut into squares.
 Expert Tips
 Expert Tips
- Take your time spreading the dough into a thin, even layer. This may take a few minutes so be patient. If you are having trouble, you can always dampen the spatula with water to help smooth things out.
- Score the crackers half way through the baking time for clean edges on the crackers rather than a more rustic look.
- Rotate the pan occasionally if the crispbread is browning unevenly. Oven temperatures can vary from one corner of the oven to another. Rotating the pan helps everything become evenly golden brown.
FAQs
Yes, they are vegan.
They keep well stored in a tightly sealed container at room temperature for at least a couple of weeks.
Yes! These crackers freeze very well. Simply place in a freezer bag or similar container, seal tightly and store in the freezer for up to 3 months.
Make sure you are baking them for the full amount of time suggested as they need to dry out completely in the oven. If the center still feels a little soft when the baking time is up, turn off the oven and leave the door cracked open for 10-15 minutes to let the residual heat draw out remaining moisture.
If the crackers softened after storage, simply pop them back into a 300°F oven on a parchment lined baking sheet for 5-7 minutes to re-crisp them.
Cornstarch yields a lighter, shatteringly crisp texture whereas psyllium husk will create a slightly chewier cracker. I much prefer the cornstarch variation but if you want to use psyllium husk, replace the cornstarch with 1 - 1 ½ tablespoons of psyllium husk powder. The psylliium powder will absorb instantly so spread the dough onto the baking sheet immediately rather than waiting 10 minutes.
What to Serve with Seed Crackers
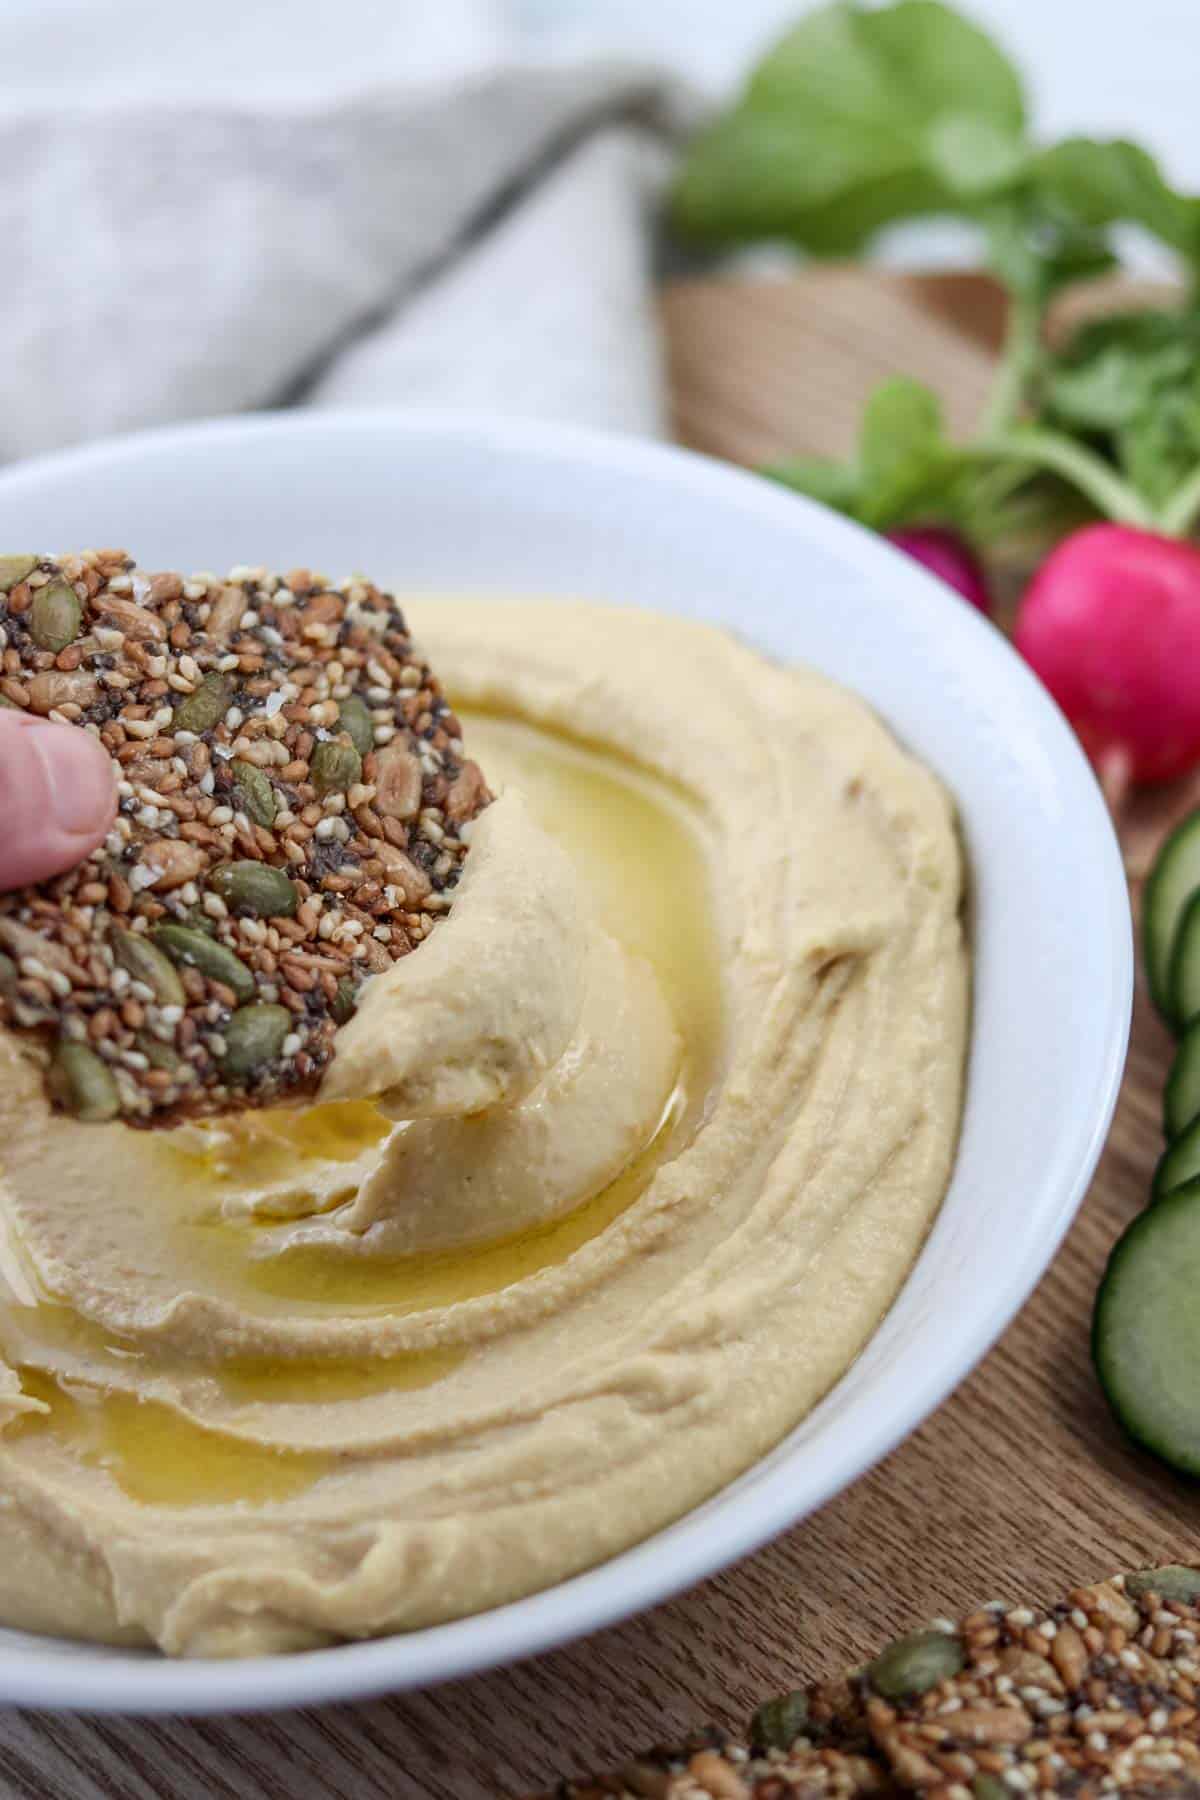
The options are endless! Sliced cheese and/or cured meats, herring (embrace your inner Norwegian!), hummus, goat cheese, tapenade, hard-boiled eggs, jam.....let your imagination go wild. Here are some of my favorite toppings:
- Mashed avocado, olive oil, salt, pepper flakes and a squeeze of lemon
- Creamy Egg Salad with Dill and Capers
- Tarragon Chicken Salad
- Roasted Beet Hummus
- Creamy Split Pea Hummus
- Goat cheese and Nordic Summer Herb Sauce
- Cream cheese and Apple Compote, Blueberry Cardamom Compote or Roasted Pear Compote with Cardamom, Vanilla and Ginger
- Almond butter and sliced apples
They are also quite nice alongside cozy soups and stews.
Related Recipes
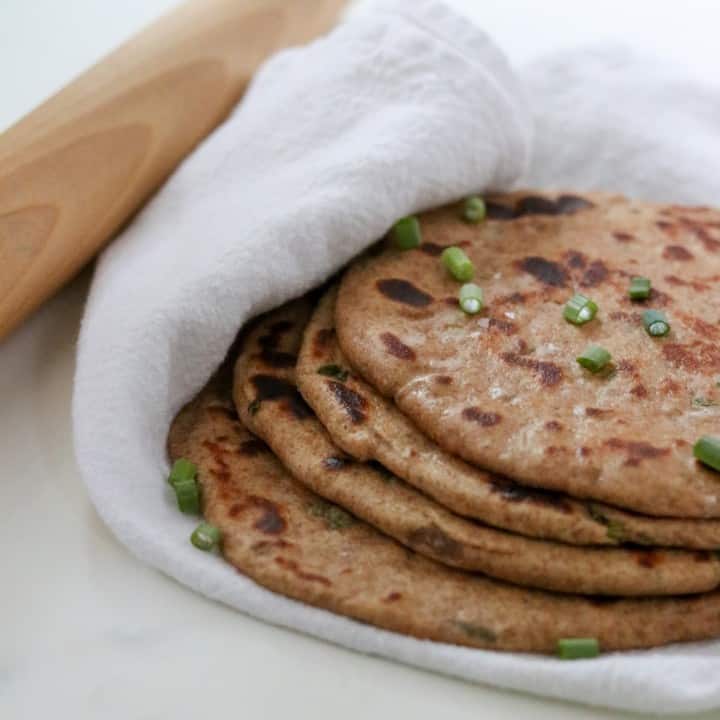
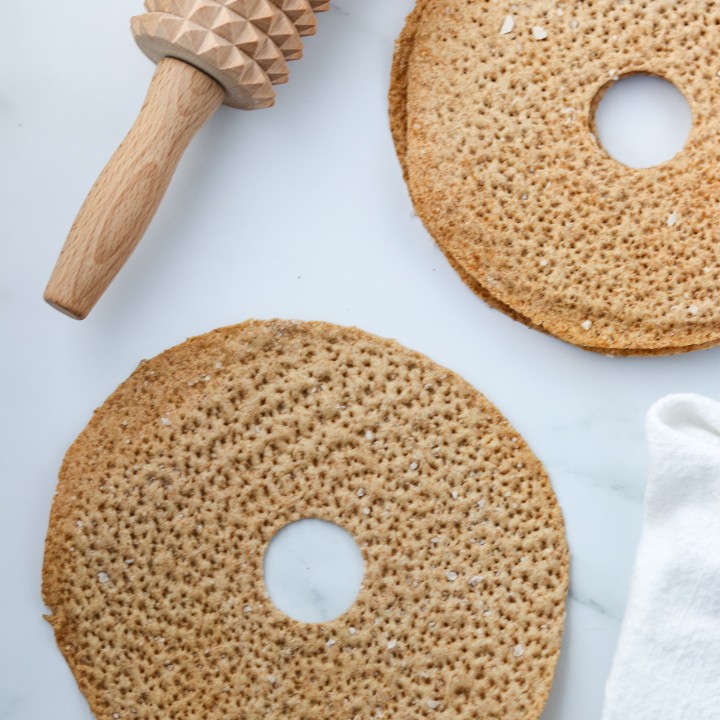
Ready to try your hand at a few other Scandinavian crispbread or flatbread recipes? Give these a try:


If you tried this Seed Crackers (Norwegian Crispbread) recipe or any other recipe on my website, please leave a 🌟 star rating and let me know how it goes in the comments below. I love hearing from you!
Recipe

Gluten-Free Seed Crackers (Norwegian Crispbread)
Ingredients
- ⅓ cup sesame seeds
- ½ cup flaxseeds
- ½ cup raw pepitas pumpkin seeds
- ½ cup raw sunflower seeds
- 2 tablespoons chia seeds
- ⅓ cup cornstarch
- ½ teaspoon salt
- 3 ½ tablespoons canola oil
- ¾ cup boiling water
- Flaky sea salt for sprinkling
Instructions
- Preheat the oven to 275° F. Line a 13x18 rimmed baking sheet with parchment paper and set aside. Stir the seeds, cornstarch and salt together in a large bowl. Add the oil and boiling water. Stir to combine. Let the mixture sit for 10 minutes.
- Spread the batter into a thin layer on top of the parchment paper (a small offset spatula really helps this along). Sprinkle the top with sea salt.
- Transfer to the oven and bake for about 90 minutes or until golden brown and crisp, rotating the sheet pan as necessary to encourage even browning. Once it is cool enough to handle, move the parchment paper with the cracker on top to a wire rack to cool completely. To serve, break the crispbread into pieces for a rustic look or cut into squares using a serrated knife.
Video
Notes
- Take your time spreading the dough into a thin, even layer. This may take a few minutes so be patient. If you are having trouble, you can always dampen the spatula with water to help smooth things out.
- Rotate the pan occasionally if the crispbread is browning unevenly. Oven temperatures can vary from one corner of the oven to another. Rotating the pan helps everything become evenly golden brown.
- Score the crackers half way through the baking time for clean edges on the crackers rather than a more rustic look.
- To Store: Place in a air tight container and store at room temperature for up to two weeks. Freeze for longer storage.
Mine turned out absolutely wonderful! My question is… Would it be fine to make a double batch with two pans in the oven at once? Sum
So glad you enjoyed them! I have never tried to do a double batch but I suspect it would be fine. Make sure to rotate the pans back to front and top to bottom throughout the long bake, and check to make sure they are done as there will be more moisture present that will need to evaporate from the crackers with two batches. Please report back and let me know how they turned out if you give the double batch a try!
Kristi
Absolutely amazing! I make a double batch weekly and the family loves these cracker. Ultra processed snacks kicked out the door!
Yay! Thanks for the review, Carolyn. I'm so glad these are a family favorite!
Kristi
I like them! My oven only goes down to 302 so even thought I opened the door periodically to reduce the heat and took them out 15 minutes earlier they yasted a bit burnt and seemed to need more salt. Any suggestions?
Hi Elizabeth,
I think the oven temperature is likely the issue here. Since your oven's lowest setting is 302°F, the crackers were baking about 25–30 degrees hotter than intended, which can definitely cause them to brown before they've had a chance to dry out.
If you make them again, I'd recommend one of these approaches:
Bake them at 302°F but start checking them after about 60 minutes. If they're getting too brown, loosely tent them with foil and continue baking until they're crisp. Or, if your oven has a convection setting, you could try using that at 300°F (or the lowest setting available), as convection tends to dry foods more efficiently.
As for the salt, that's easy to adjust! Feel free to sprinkle a little extra flaky sea salt on top before baking or add a bit more salt to the batter if you prefer a saltier cracker.
Thanks for trying the recipe and for sharing your experience!
Kristi
I make these on repeat in double batches.. They are fantastic with everything. I have added about a cup of hemp hearts without adjustment to the other ingredient proportions and they still come out great. I use parchment paper and rolling pin to spread on sheet pan.
Thanks for the kind review, Liz! I'm glad you are enjoying the crackers.
Kristi
Can i substitute rye or wholemeal flour for the cornstarch (i don’t need to be gluten free)
🙏
Vic
Hi Vic,
Thanks for your question! I wouldn't recommend substituting rye or whole wheat flour for the cornstarch in this recipe. The cornstarch works together with the chia seeds to bind everything while keeping the crackers light and crisp. Rye or whole wheat flour absorb liquid differently and would likely change both the texture and the baking time. Hope this helps!
Kristi
These were excellent! Any storage suggestions?
Hi Judy,
I store mine in an airtight container at room temperature for a couple of weeks and they hold up quite well. You could also freeze them!
Kristi
Thanks for sharing this delicious recipe! It worked perfectly and held together. I subbed psyllium husk for chia seeds as I didn't have them on hand. I have a question about the flax seeds, could you use ground flax, or sub with psyllium husk?
Hi Lynne,
'm so glad you enjoyed the crackers! The flax seeds are important because they help bind everything together while also adding texture and flavor. Ground flaxseed can be used, but the texture of the crackers will be different, slightly denser and less crunchy than when made with whole flax seeds.
I wouldn't recommend substituting all of the flax with psyllium husk. Psyllium absorbs much more liquid than flax and can make the crackers tough or overly firm. Since you had success replacing the chia seeds with psyllium husk, I'd leave the flax seeds as written in the recipe if possible.
If you'd like to experiment with ground flaxseed, it should work, but you may need to add a little extra water if the mixture seems dry before baking.
Thanks so much for your question!
Kristi
I scored them with a knife into 2cm squares after 30 min of baking. When finished they easily broke into nice pieces.
Thanks for the feedback, Lars! That is a great idea.
Kristi
Wonderful recipe, thank you!
I had a bit of trouble spreading the ‘gluey’mixture thinly with my old hands …
It would be easier to spread when the hot water has just been mixed in ( less stiff) - does it work if you let it absorb and gel while flattened in the tin?
Hi Sam,
Thanks for your feedback! Next time, I would let the mixture sit for just 5 minutes instead of 10. Alternatively, add a little water if your mixture seems too thick prior to spreading. Luckily the recipe is very forgiving! I see you are in the UK and I've had other readers mention that cornstarch is called cornflour where you you are and that it behaves a little differently than American cornstarch. It should definitely still work though - it might just require a little tweaking to get the consistency right. I hope you give them another try!
Kristi
I used a second piece of parchment paper to press the seeds into a nice, flat even rectangle (it didn’t stick). Next time, I want to use a smidge less time to bake and add some honey to the mix. I do love this recipe! Thank you!
Thanks for your feedback, Steve! Glad you are enjoying the crackers.
Kristi
These are fabulous! Don’t hesitate to try!
Thanks, Christine!
These crackers are absolutely delicious. I added some garlic powder to the mix, and may also onion powder to my next batch. They baked up perfectly.
Great recipe!
Thanks, Susan! I'm so glad you enjoyed them.
Kristi
Hi Kristi, does the boiling water kill the nutrients? Could the boiling water be added to the cornstarch first until it cools a bit, then add the seeds?
Hi Angela,
Great question! The boiling water doesn’t significantly “kill” the nutrients in this recipe. Most of the seeds (like flax, chia, sesame, sunflower and pepitas) are quite heat-stable, and since the crackers bake for 90 minutes anyway, they are exposed to sustained heat in the oven regardless. The boiling water is primarily there to hydrate the seeds and activate the chia and flax so they help bind everything together.
I wouldn’t recommend adding the boiling water to the cornstarch first and waiting for it to cool before adding the seeds. The hot water helps the mixture gel properly and ensures everything hydrates evenly right from the start. If the water cools too much before hitting the seeds, you may not get the same binding effect and texture.
Hope that helps, and let me know if you try them!
Kristi
I don't know what I did wrong but the parchment paper stuck to the craclker...
Hello,
Oh no! That’s frustrating. Most of the time when the parchment sticks, the crackers just needed a little more time in the oven. They should be fully dry and crisp before cooling. If there’s any moisture left underneath, they can cling to the paper.
Next time, try baking them a few minutes longer until they’re deeply golden and dry to the touch, and let them cool briefly before transferring to a rack. If they’re already stuck, you can flip the whole sheet over and gently peel the parchment away from the back.
And sometimes it really is the parchment. Some brands release better than others!
Hope that helps!
Kristi