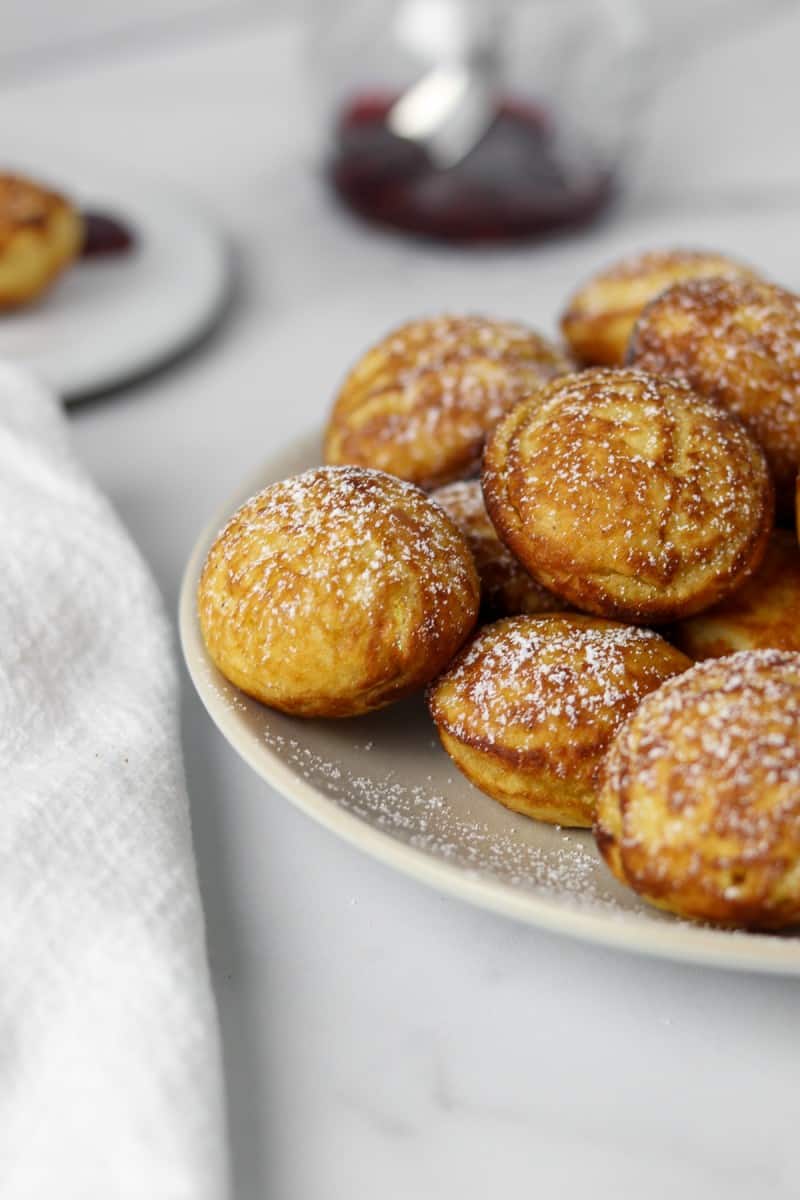
Golden, fluffy, and irresistibly light, æbleskiver are a beloved Danish treat, especially during the holiday season. These buttery, pancake-like spheres are cooked in a special pan until airy and tender, then dusted with powdered sugar and served with jam for a taste of festive coziness. Whether you’re celebrating Christmas or simply craving a taste of Denmark, æbleskiver bring warmth and joy to any gathering.
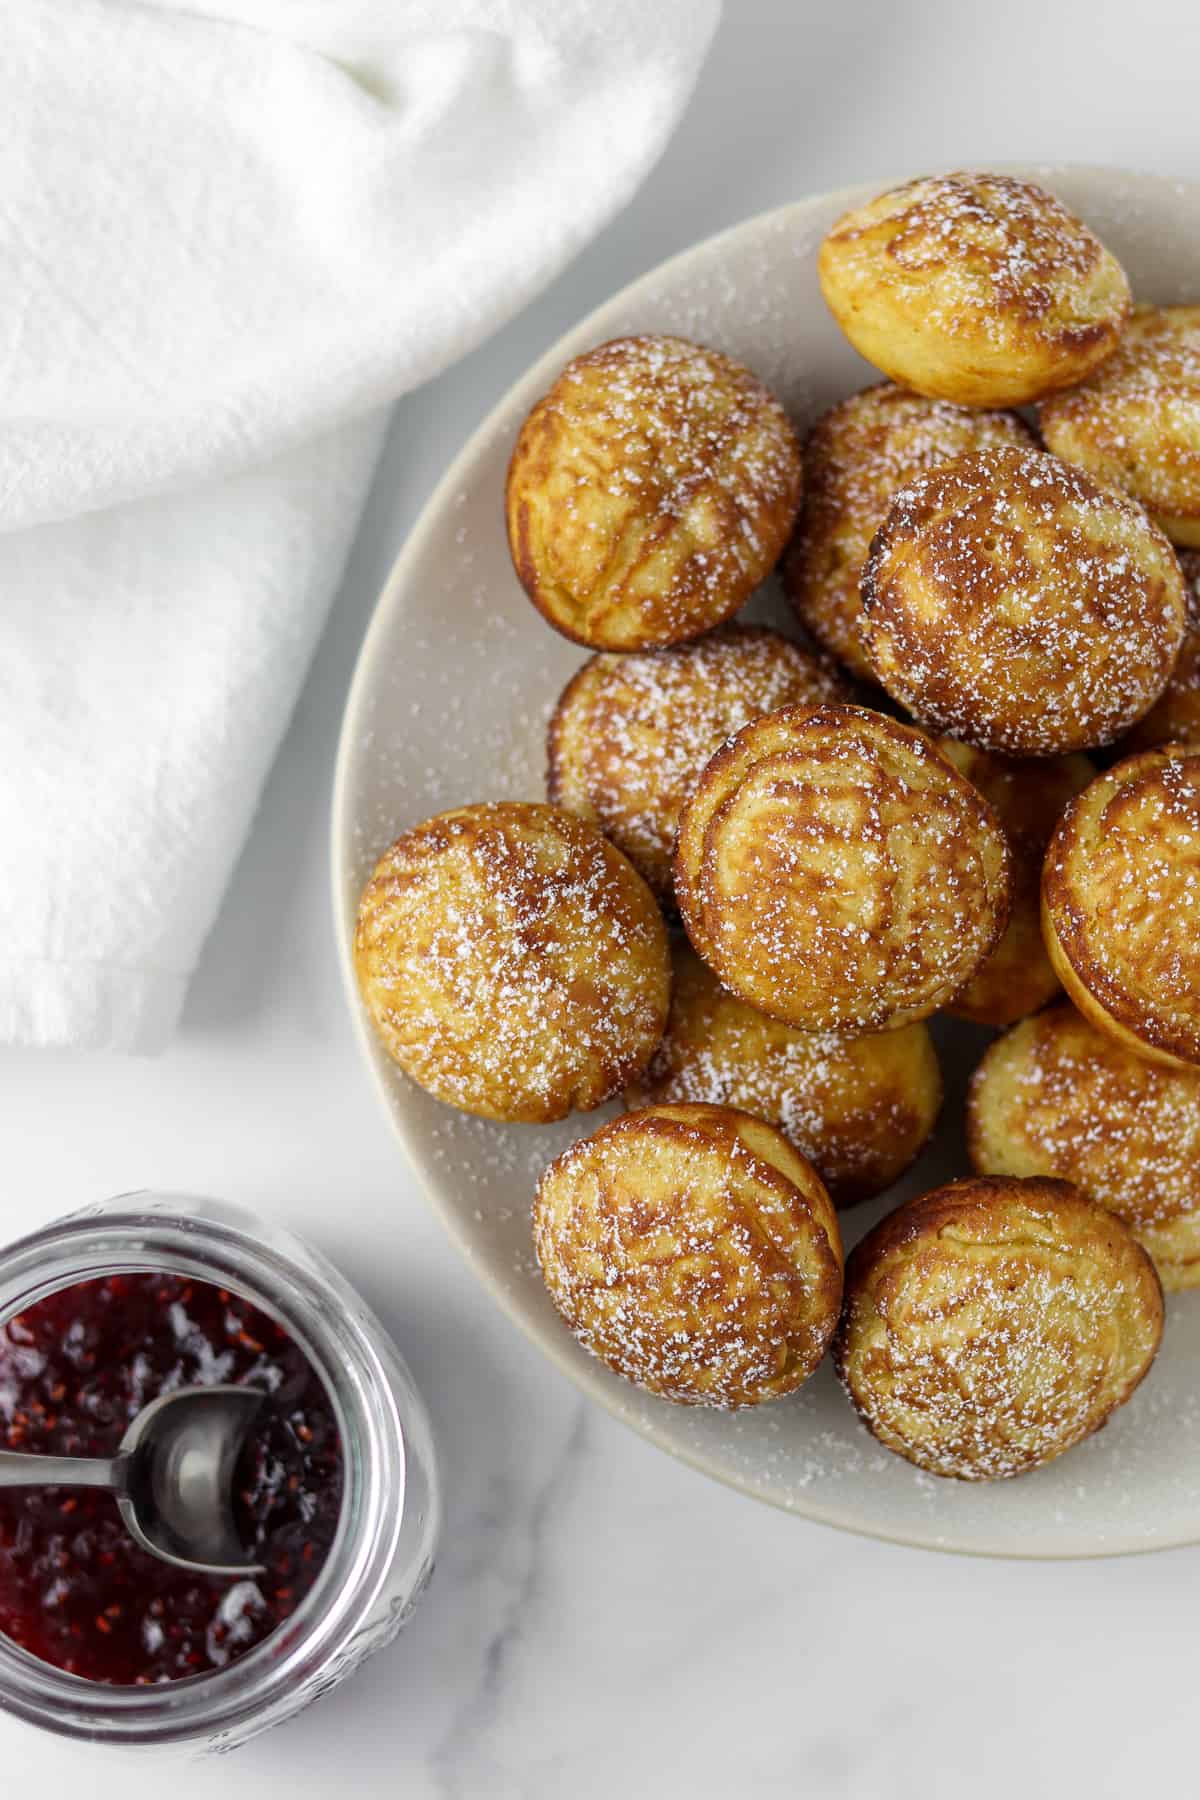
This recipe was inspired by a trip to Copenhagen where I enjoyed æbleskiver at one of the many charming Christmas markets that pop up in the city during December. Along with smørrebrød and the Danish hot dogs available from street vendors, these were one of my favorite everyday treats!
Jump to:
The Ingredients
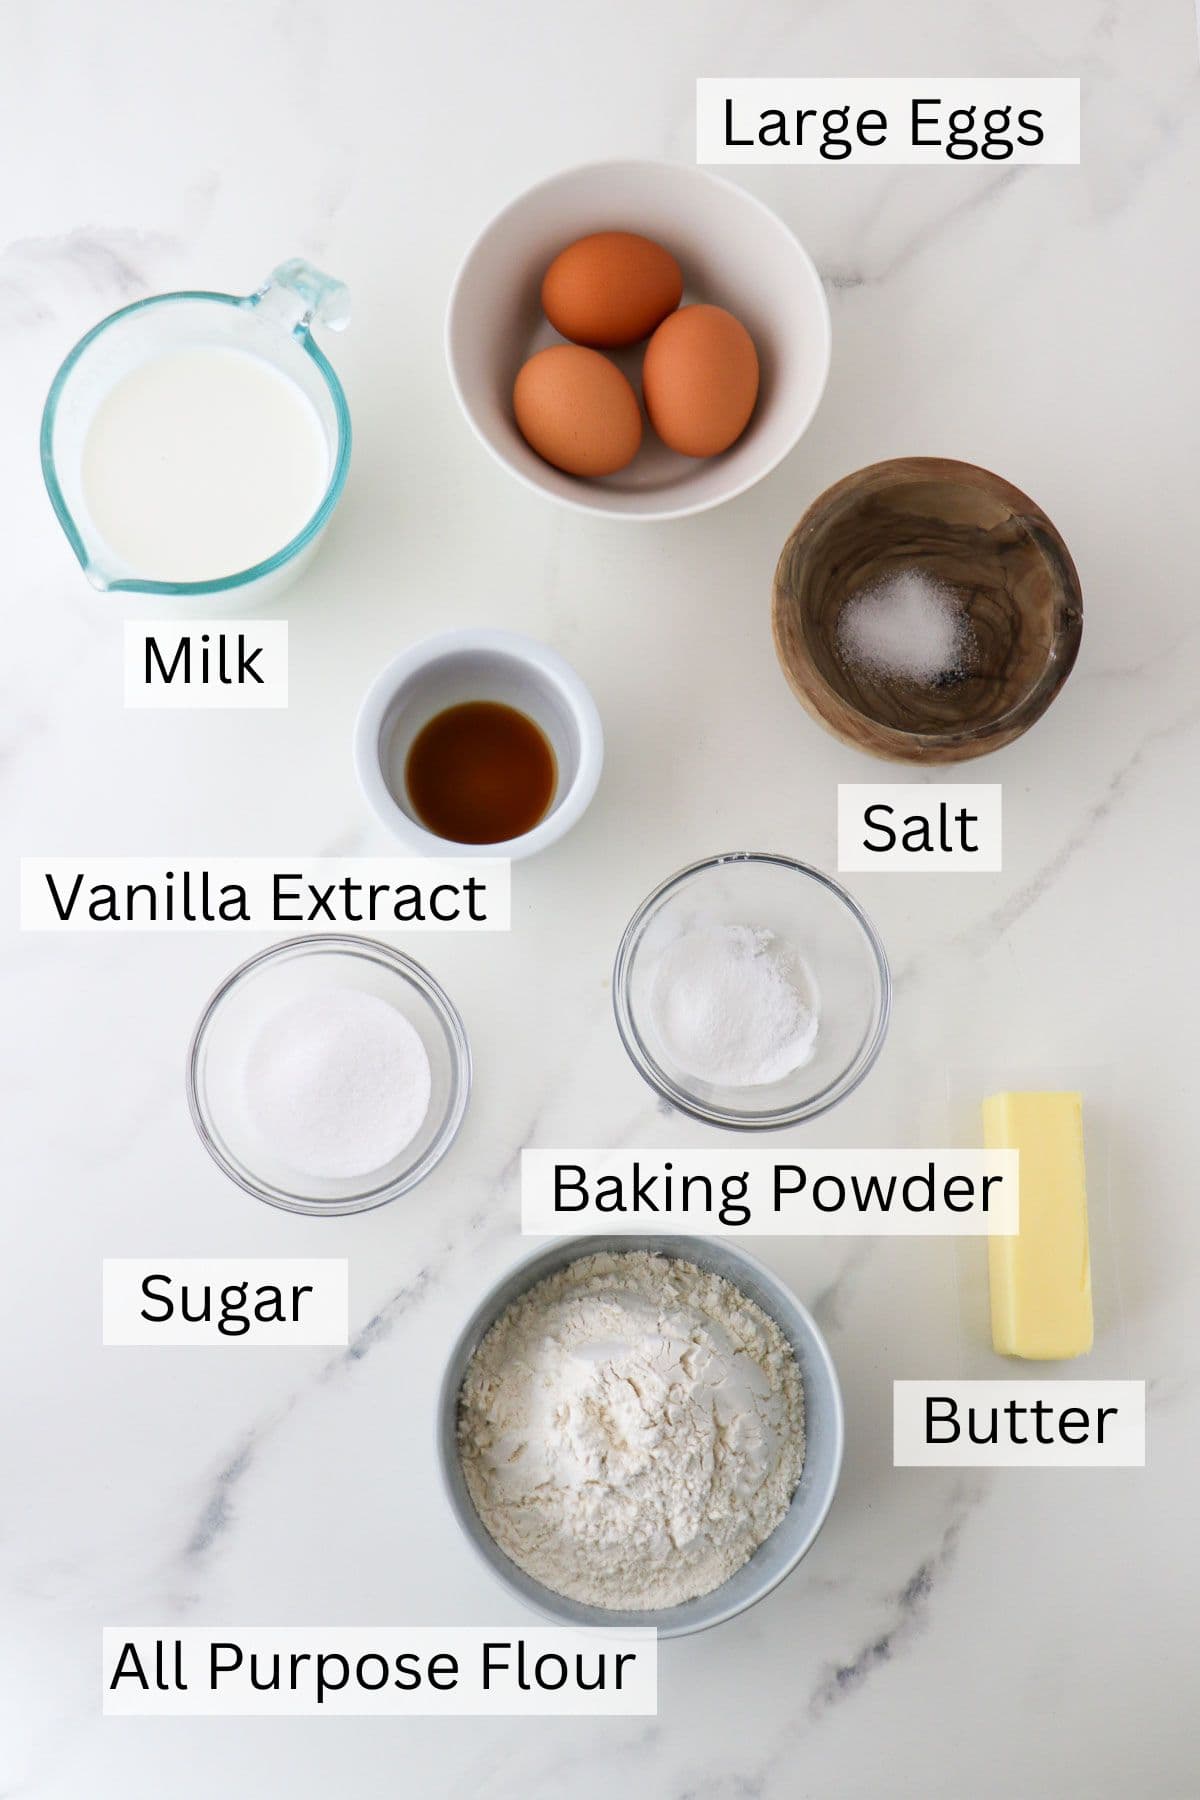
- All purpose flour
- Baking powder
- Salt
- Vanilla extract
- Milk
- Large eggs - The eggs are separated and the egg whites are whipped before adding them to the recipe. This creates an extra light and fluffy texture in the final product.
- Granulated sugar
- Unsalted butter
See the recipe card below for exact amounts and detailed instructions.
Substitutions
- The whole milk can replaced with plant-based milk or buttermilk if desired. If using buttermilk, add ½ teaspoon of baking soda to the dry ingredients.
Variations
- Cardamom Æbleskiver - Add ½ teaspoon ground cardamom to the batter.
- Nutmeg Æbleskiver - Add ¼ teaspoon ground nutmeg to the batter.
- Almond Æbleskiver - Replace the vanilla extract with ½ teaspoon of almond extract.
- Apple-Filled Æbleskiver - The name “æbleskiver” actually means “apple slices” in Danish as it was once customary to include an apple slice in the center of each pancake ball. Try adding a small spoonful of apple compote or finely diced apples (cooked or uncooked) to the center before flipping as a nod to this traditional preparation.
- Chocolate-Filled Æbleskiver - Add a small piece of chocolate, a few chocolate chips or small spoonful of Nutella to the center before flipping.
- Berry-Filled Æbleskiver - Add a small spoonful of lingonberry, strawberry, raspberry or blueberry jam to the center before flipping.
- Cinnamon Sugar Æbleskiver - Brush the cooked æbleskiver with melted butter and roll in a mixture of ¼ cup granulated sugar and 2 teaspoons ground cinnamon.
The Equipment
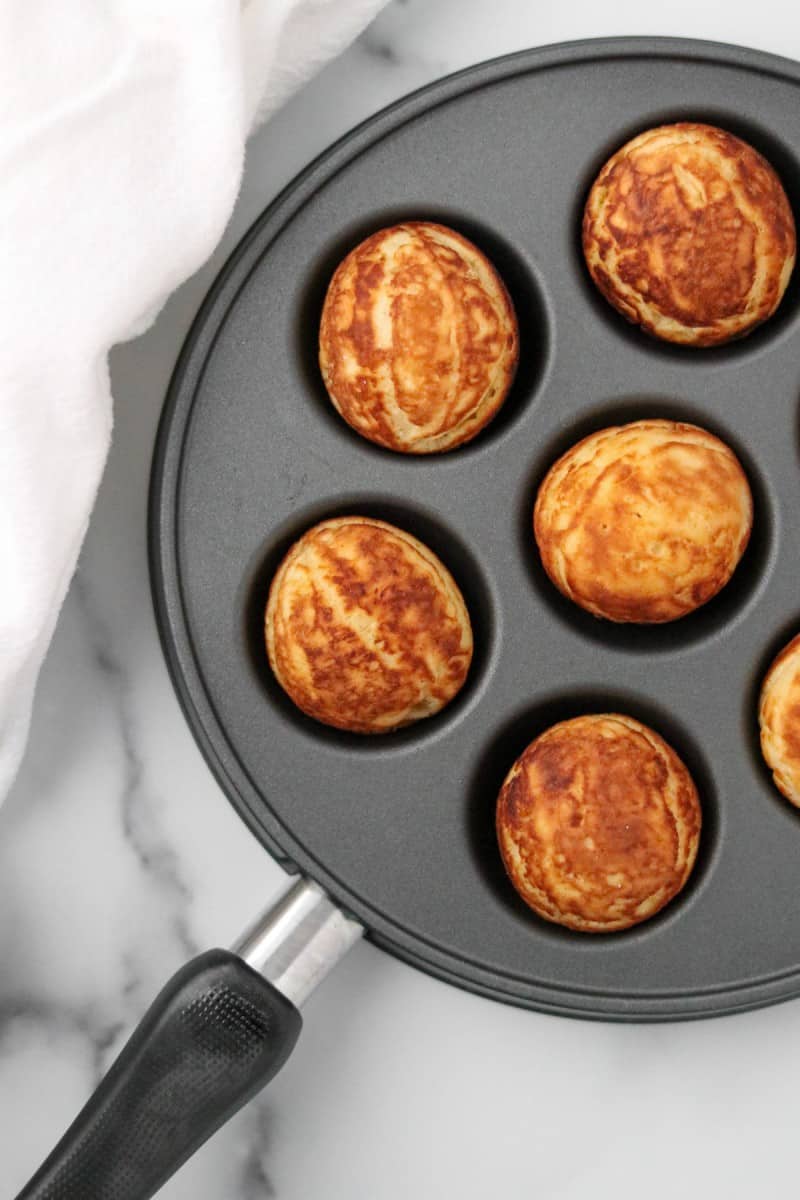
This recipe does require an æbleskiver pan, which is a pan with divots that is specially designed for making these pancake-like balls. You will also need a wooden skewer or some other sharp, pointy implement (some people use a knitting needle) to help turn the æbleskiver over while they are cooking
How to Make Æbleskiver at Home

- Step 1: Whisk dry ingredients together in a medium bowl. Set aside. Whisk milk, egg yolks, vanilla and melted butter together in a large bowl until well combined. Add dry ingredients to wet ingredients and stir until just combined. Whip egg whites until medium peaks form and scrape into the bowl.

- Step 2: Gently fold the whipped egg whites into the batter with a rubber spatula until just incorporated.

- Step 3: Heat an aebleskiver pan over medium low heat. Dot each round with a small cube of butter or brush with melted butter.

- Step 4: Spoon a heaping tablespoon of batter into each round so that it is almost full. Cook until the bottom is just set, about a minute.

- Step 5: Using a wooden skewer, gently turn each æbleskiver 90 degrees so that the batter spills out into the pan.

- Step 6: Keep turning so that the side that is partially done is on the top. With the help of the skewer, continue cooking and turning until the æbleskiver are golden brown on all sides and a skewer inserted into the center comes out clean, about 6 to 8 minutes total. Set on a wire rack to cool and repeat with remaining batter.
Expert Tips
- Monitor the heat carefully! It's easy for these Danish pancakes to cook too fast on the outside and not be done on the inside. Start with the heat at medium low and then adjust downward if they are cooking too quickly. You can check the doneness of the interior of the æbleskiver by inserting a clean skewer into the center (it should come out clean with no batter attached).
- Begin to turn them once the first side is just set. This helps them become more round and prevents the bottom side from browning too quickly.
- Turn the æbleskiver frequently. You will end up with a more evenly done, golden brown round final product if you continue to turn them as they cook.
- Be sure to wipe out the pan with a damp paper towel in between batches. This clears out any leftover butter or cooked bits of batter so that you can start with a clean slate.
Recipe FAQ
It's pronounced "ay-blah-skee-ver".
They are best eaten immediately, but once the are cool you can store them in an air-tight container in the refrigerator for a couple of days. Reheat briefly in a 300 degree oven to warm through.
Yes. Transfer cooled æbleskiver to a freezer bag or other tightly sealed container. When you are ready to serve, pop them in a 300 degree oven briefly until warmed through (no need to defrost first).
What to Serve with Æbleskiver
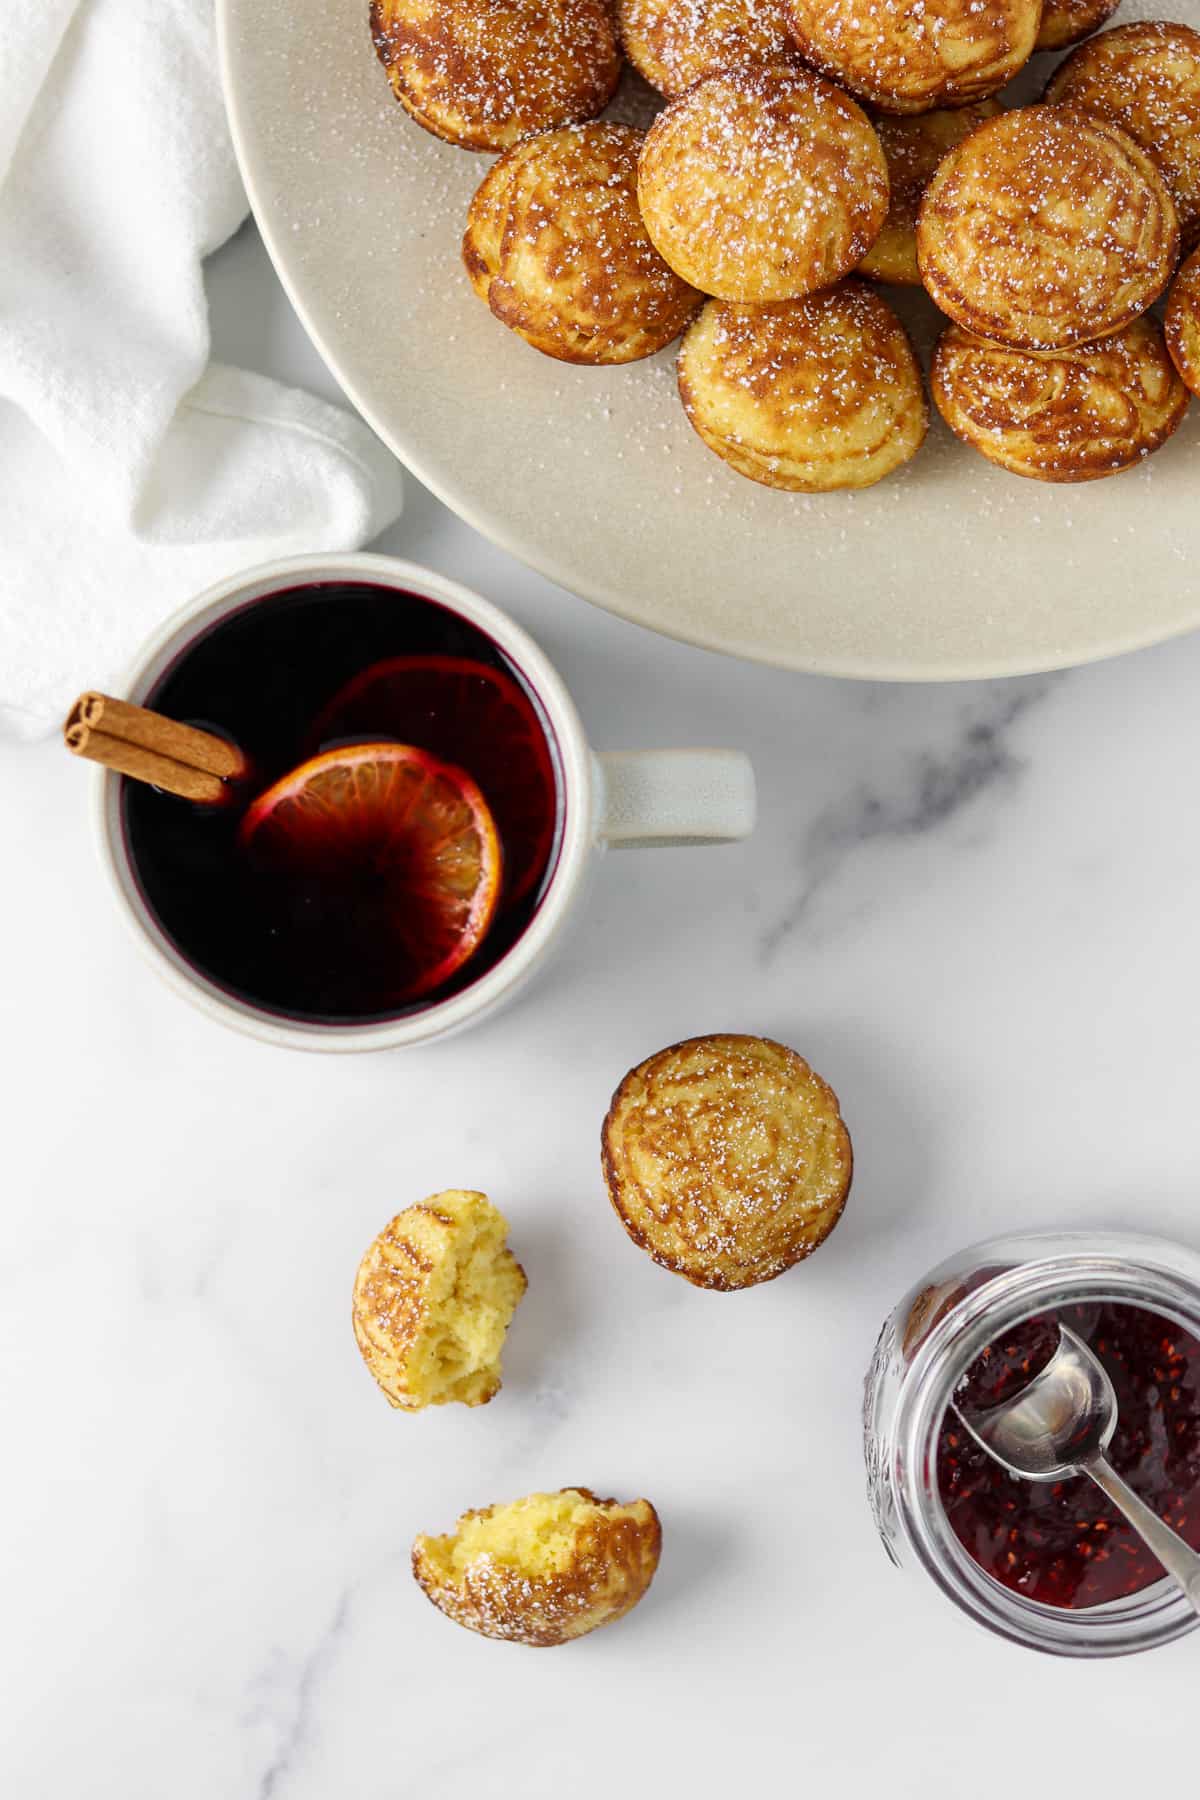
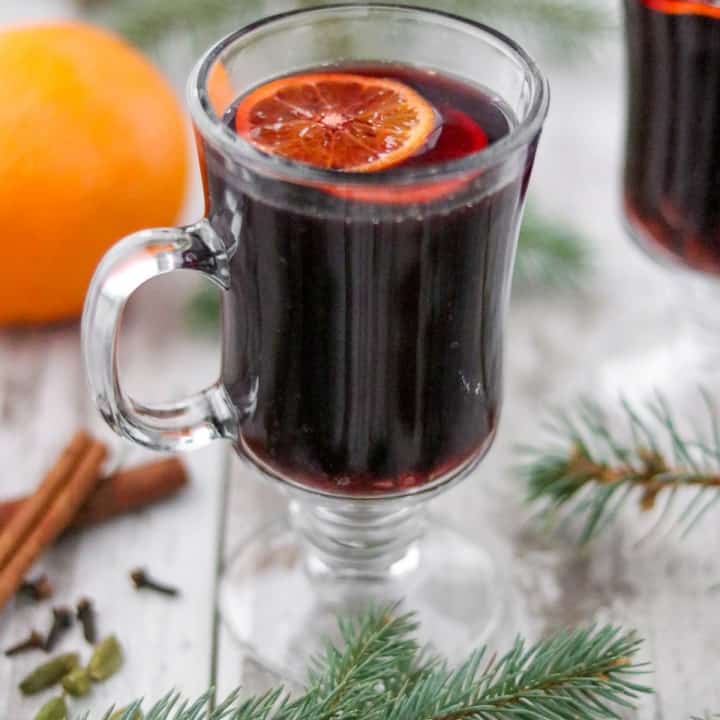
Despite the fact that they are pancakes, æbleskiver are traditionally more of a snack or treat to enjoy with coffee than a breakfast in Denmark. They are often served in threes, dusted with powdered sugar alongside raspberry jam for dipping. You can also drizzle them with warm chocolate sauce or even this Salted Caramel Sauce. Æbleskiver are a classic pairing with Glögg (mulled wine) or this Cardamom Hot Chocolate.
Related Recipes
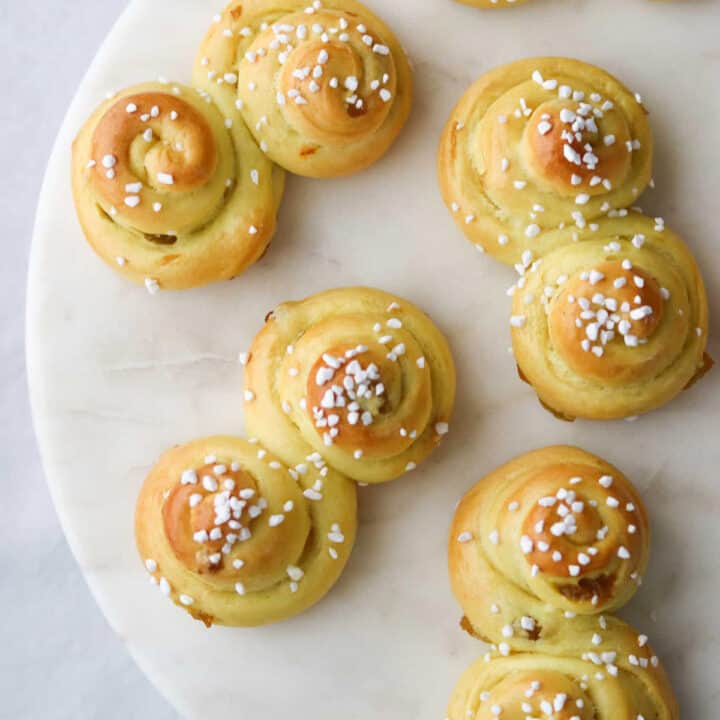
Looking for other Scandinavian holiday favorites? Give some of these classics a try!
If you tried this æbleskiver recipe or any other recipe on my website, please leave a 🌟 star rating and let me know how it goes in the comments below. I love hearing from you!
Recipe
Æbleskiver (Classic Danish Pancake Balls)
Equipment
- Æbleskiver pan
- Wooden skewer, knitting needle or other long pointy object
Ingredients
- 1 ½ cups all purpose flour
- 2 teaspoons baking powder
- 3 tablespoons sugar
- ½ teaspoon fine salt
- 1 cup whole milk
- 3 eggs separated
- 1 teaspoon vanilla extract
- 6 tablespoons unsalted butter melted and cooled to room temperature + more for the pan
- Powdered sugar and raspberry or strawberry jam for serving optional
Instructions
- Whisk flour, baking powder, sugar and salt together in a medium bowl. Set aside.
- Whisk milk, egg yolks, vanilla and melted butter together in a large bowl until well combined. Add dry ingredients to wet ingredients and stir until just combined.
- Place egg whites in the bowl of a stand mixer and, using the whisk attachment, whip until they come to medium peaks that are fluffy but not dry. Gently fold into the batter with a rubber spatula until just incorporated.
- Heat an aebleskiver pan over medium low heat. Dot each round with a small cube of butter or brush with melted butter. Spoon a heaping tablespoon of batter into each round so that it is almost full. Cook until the bottom is just set, about a minute. Using a wooden skewer, gently turn each aebleskiver 90 degrees so that the batter spills out into the pan. Keep turning so that the side that is partially done is on the top. With the help of the skewer, continue cooking and turning until the aebleskiver are golden brown on all sides and a skewer inserted into the center comes out clean, about 6 to 8 minutes total. Adjust the heat downward if the æbleskiver are cooking too quickly.
- Set aside on a wire rack to cool. Wipe out the pan with a damp paper towel and repeat with remaining batter. Dust with powdered sugar and serve warm with raspberry or strawberry jam if desired.
Notes
- Monitor the heat carefully! It's easy for these Danish pancakes to cook too fast on the outside and not be done on the inside. Start with the heat at medium low and then adjust downward if they are cooking too quickly. You can check the doneness of the interior of the æbleskiver by inserting a skewer into the center (it should come out clean with no batter attached).
- Begin to turn them once the first side is just set. This helps them become more round and prevents the bottom side from browning too quickly.
- Turn the æbleskiver frequently. You will end up with a more evenly done, golden brown round final product if you continue to turn them as they cook.
Variations:
-
- Cardamom Æbleskiver - Add ½ teaspoon ground cardamom to the batter.
-
- Nutmeg Æbleskiver - Add ¼ teaspoon ground nutmeg to the batter.
-
- Almond Æbleskiver - Replace the vanilla extract with ½ teaspoon of almond extract.
-
- Apple-Filled Æbleskiver - The name “æbleskiver” actually means “apple slices” in Danish as it was once customary to include an apple slice in the center of each pancake ball. Try adding a small spoonful of apple compote or finely diced apples (cooked or uncooked) to the center before flipping as a nod to this traditional preparation.
-
- Chocolate-Filled Æbleskiver - Add a small piece of chocolate, a few chocolate chips or small spoonful of Nutella to the center before flipping.
-
- Berry-Filled Æbleskiver - Add a small spoonful of lingonberry, strawberry, raspberry or blueberry jam to the center before flipping.
-
- Cinnamon Sugar Æbleskiver - Brush the cooked æbleskiver with melted butter and roll in a mixture of ¼ cup granulated sugar and 2 teaspoons ground cinnamon.


June says
I am looking for a recipe that would be for storing the dry ingredients in my pantry so I could measure out what I needed and add the wet? Any ideas?
Kristi says
Hi June,
I would mix up the dry ingredients for this recipe and maybe store each batch separately so that you can add the wet ingredients when you are ready to make them. That way you already know you have the right amount of dry ingredients and don't need to measure them out again. I hope this helps!
Kristi
Giddy Gourmet says
Hello Kristi, I have been making Aebleskivers since 2011. The recipe I've been using came with my cast iron Aebleskiver pan. I thought I lost that recipe so I used yours. I had to replace a few ingredients since I can't have butter, sugar, or milk. Instead, I used EVOO, Allulose, and homemade Oat milk. It was so delicious. I broke open each pancake and added a dab of mixed berry pie filling to dress it up. I usually fill them while baking with a chunk of banana but was all out. I made a mixture of 4 ziplock baggies of all dry ingredients to last a month. All I have to do is add the wet ingredients and I'll have healthy snacks for the kids. Thanks for sharing your recipe. I have since found mine but I will have to do a baking contest with the grandkids to see which is voted the best. 😉
Kristi says
Wow....the pie filling idea is genius! I bet you have happy grandkids! Thanks so much for the comment.
Kristi
Ryan says
Hi there! Love the website...thanks!
One game-changer for me in making aebleskivers was making them in one of those electric cake-pop / donut-hole makers that close up the lid. It is definitely NOT traditional that way, but cuts cooking time in half and allows you to produce a lot more quickly for that big family gathering! Thanks again for all your recipes!
Kris K says
These were delicious! I didn’t have my in-laws’ recipe handy, so I tried yours. Loved the additions of cardamom and nutmeg. I won’t be allowed to stray from tradition in their house, but in mine, I’m going with your recipe!
Kristi says
Hi Kris,
So glad you enjoyed them! Thanks so much for your feedback.
Kristi
Deb says
My grandma from Denmark always had cardamon & nutmeg. 🙂
Kristi says
That's my favorite combo, too!
Kristi
lettuce says
your list of ingr says ground cinnamon, and then the instructions say cardamom, so, which one is it, or is it both?
Kristi says
I don't see any cinnamon in the recipe!
Chris says
How many does this make per serving? I have tried a few recipes and most just taste like puffy pancakes which taste just fine but I am looking for that texture change that comes with the aebleskiver.
Kristi says
Hi Chris,
I usually get 21-25 æbleskivers from this recipe. Hope this helps!
Kristi
Julie W says
I lost the recipe that my cousin in Denmark gave me, so I had to find a new one for Christmas morning. My aebleskiver turned out perfectly round, fluffy, completely full in the middle, and absolutely delicious! I do believe it was my best batch yet! Now on to the ricegrot for Christmas dessert tonight! I try to incorporate as many Danish traditions in our Wisconsin holidays as I can!
Kristi says
Hi Julie,
So glad you enjoyed them and that they were round! Thanks for taking the time to leave a comment. It is very much appreciated!
Kristi
Dee says
Hello!
Can I make the batter the night before? Stay well,
Dee
Kristi says
Hi Dee,
You can mix the dry ingredients together and then do the wet ingredients in the a.m. Hope this helps you save a little time!
Kristi
I Fashion Styles says
Greetings! I've been following your site for a while now and finally got the bravery to go ahead and give you a shout out from Lubbock Tx! Just wanted to say keep up the good work!