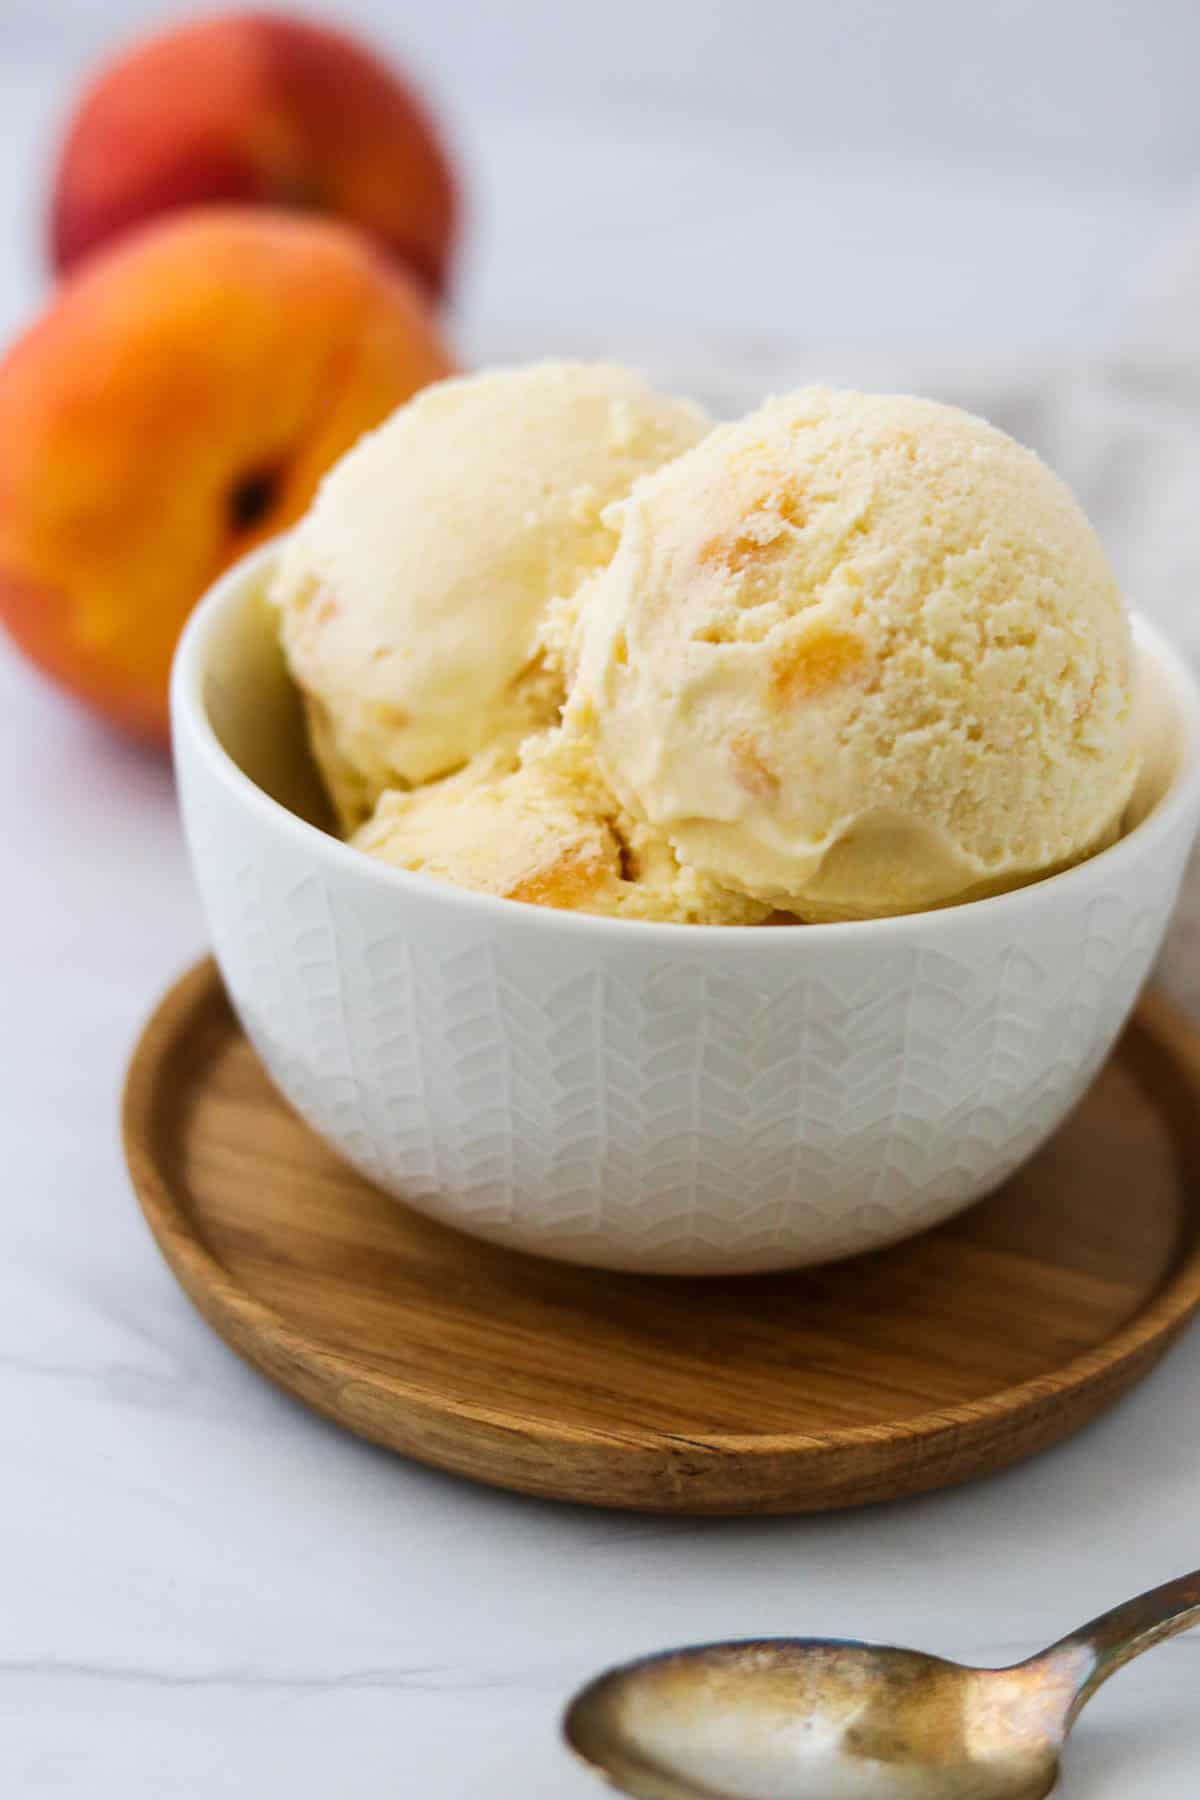
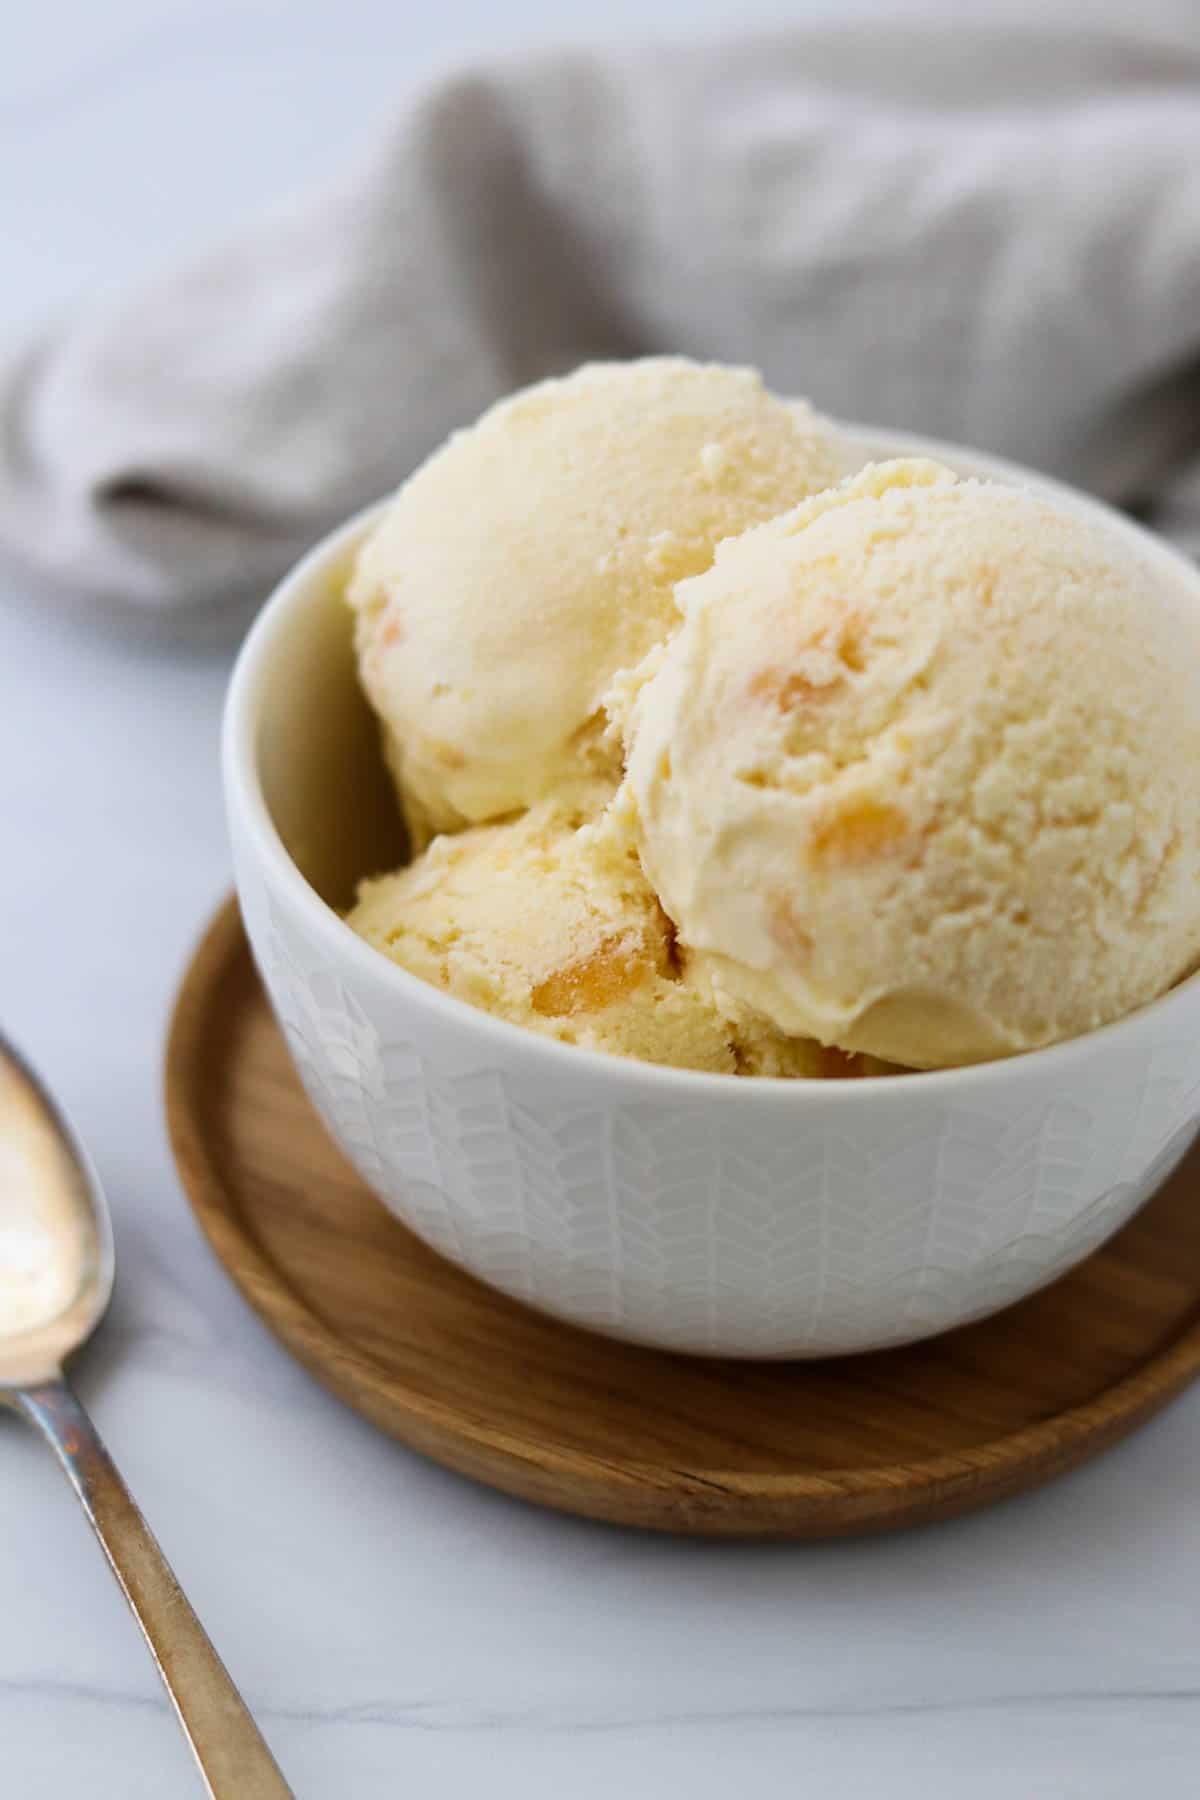
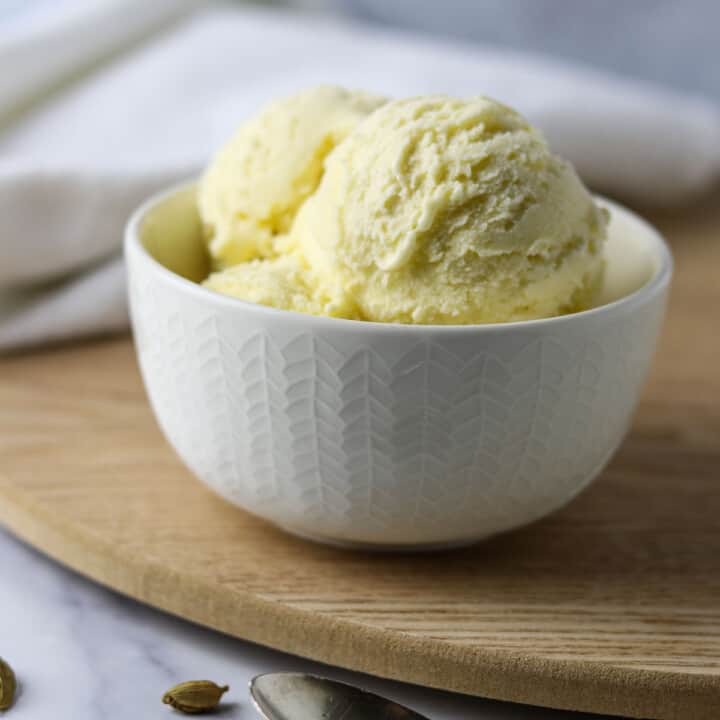
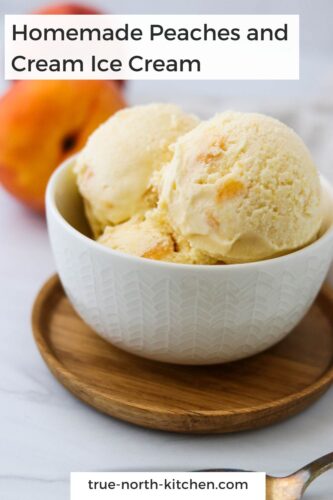
This Homemade Peaches and Cream Ice Cream is just what you need to help you slow down and squeeze every ounce of goodness from these waning days of summer. A creamy, vanilla custard base studded with tender, sweet peaches, and it's all made from scratch, with love, from your very own kitchen. It's peach ice cream perfection!
Never made homemade ice cream before? No worries...I've got foolproof, step-by-step instructions for you below. I think you will be surprised and delighted by how easy and rewarding the process is. Let's dive right in!
Why This Recipe Works
- This recipe for homemade peach ice cream is simple, straightforward and made with only wholesome ingredients.
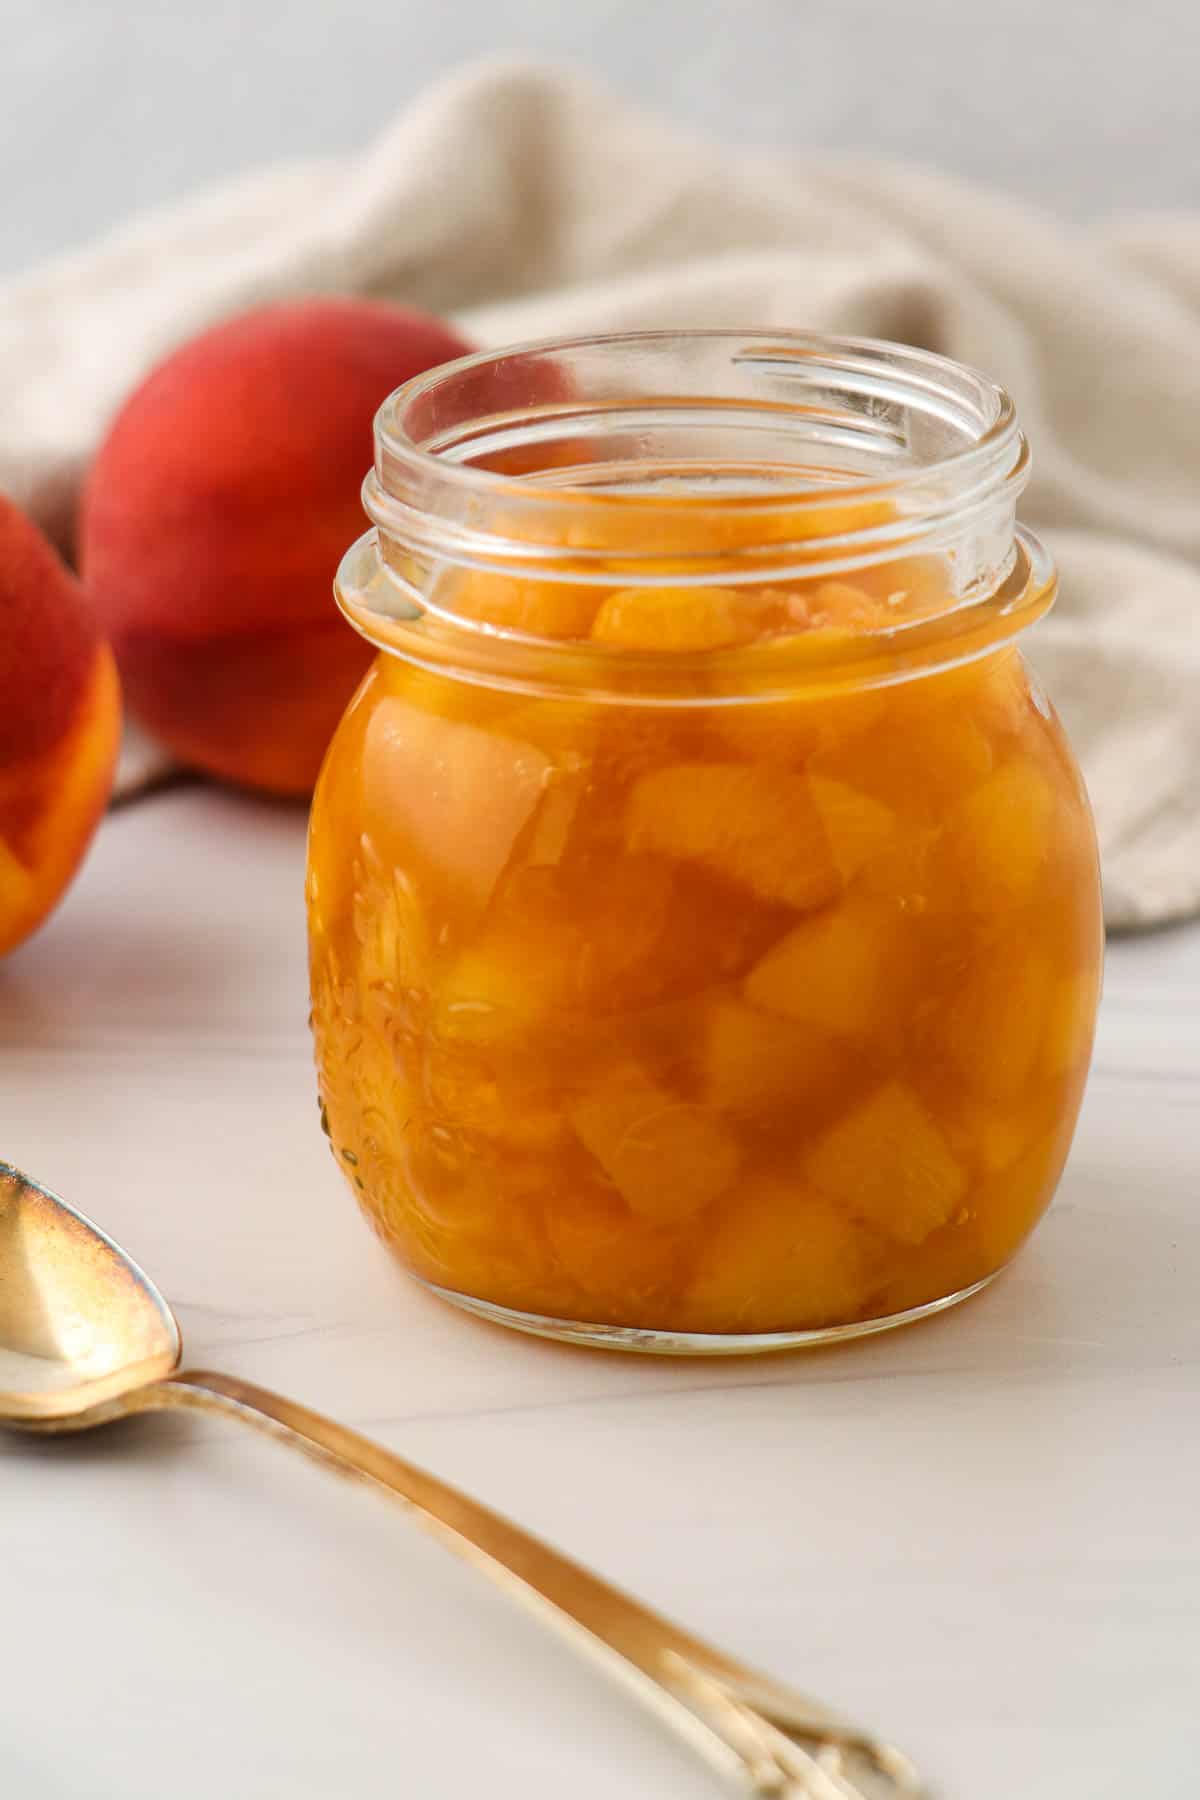
- A Quick and Easy Peach Compote comes together in minutes and forms the peachy base of this ice cream.
- A few little expert tips and tricks outlined below will help keep your ice cream ultra smooth and silky in texture.
The Ingredients
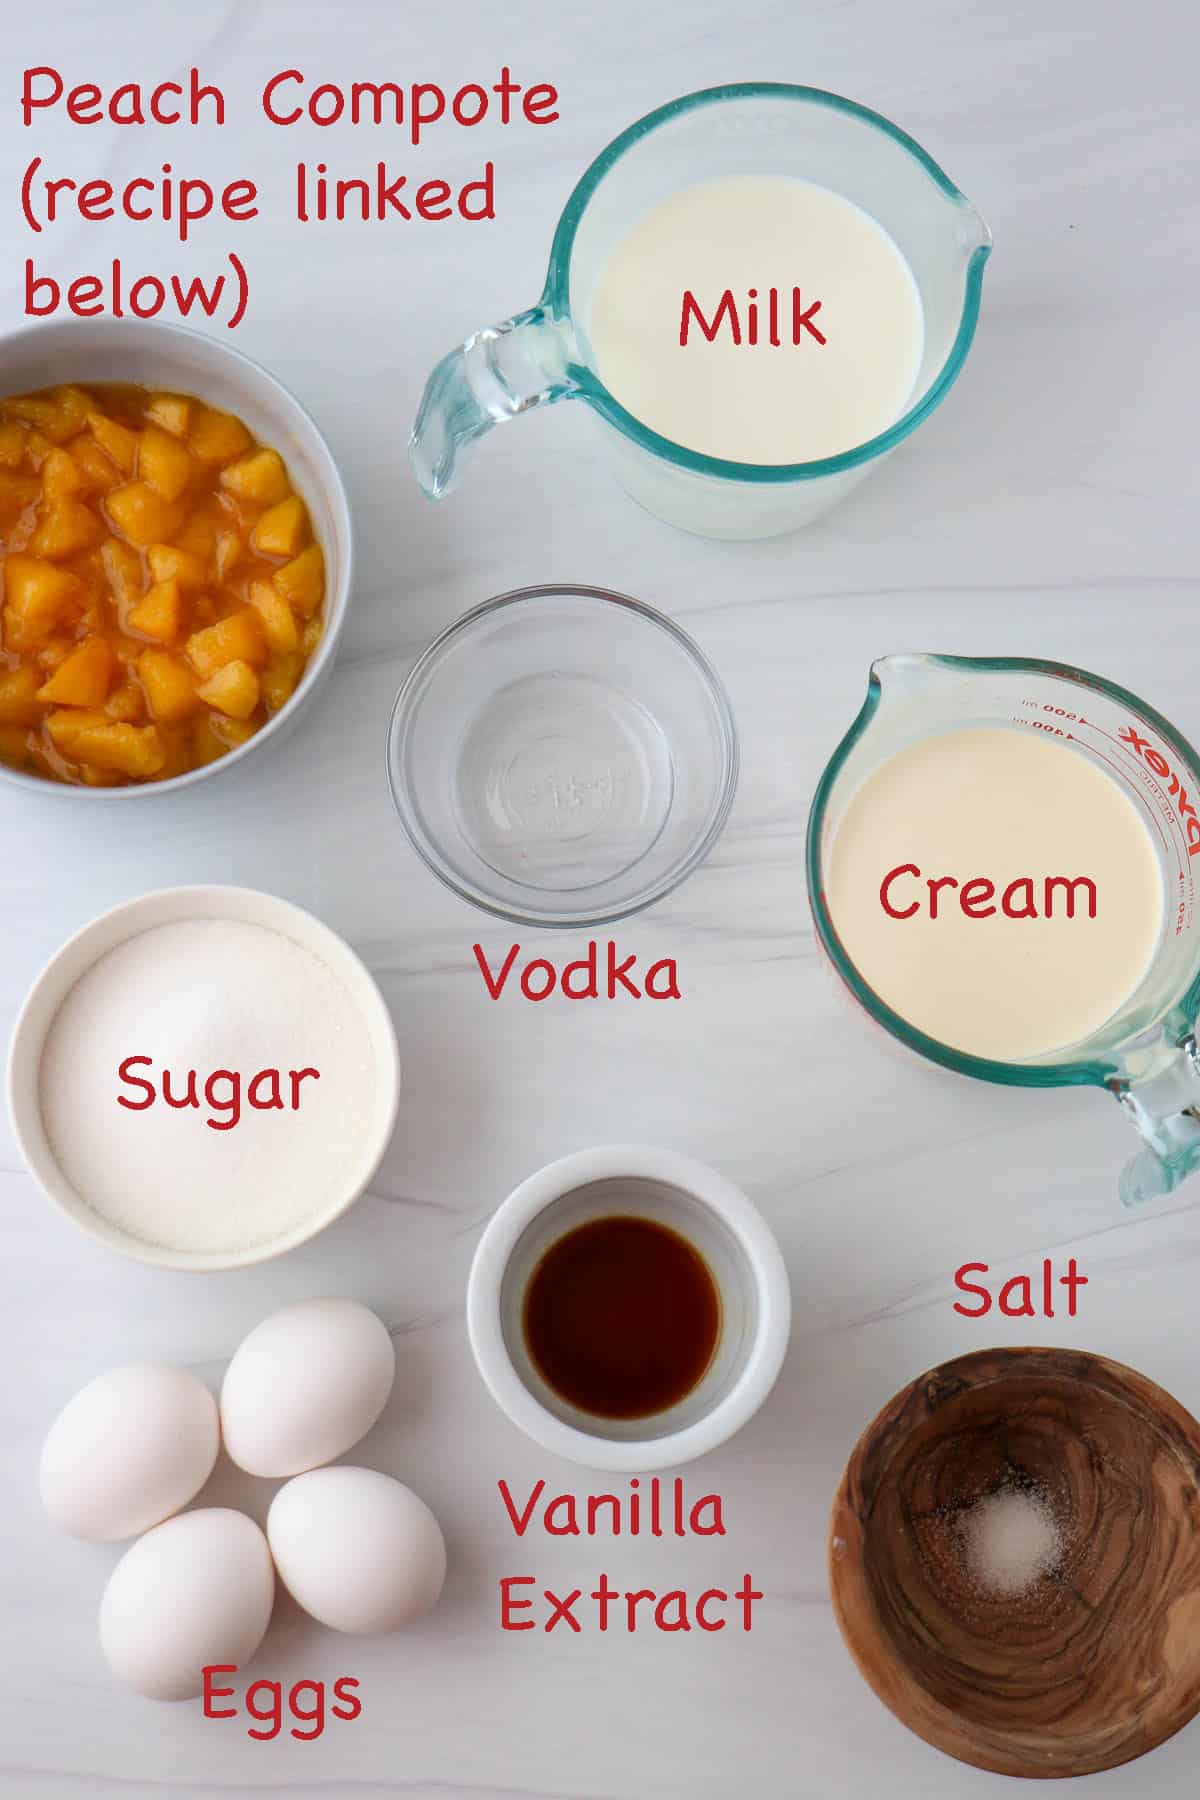
- This recipe calls for both whole milk and heavy whipping cream which forms a creamy but not overly rich dairy base for this ice cream.
- 4 egg yolks bring both flavor and richness to the base.
- Vanilla contributes its signature flavor and accentuates the floral notes of the peaches.
- Just the right amount of sugar adds sweetness (without overdoing it), and a pinch of salt acts to compliment that sweetness.
- Quick and Easy Peach Compote (made in minutes) brings delicious peach flavor, and a couple of tablespoons of vodka helps keep the fruit from freezing solid and becoming icy in texture.
Equipment
- Ice cream maker
- Fine mesh strainer
How to Make This Recipe
- Begin by making the Quick and Easy Peach Compote (recipe can be found here). Set aside to cool to room temperature before spooning into an airtight container and transferring to the refrigerator until completely cold. (The compote can be prepared up 3 days ahead of time).
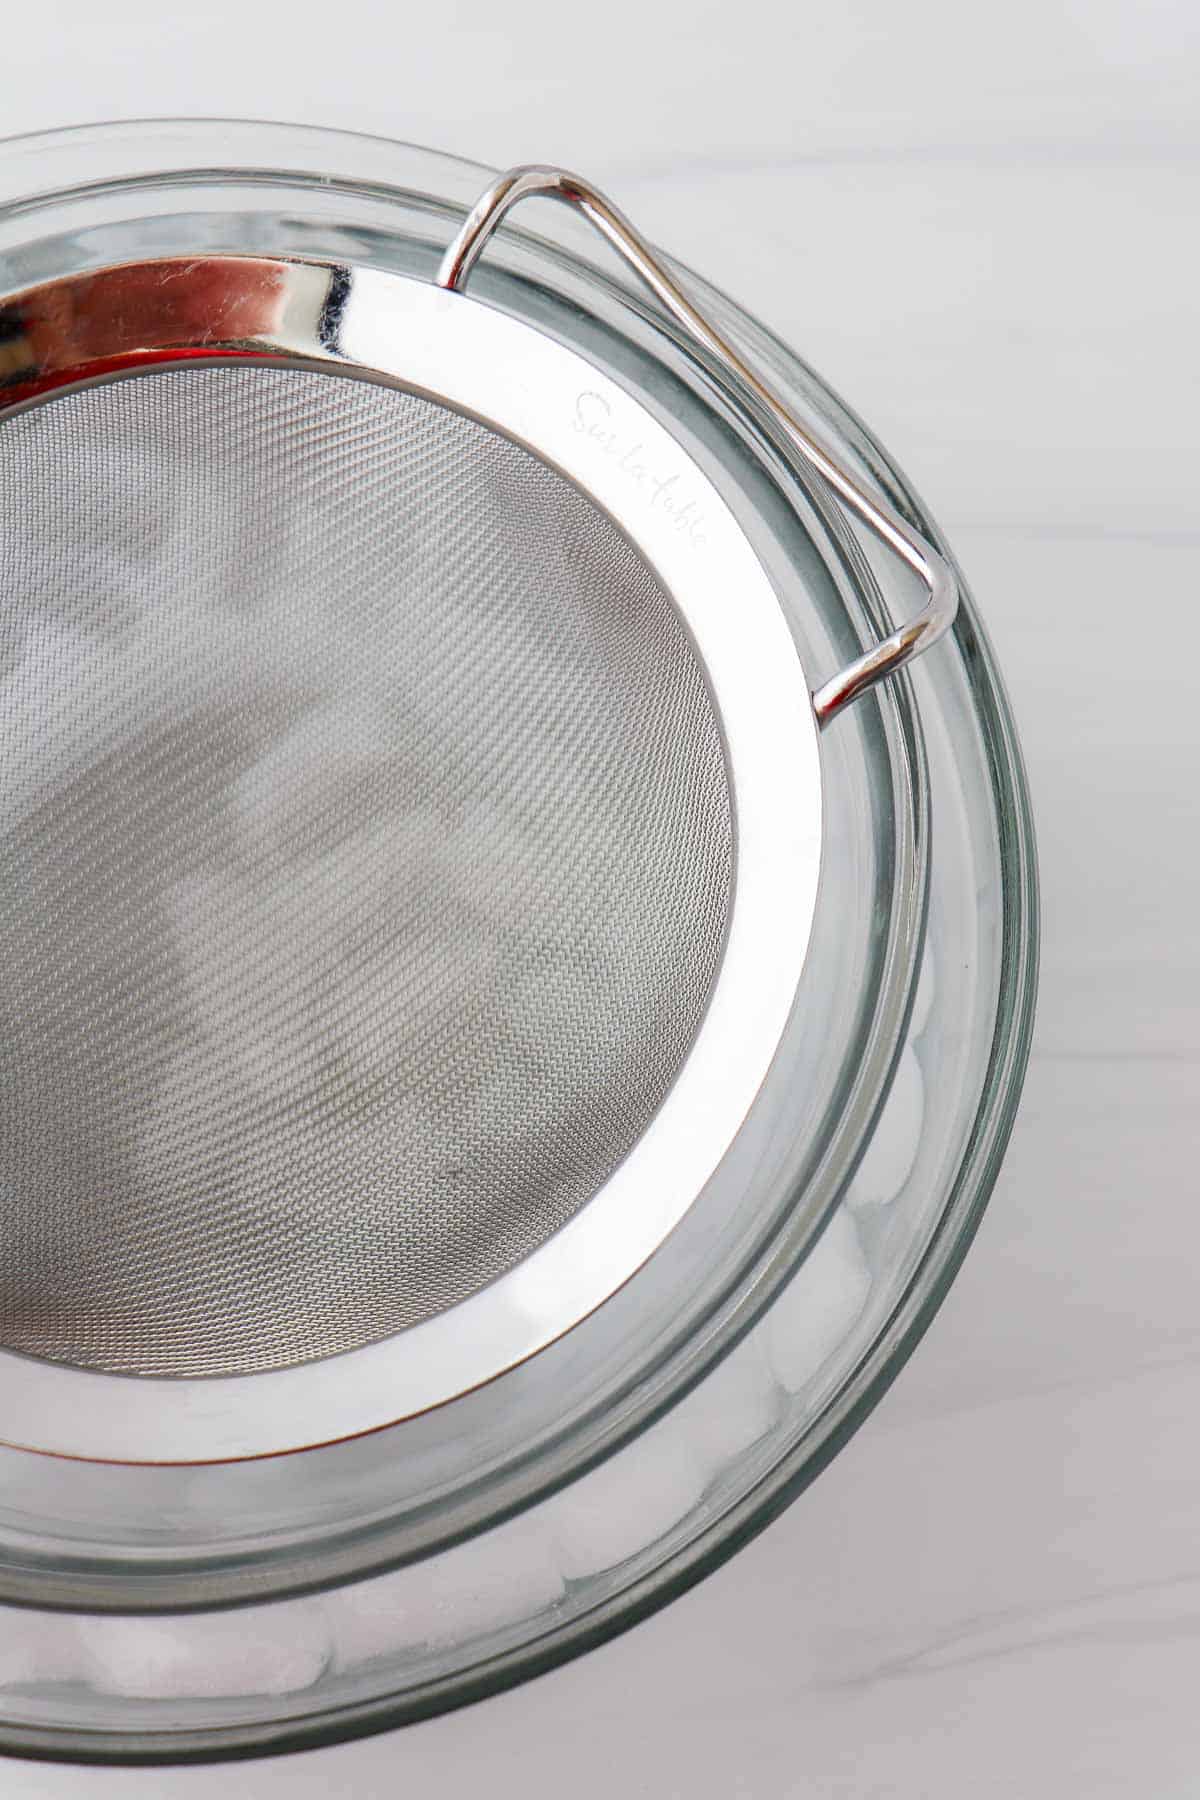
- Prepare an ice bath: Place a fine mesh strainer over a medium bowl that is set inside a larger bowl containing ice and water.
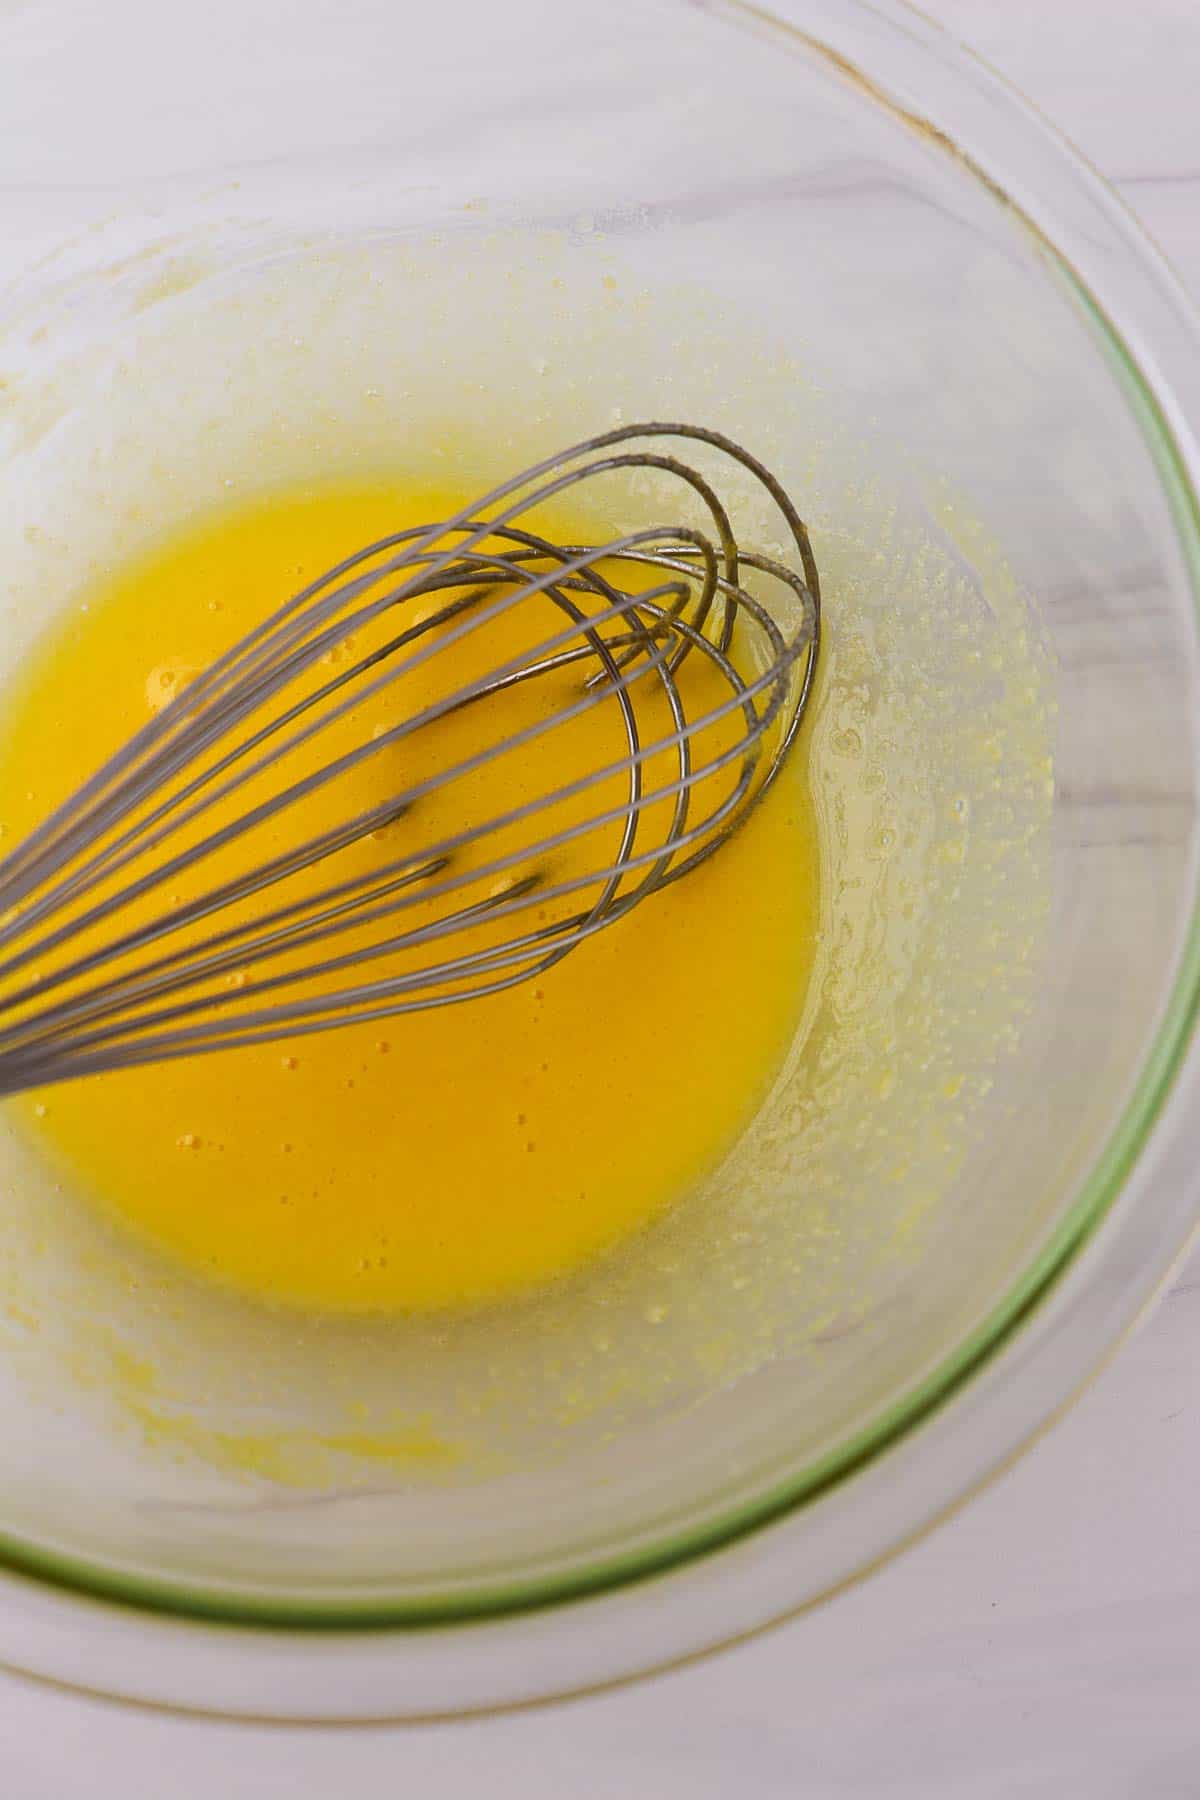
- Make the ice cream custard base: Whisk the egg yolks and ¼ cup sugar together in a separate medium bowl. Set aside.
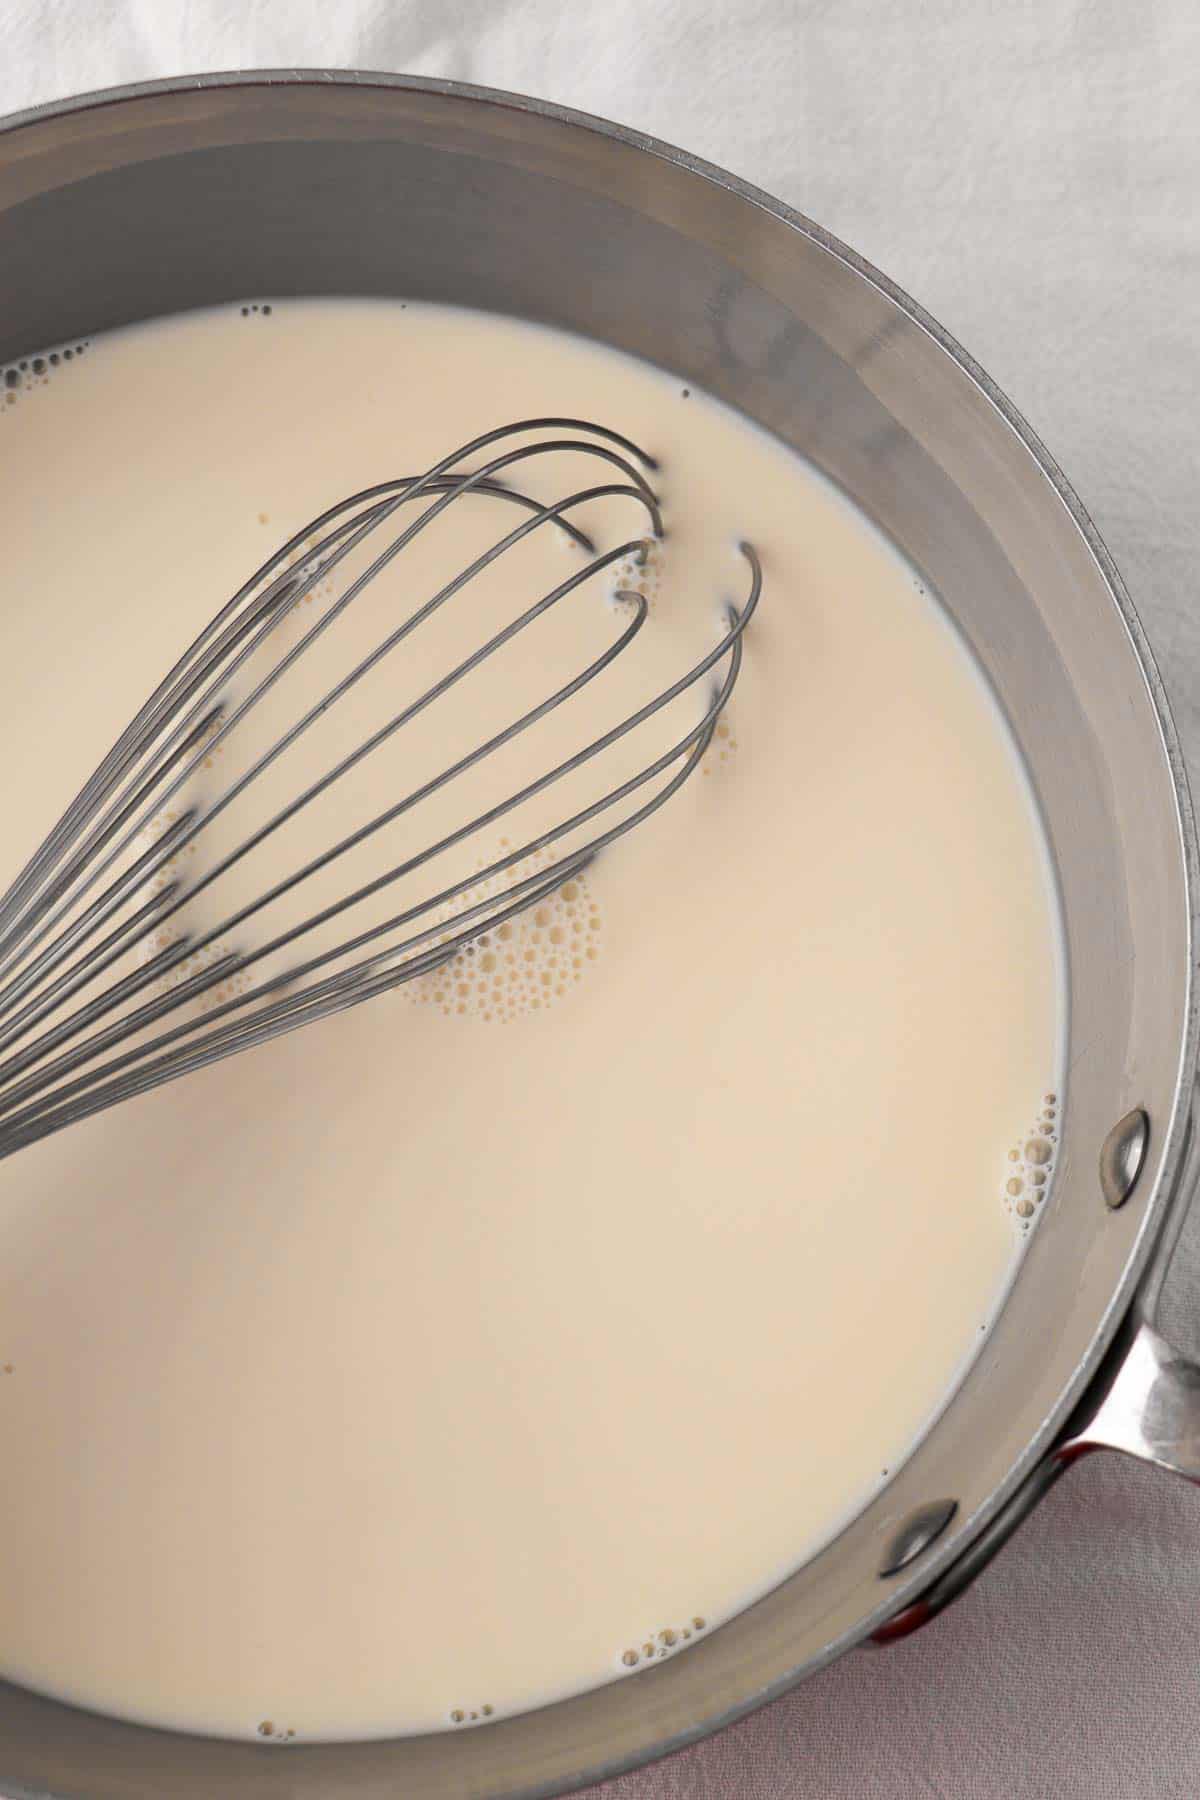
- Heat the cream, milk, remaining ½ cup sugar and salt in a saucepan over medium heat until steaming and just below a simmer.
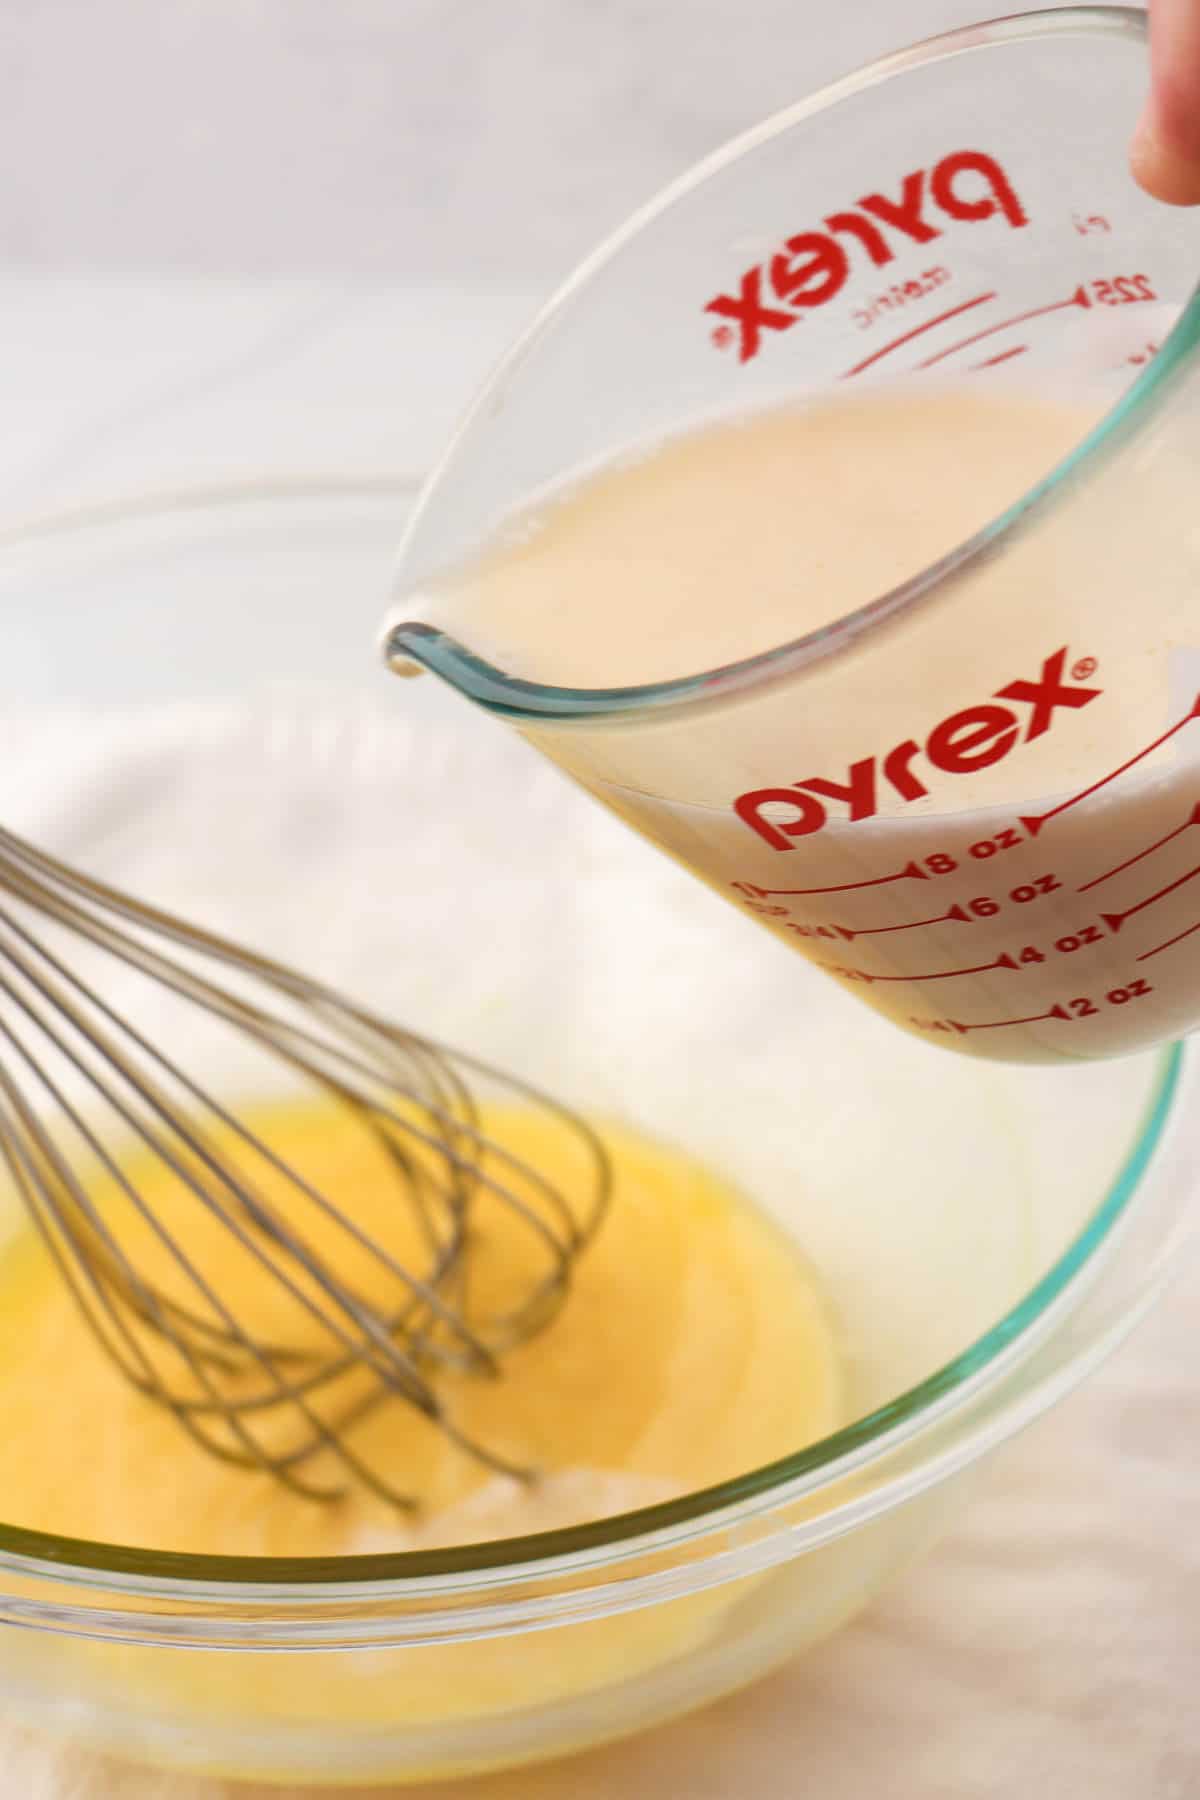
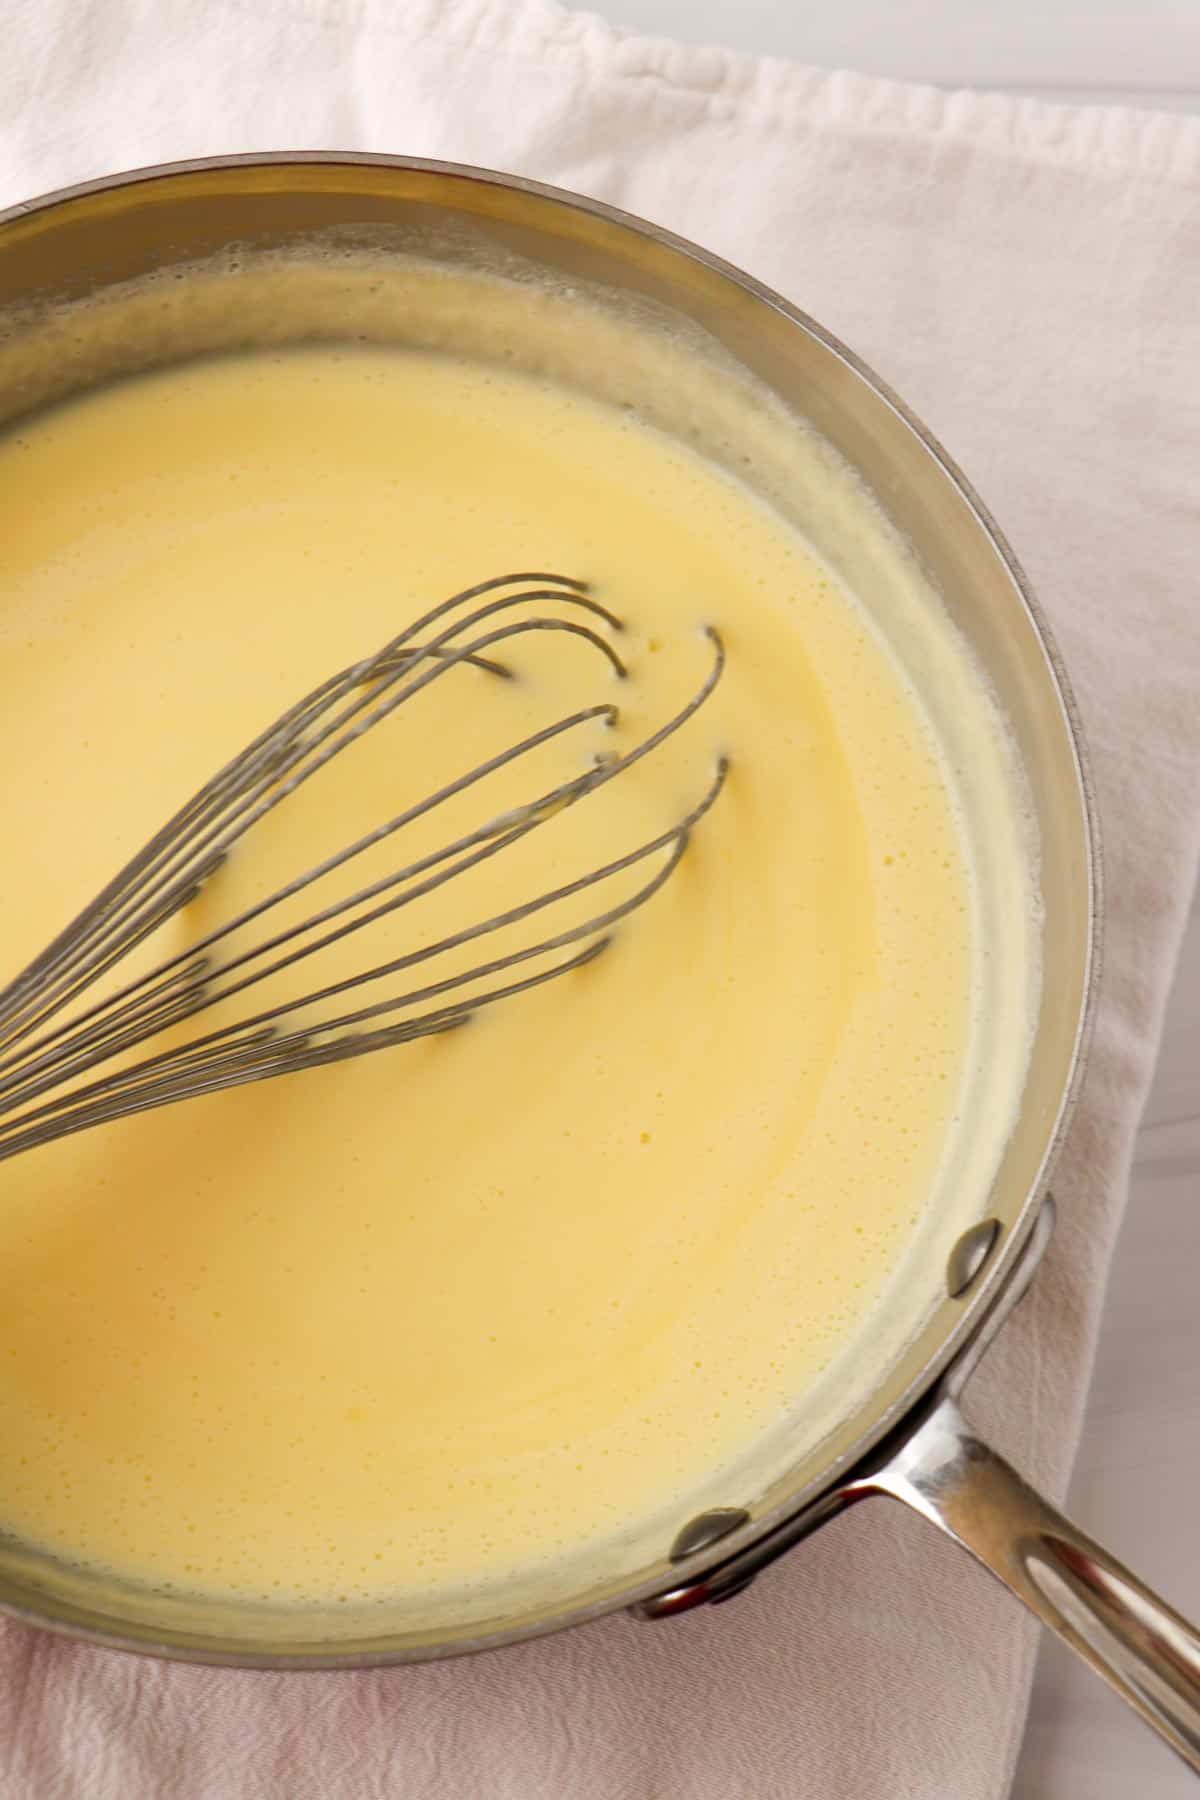
- Slowly and pouring in a steady stream, ladle about 1 cup of the warm cream mixture into the yolks, whisking constantly. Transfer the cream and egg mixture back to the saucepan with the remaining cream mixture. Cook over medium-low heat, whisking constantly, until mixture thickens and is just beginning to bubble.
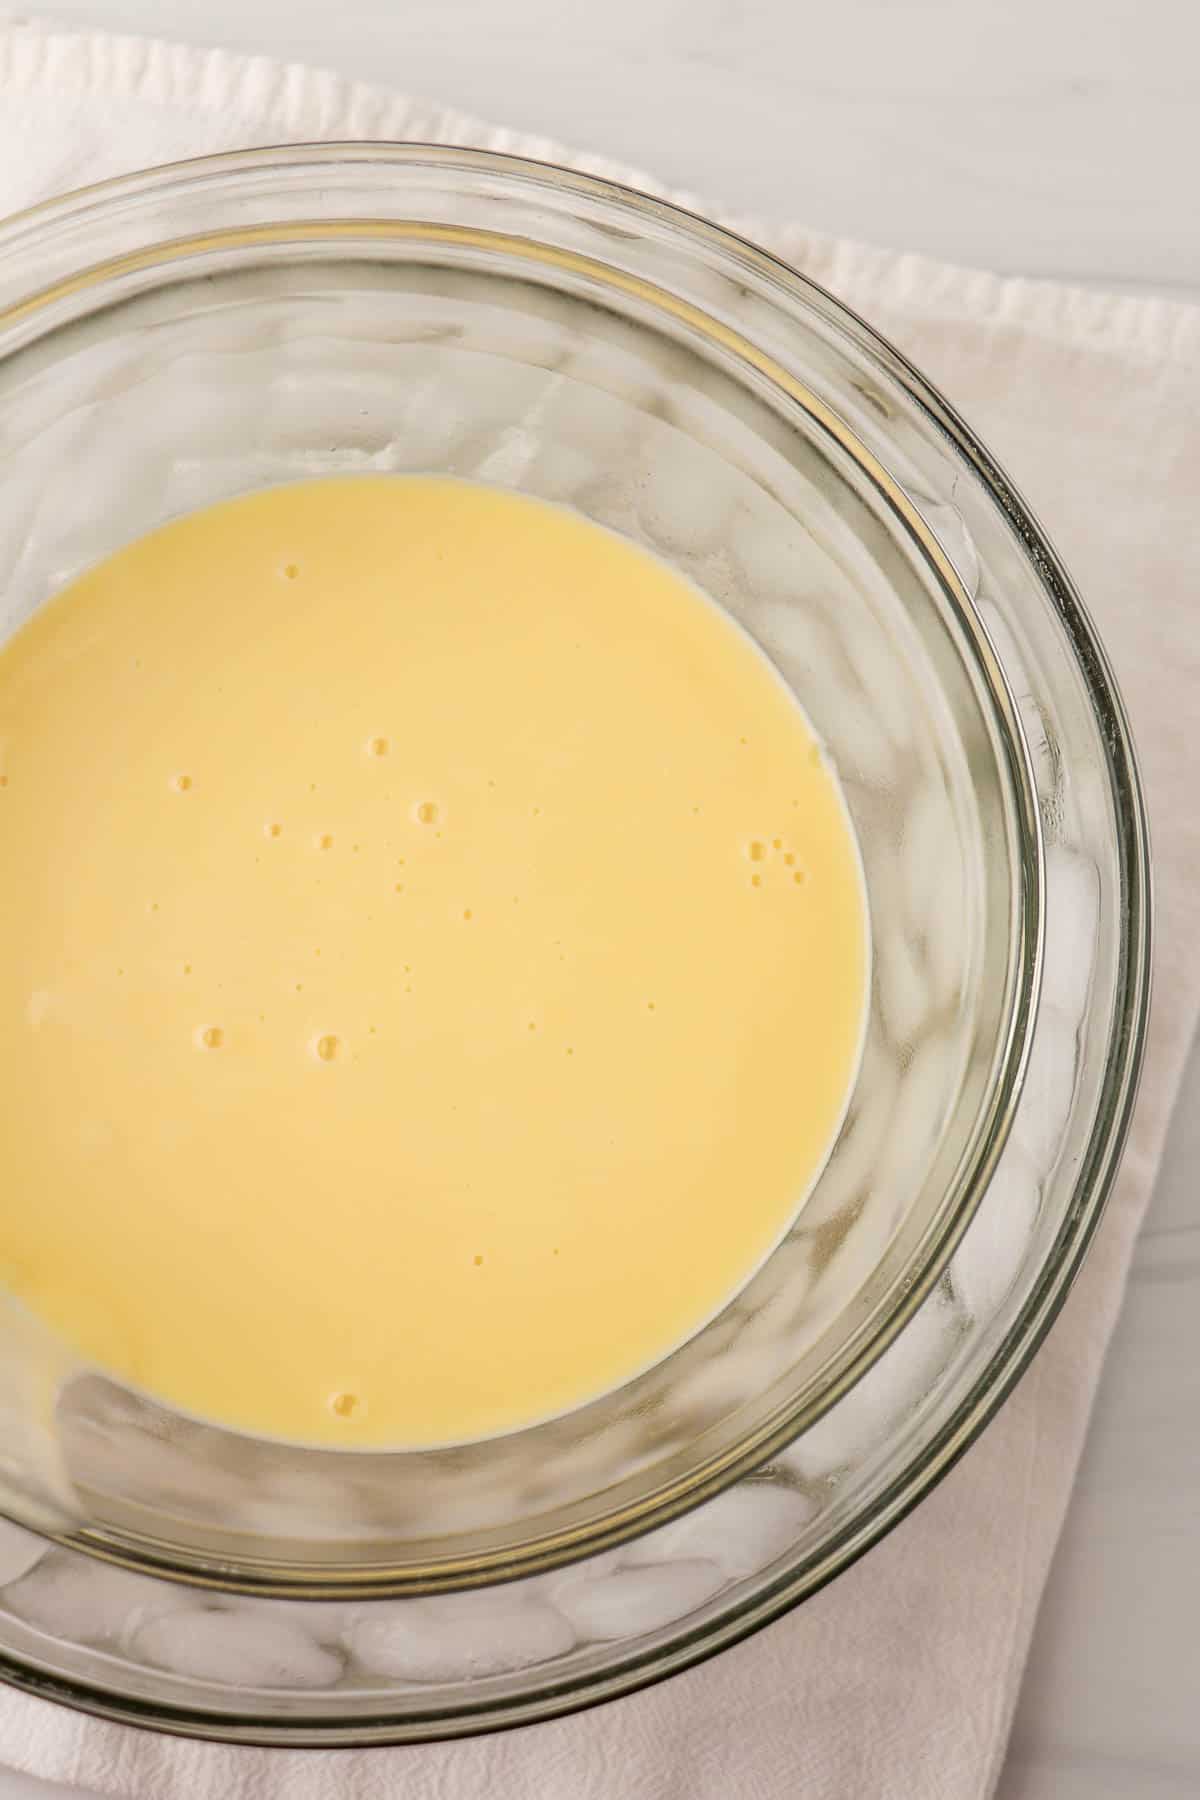
- Immediately strain custard through the prepared fine mesh strainer and add the vanilla. Allow it to cool in the bowl over the ice bath, stirring occasionally, until the mixture has come to room temperature. (If your ice completely melts during this process, simply replace it with fresh ice and cold water). Cover and transfer the custard to the refrigerator to cool completely, at least 3 hours or up to 24 hours.
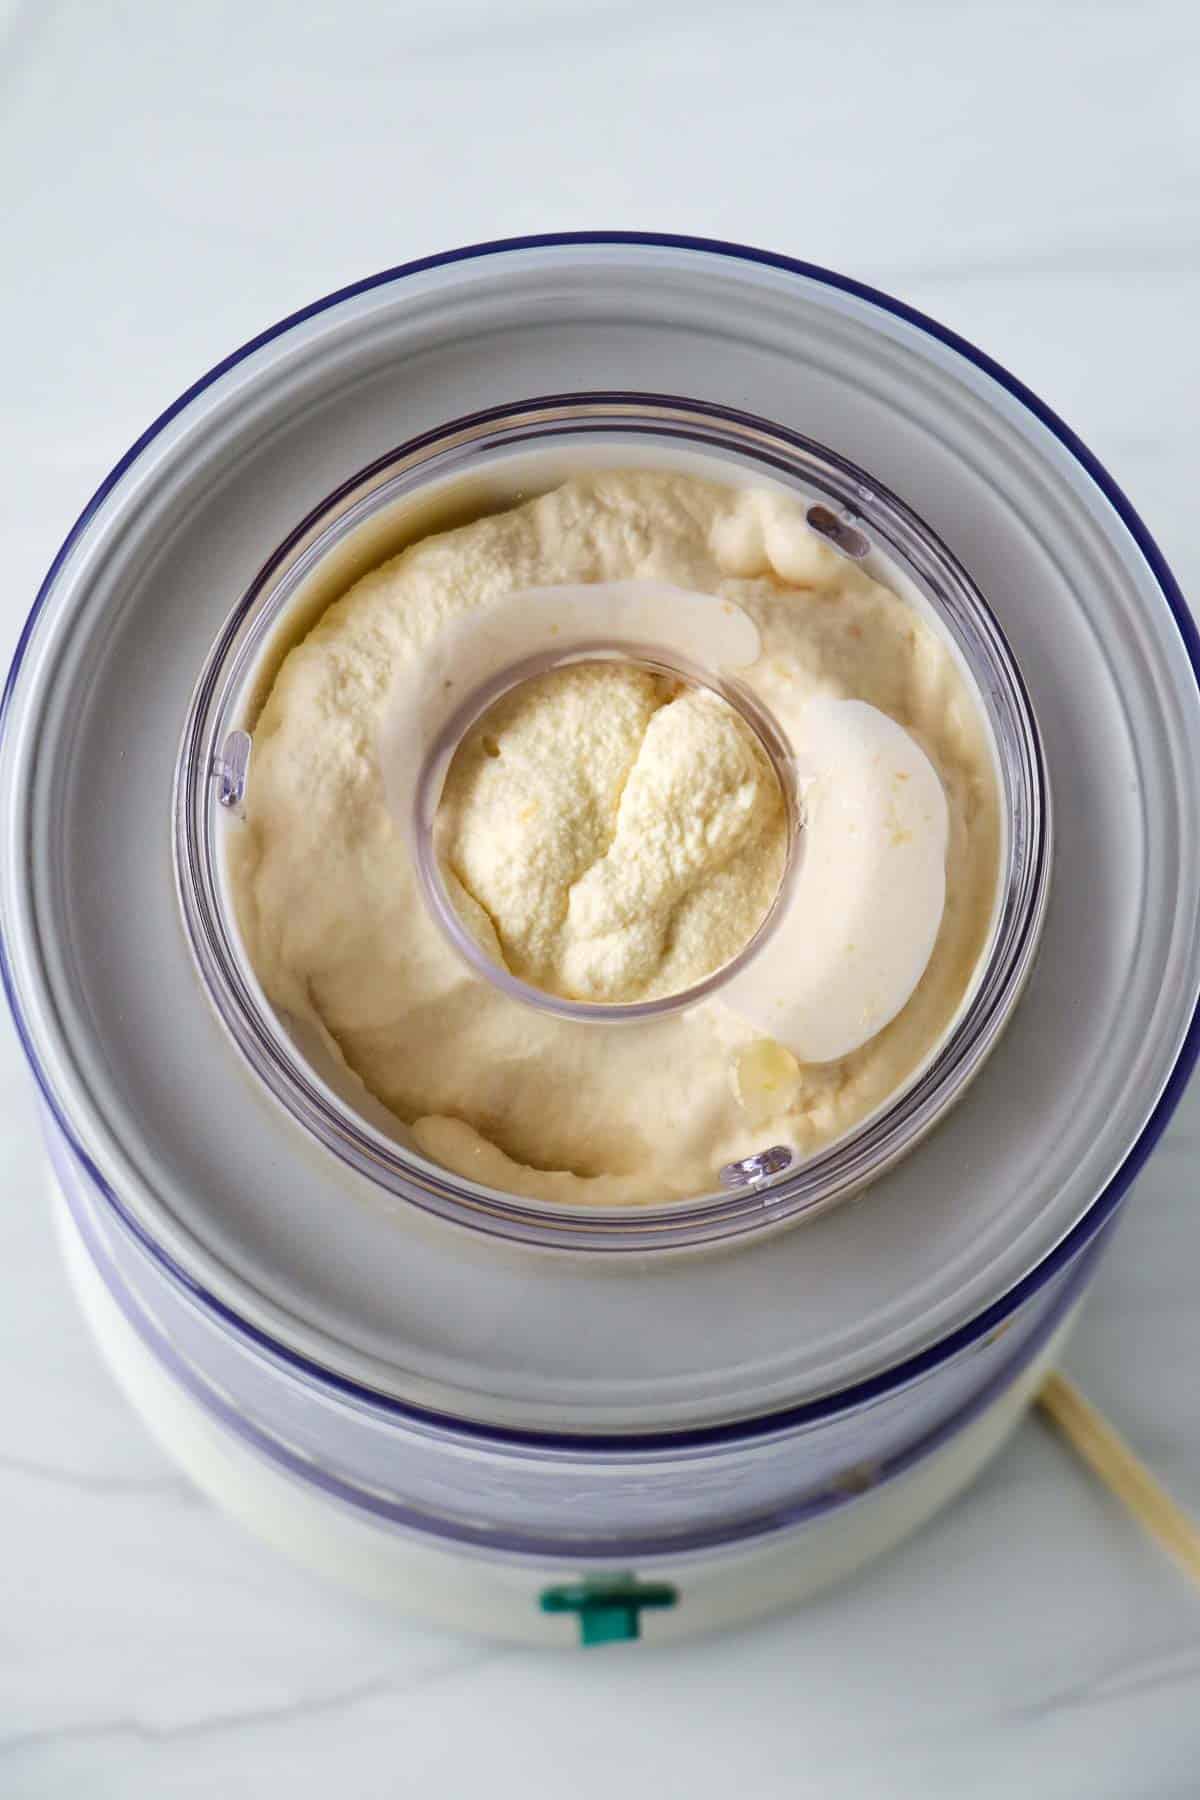
- Transfer the custard base to an ice cream maker and churn according to the manufacturer's instructions.
- Meanwhile, add the vodka to the Peach Compote and stir to combine. Add the compote mixture to the ice cream during the last few minutes of churning, making sure that it is distributed thoroughly. Transfer the ice cream to an airtight container and freeze until ready to use.
Expert Tips for Smooth and Creamy Ice Cream
Ice cream is incredibly straightforward and simple to make, but it is a process, and there are definitely a few tips and tricks for ensuring that it's creamy and delicious every time:
- Remember to freeze the work bowl of the ice cream machine in advance. Ice cream making is not for the impulsive, the impatient or the spontaneous. It's an activity that rewards planning and preparation. The work bowl of your ice cream maker must be thoroughly chilled prior to successfully churning ice cream. See the manufacturer's instructions for specific details for your particular model, but this may take anywhere from 24-48 hours. During the summer months, I just keep the work bowl in the freezer so that when I'm ready to make a batch of ice cream it's ready to go.
- Temper the egg yolks prior to adding them to the milk and cream mixture. There is a very good reason that the recipe asks you to SLOWLY mixing about a cup of the hot cream mixture into the egg yolks prior to adding them back to the pan. This process is called tempering and it helps ensure that your eggs don't solidify once they hit the shocking heat of the cream mixture. We want creamy custard here, not scrambled eggs.
- Strain the custard base once it has finished cooking. Some recipes will skip this step, but if you don't strain the mixture, you run the risk of having little bits of cooked egg in your finished project. Not good. Better to be on the safe side and strain.
- Cool the mixture COMPLETELY before putting it into the fridge. Ice crystals are the enemy of smooth and creamy ice cream. One of the reasons we use an ice bath to cool the custard base down quickly and completely is so that condensation doesn't form after you cover the mixture and cause additional water to find it's way back into the custard (water that will eventually freeze and become icy). I will let my custard sit in the ice bath until it is cool to the touch and then cover and transfer it to the refrigerator.
- Don't skimp on the cooling time prior to churning. To prevent ice crystal formation, it's important to make sure that the mixture is good and cold before it goes into the ice cream maker. I almost always make my custard base one day and churn it the next.
- Add a little vodka to the fruit compote. This is a little trick I picked up from the good people at America's Test Kitchen. The freezing point of vodka is lower than that of water, so adding a little to your fruit helps keep it from freezing to the point that it becomes hard and icy.
FAQs
There are several different ways to separate eggs, but my favorite is to crack the egg and transfer it to my hand. The egg white slips through my fingers leaving the yolk behind. Check out this really helpful graphic from www.marthastewart.com for a visual on this technique.
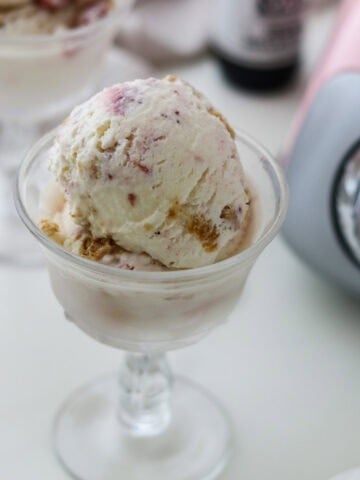
Absolutely! You can leave the peach compote out entirely and just make vanilla ice cream. Or try adding a different flavor of fruit compote instead (such as strawberry, strawberry rhubarb, blueberry, pear or apple). You can even add mix-ins such as chopped nuts, chocolate, crushed candy or cookies or whatever you like at the very end of churning. The options are endless!
Store the ice cream tightly sealed in the freezer for 4-6 weeks (although I doubt you'll need that long to finish a batch)!
Related Recipes
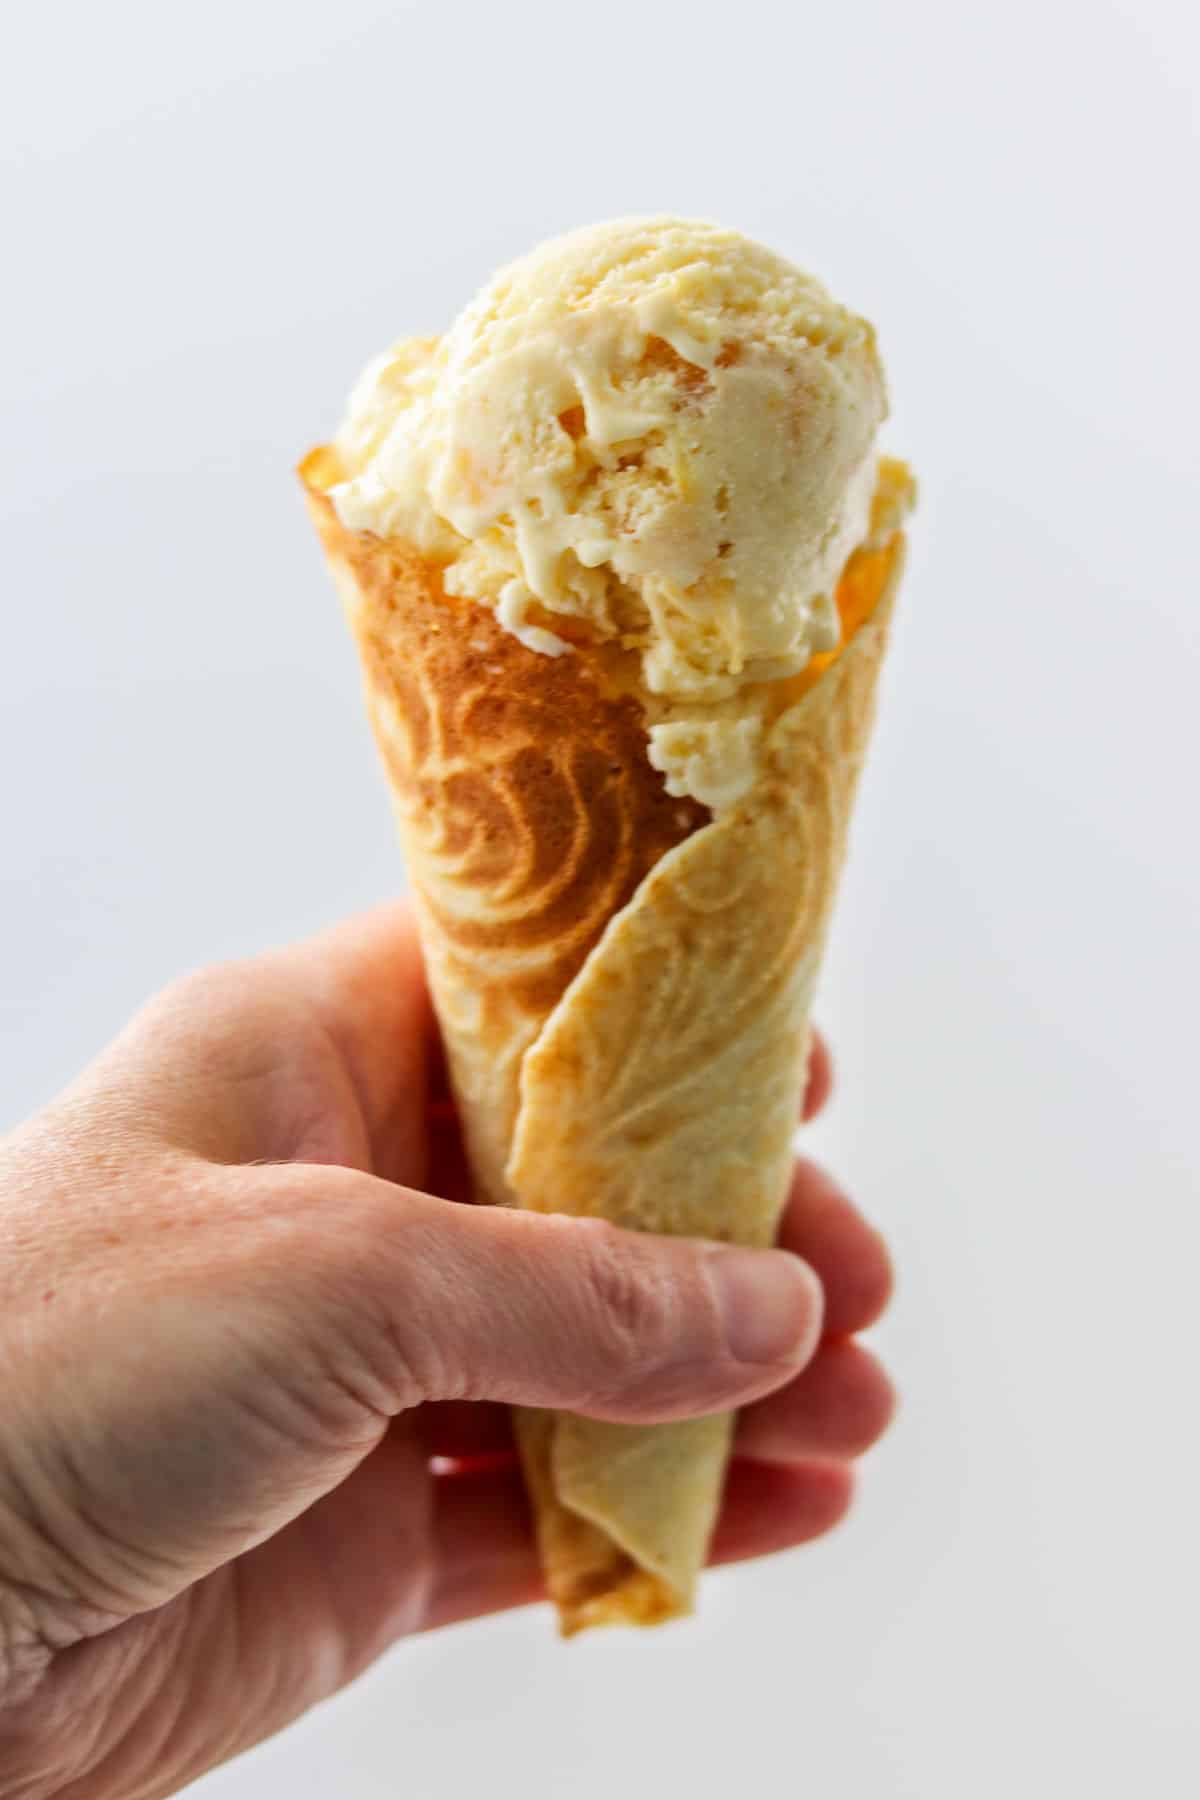
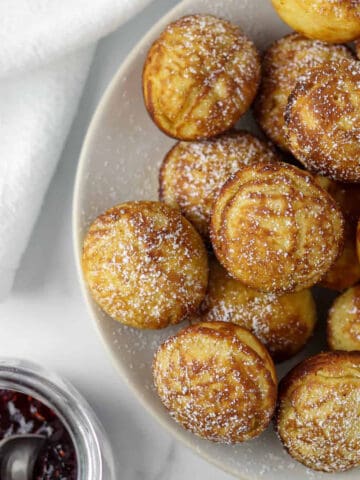
If you are a krumkake baker, whip up a batch of those as well to use as ice cream cones....they are darling and the perfect light and crispy compliment to the peach ice cream.
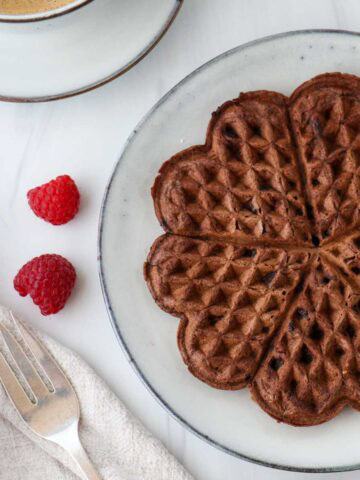
Looking for more cool and creamy dessert recipes? Give these a try:
Recipe
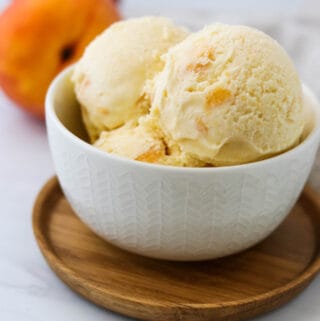
Homemade Peaches and Cream Ice Cream
Ingredients
- 1 ½ cups heavy cream
- 1 ½ cups whole milk
- ¾ cup sugar, divided
- Pinch of salt
- 1 teaspoon vanilla extract
- 4 egg yolks
- 1 heaping cup Quick and Easy Peach Compote
- 2 tablespoons vodka
Special Equipment Needed:
Instructions
- Place a fine mesh strainer over a medium bowl that is set inside a larger bowl containing ice and water.
- Whisk egg yolks and ¼ cup sugar together in a separate medium bowl. Set aside.
- Heat cream, milk, remaining ½ cup sugar and salt in a saucepan over medium heat until steaming and just below a simmer.
- Slowly and pouring in a steady stream, ladle about 1 cup of the warm cream mixture into the yolks, whisking constantly. Transfer the cream and egg mixture back to the saucepan with the remaining cream mixture. Cook over medium-low heat, whisking constantly, until mixture thickens and is just beginning to bubble.
- Immediately strain custard through the prepared fine mesh strainer and add the vanilla. Allow it to cool in the bowl over the ice bath, stirring occasionally, until the mixture has come to room temperature. Cover and transfer the custard to the refrigerator to cool completely, at least 3 hours or up to 24 hours.
- Transfer custard to an ice cream machine and churn according to manufacturer’s directions. Meanwhile, add the vodka to the Quick and Easy Peach Compote and stir to combine. Add compote mixture to the ice cream during the last few minutes of churning, making sure that it is distributed thoroughly. Transfer ice cream to an airtight container and freeze until ready to use.
Nutrition
If you loved this recipe, give it a star review! Also, snap a picture of your Homemade Peaches and Cream Ice Cream and share it with me on Instagram using the hashtag #truenorthkitchen and tagging me @true_north_kitchen.

Kristi says
My favorite summer ice cream by far!
Holly Carlson says
Hello,
I love all of your recipes!
I have a question about this ROSTED PEACH GINGER ICE CREAM.
Do I need to add the eggs? I really don't want to.
Is it possible to make this without the eggs?
Thank you.
Kristi says
Hi Holly!
Thanks so much for your nice note! Check out this article from the Kitchn about how to make ice cream without eggs. They sub in some cornstarch and softened cream cheese for the eggs. I would definitely give that a try and please report back and let me know how it turns out!
Thanks,
Kristi