Dessert Recipes
Browse a dazzling array of mouthwatering Scandinavian dessert recipes!
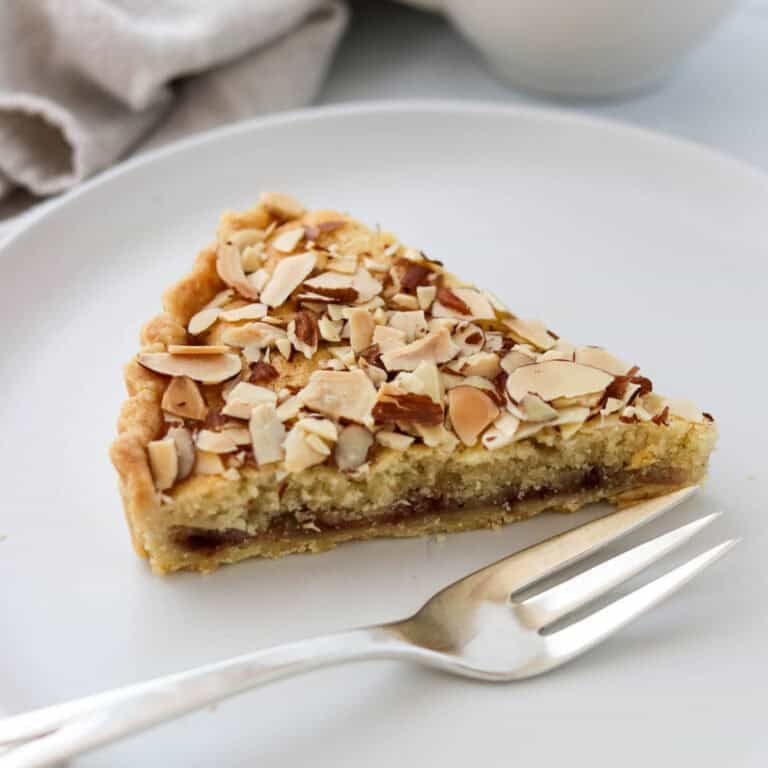
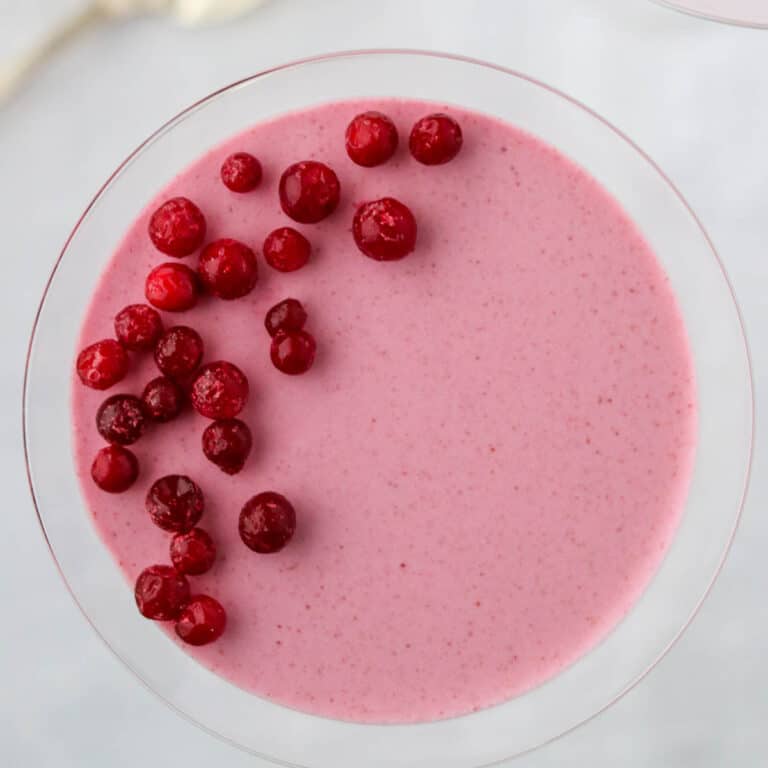
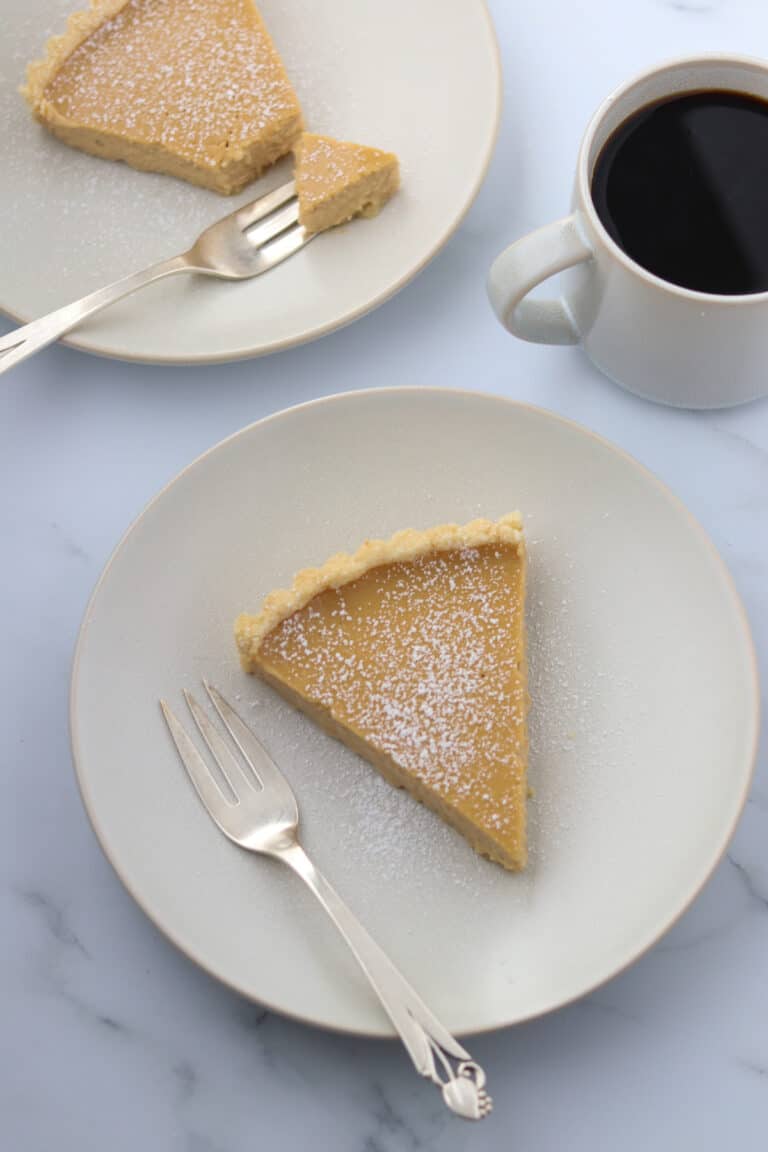
From Finnish Strawberry Almond Tart to Lingonberry Skyr Mousse to Cardamom Peach Cobbler, you are sure to find a Nordic-inspired dessert to suit any occasion.
Browse a dazzling array of mouthwatering Scandinavian dessert recipes!
From Finnish Strawberry Almond Tart to Lingonberry Skyr Mousse to Cardamom Peach Cobbler, you are sure to find a Nordic-inspired dessert to suit any occasion.


Subscribe and get 5 must-try Nordic baking recipes to bring a little hygge into your kitchen.
Subscribe below and get 5 must-try Nordic baking recipes to bring a little hygge into your kitchen.